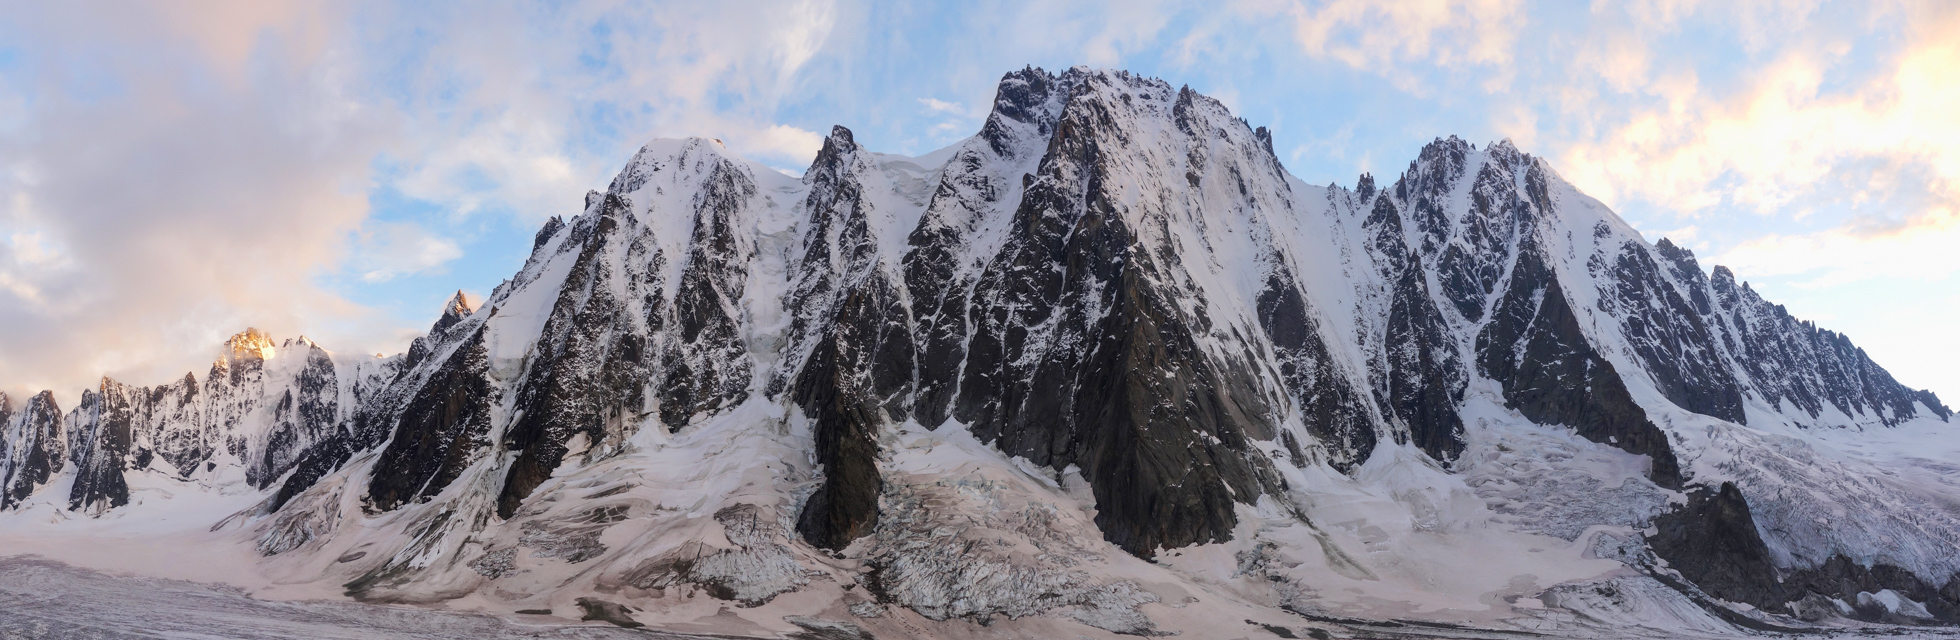
After a very late start to the winter climbing season and just one route in the bag before the holiday period, to say I was desperate for a big winter hit would be an understatement. While I was away for Christmas, Scotland appeared to be enjoying some fantastic conditions, but just as I was beginning to plan for a weekend return to the hills three days of thaw hit and options began to disappear. A drop in the freezing level accompanied by snow showers on Friday 2nd offered a glimmer of hope for the weekend, and given the westerly winds we figured Lochnagar would deliver the goods.
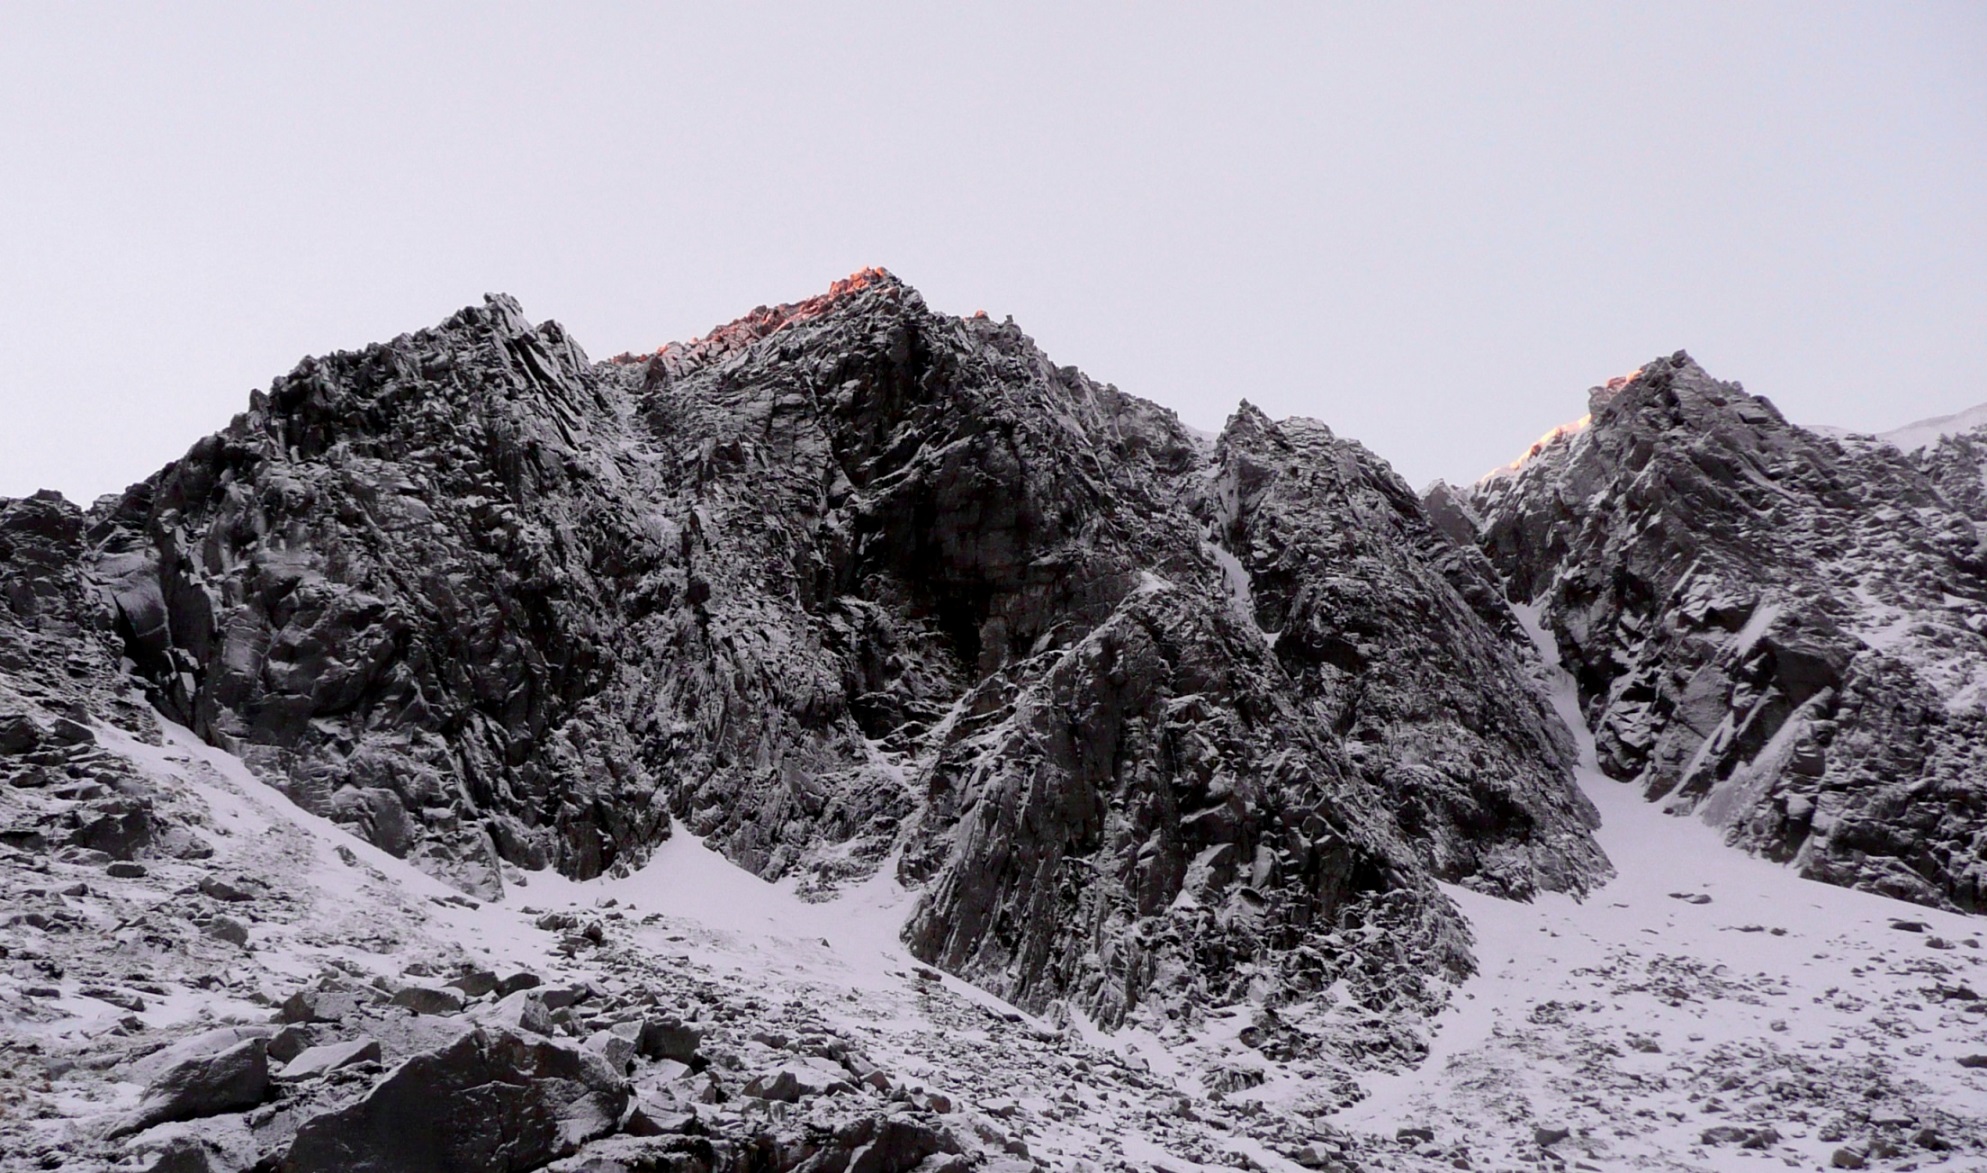
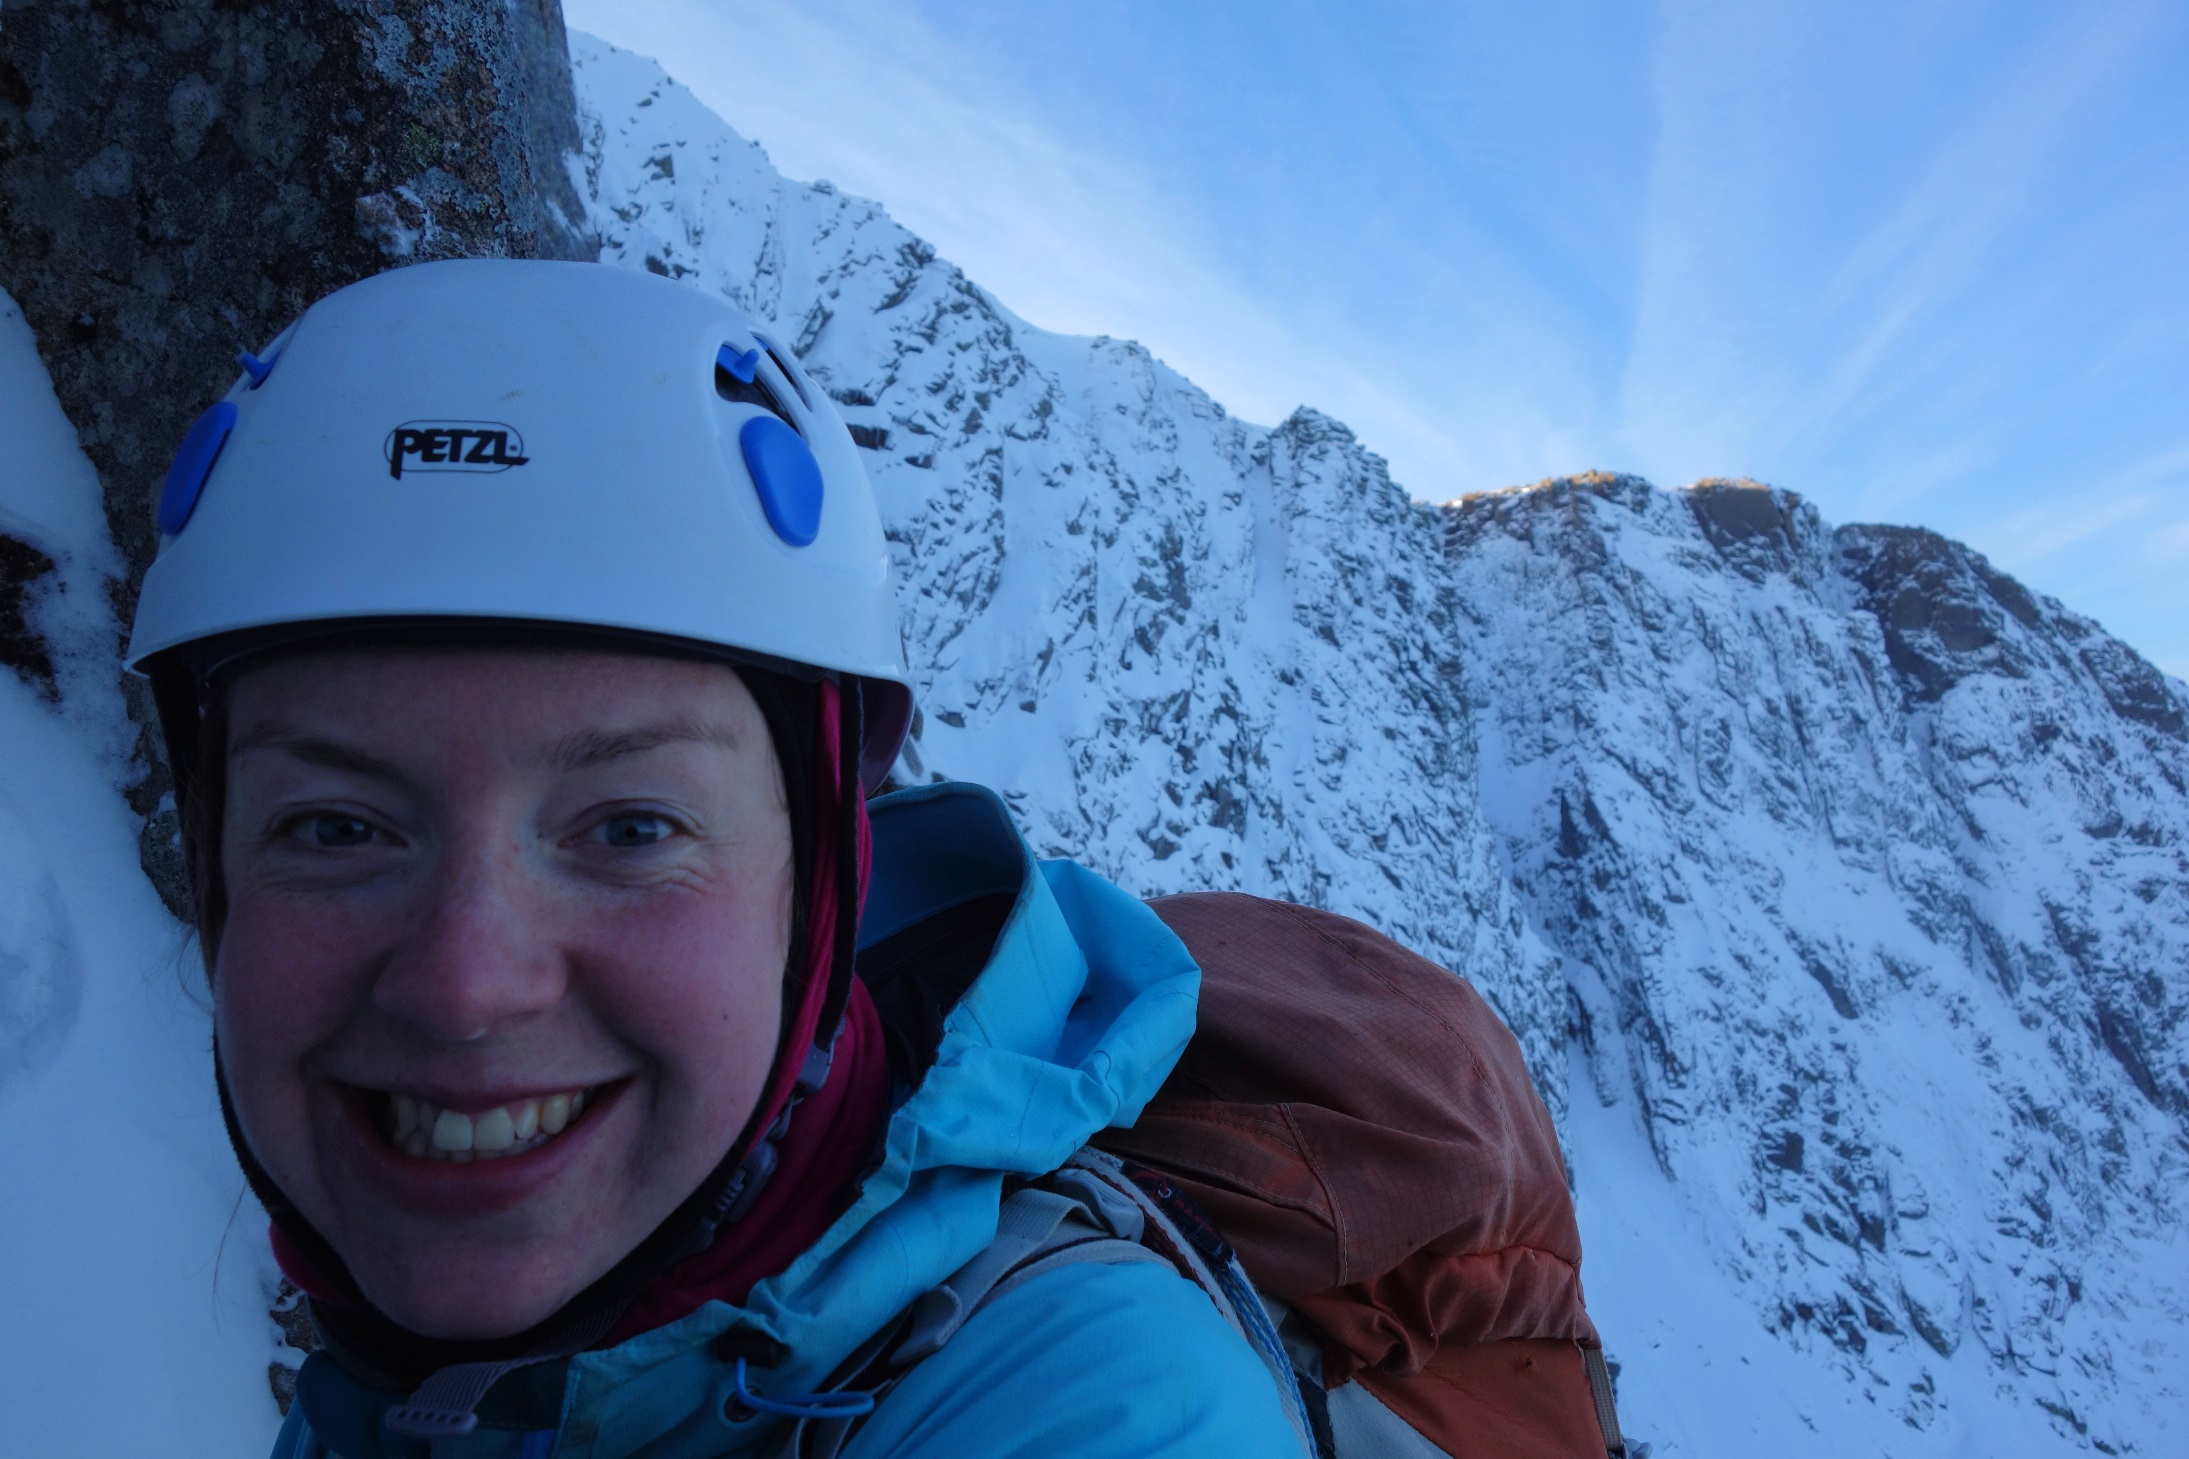
At 05:30 on Sunday morning we began the all-too-familiar walk to the coire with plans to attempt something in the Shadow Buttress area, or indeed anything that looked to be suitably in condition. Dawn caught us as we traversed across the coire floor to the usual gearing-up spot and we were happy to see a very white cliff presenting us with options a plenty. We decided to go for the classic climb on Shadow Buttress B – Bell’s Route (V, 6).
The first pitch leads out of Douglas-Gibson Gully and follows a turfy groove and ramp in a leftwards rising traverse onto the crest of the buttress, below the steepest section. The climbing is straightforward but with a noticeable lack of protection some concentration was required.
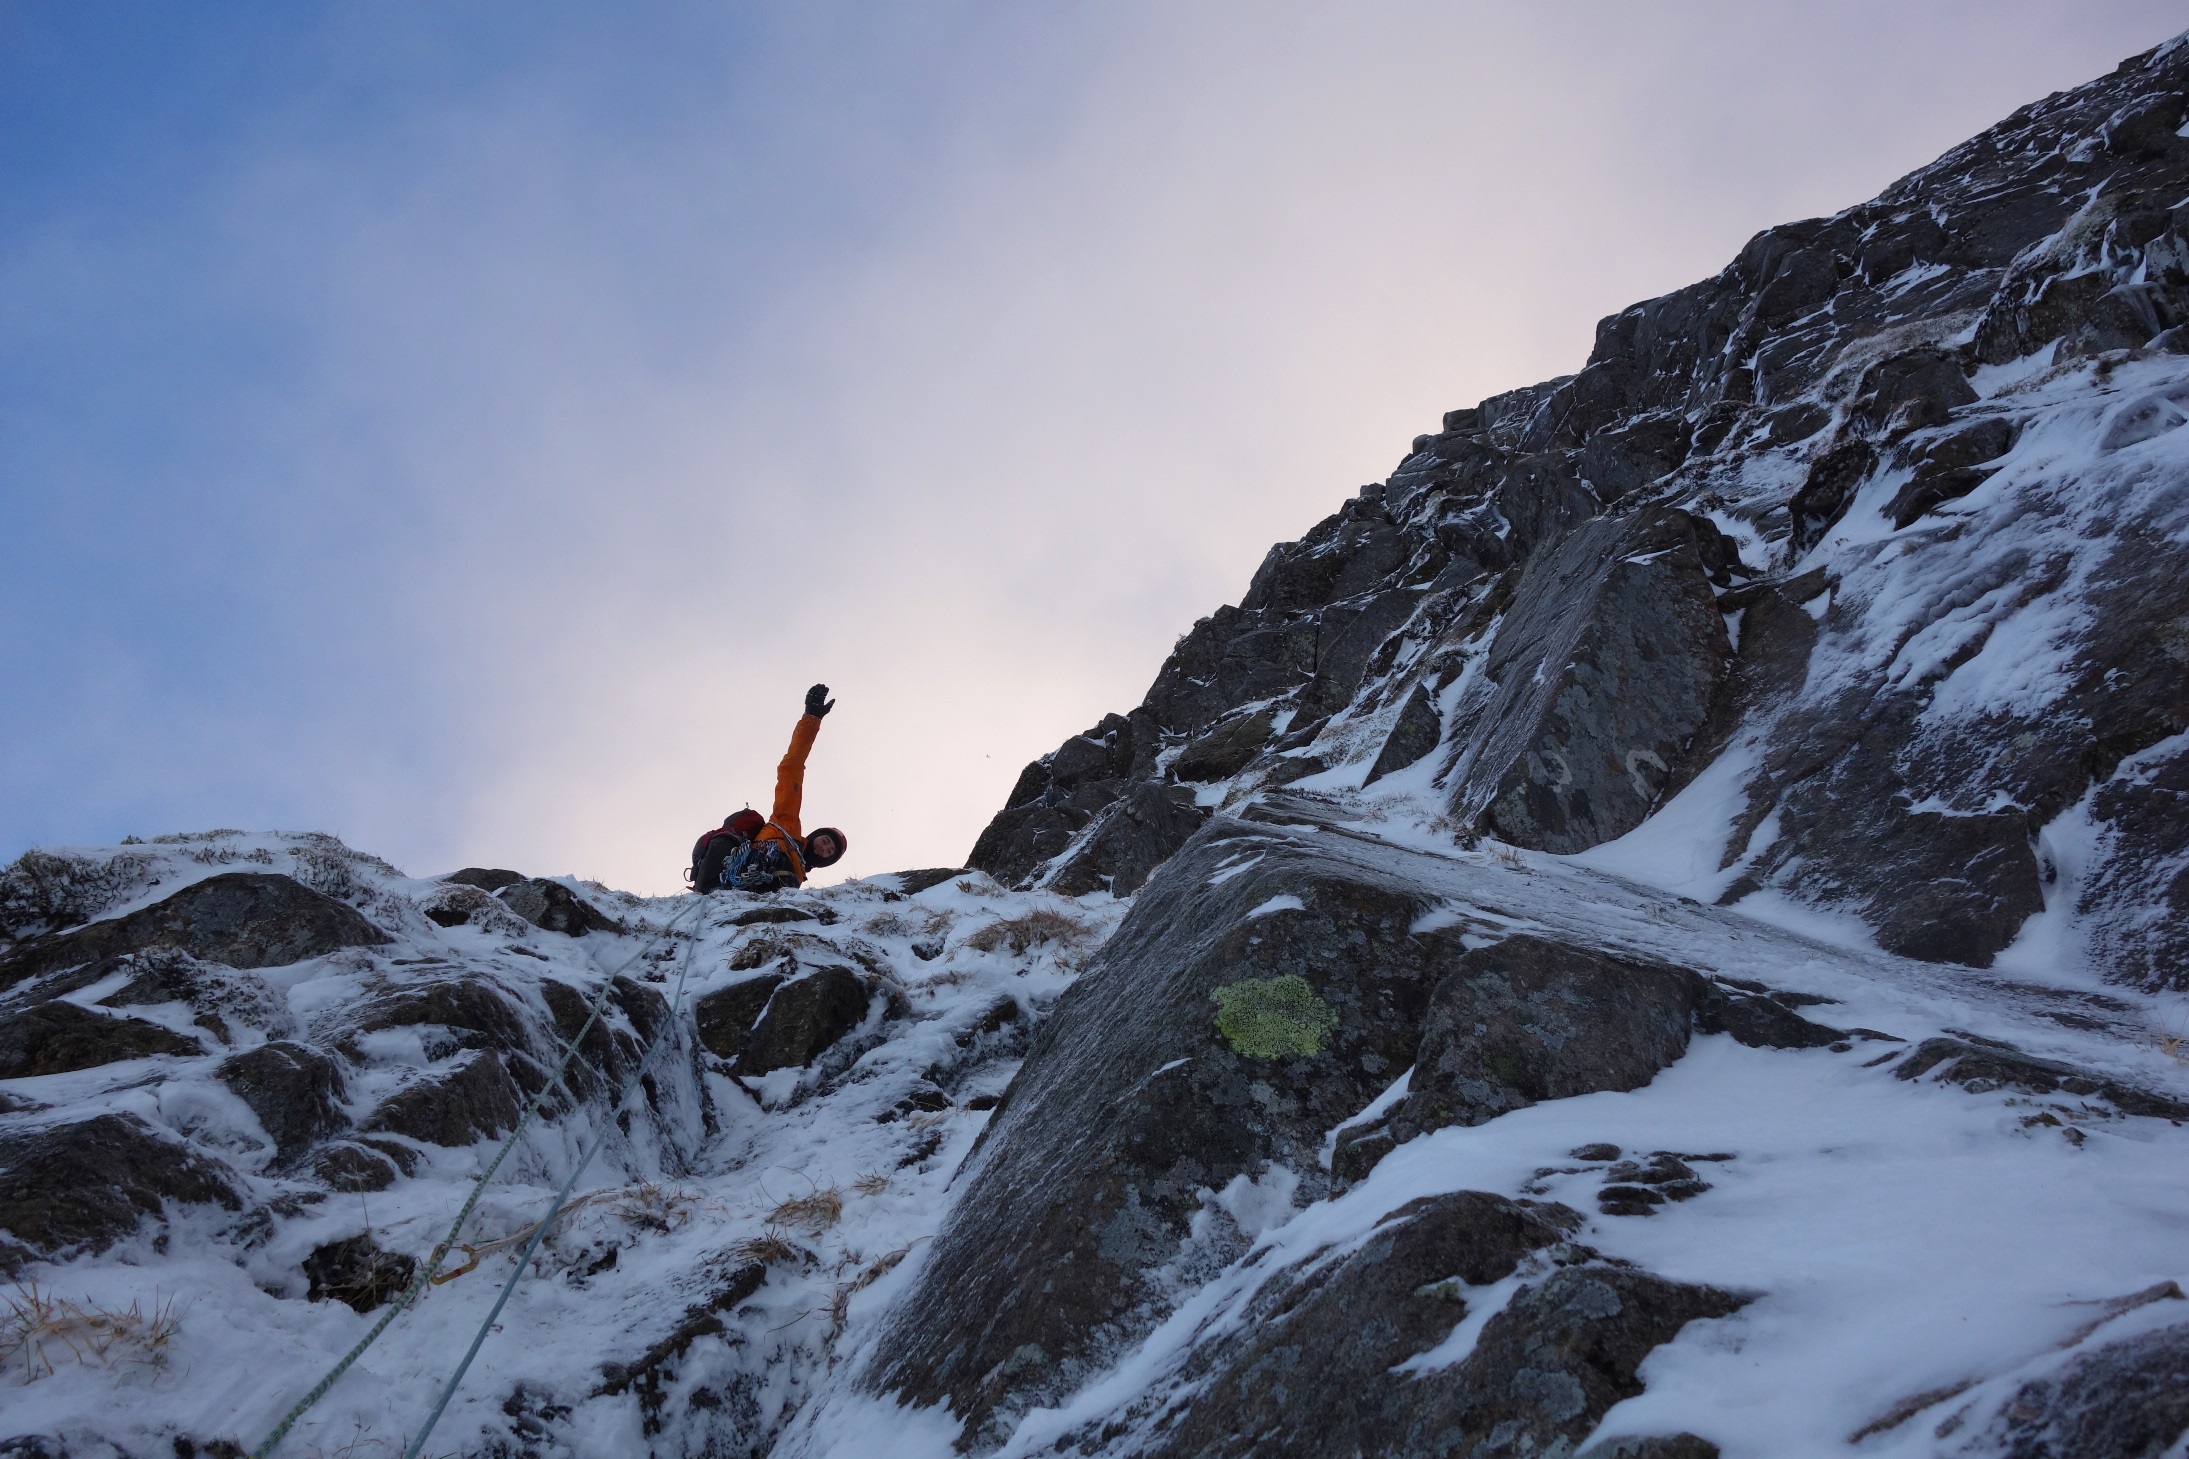
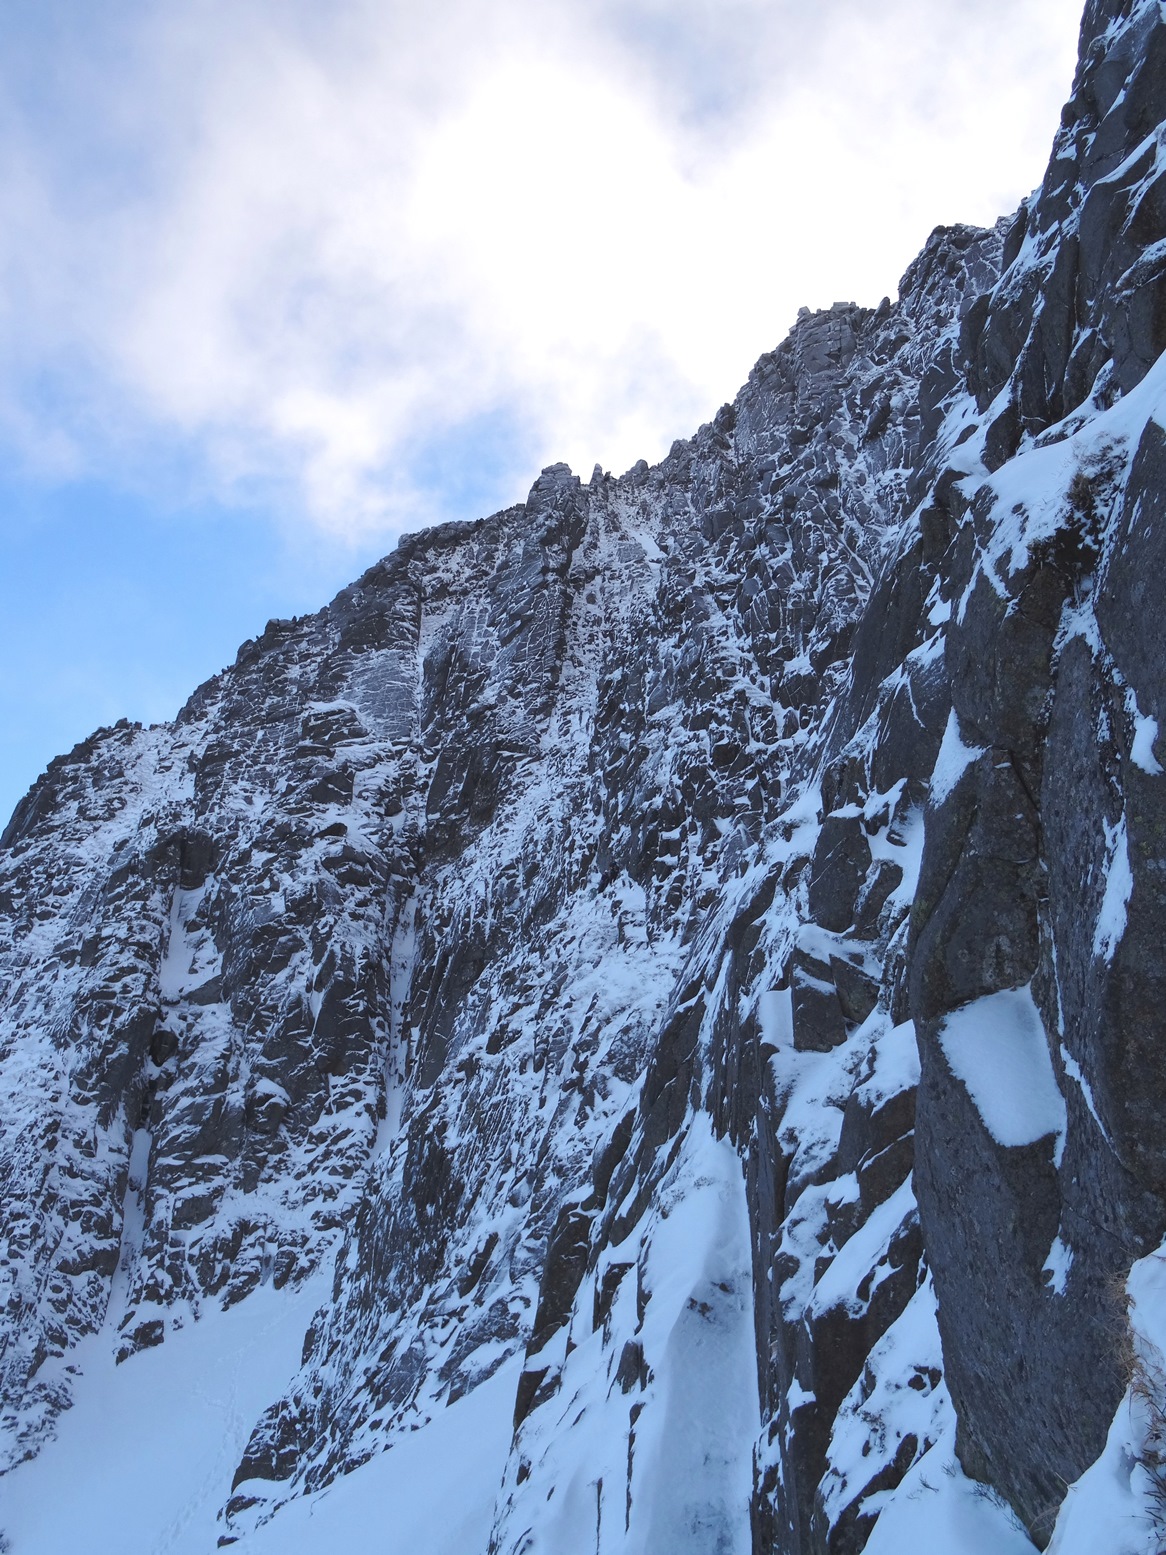
Belayed to a large spike beneath an imposing wall, a lengthy discussion ensued as we tried to match the guidebook’s description to the features we saw above us. The directions were to climb a cracked wall until perched on the leftmost of two teeth, followed by an enigmatic quotation from the first ascensionist, Tom Patey: “flit quickly across a holdless wall to grasp a flake handrail”. We eventually decided to follow the only obvious weakness above us which also seemed to be the most well-travelled.
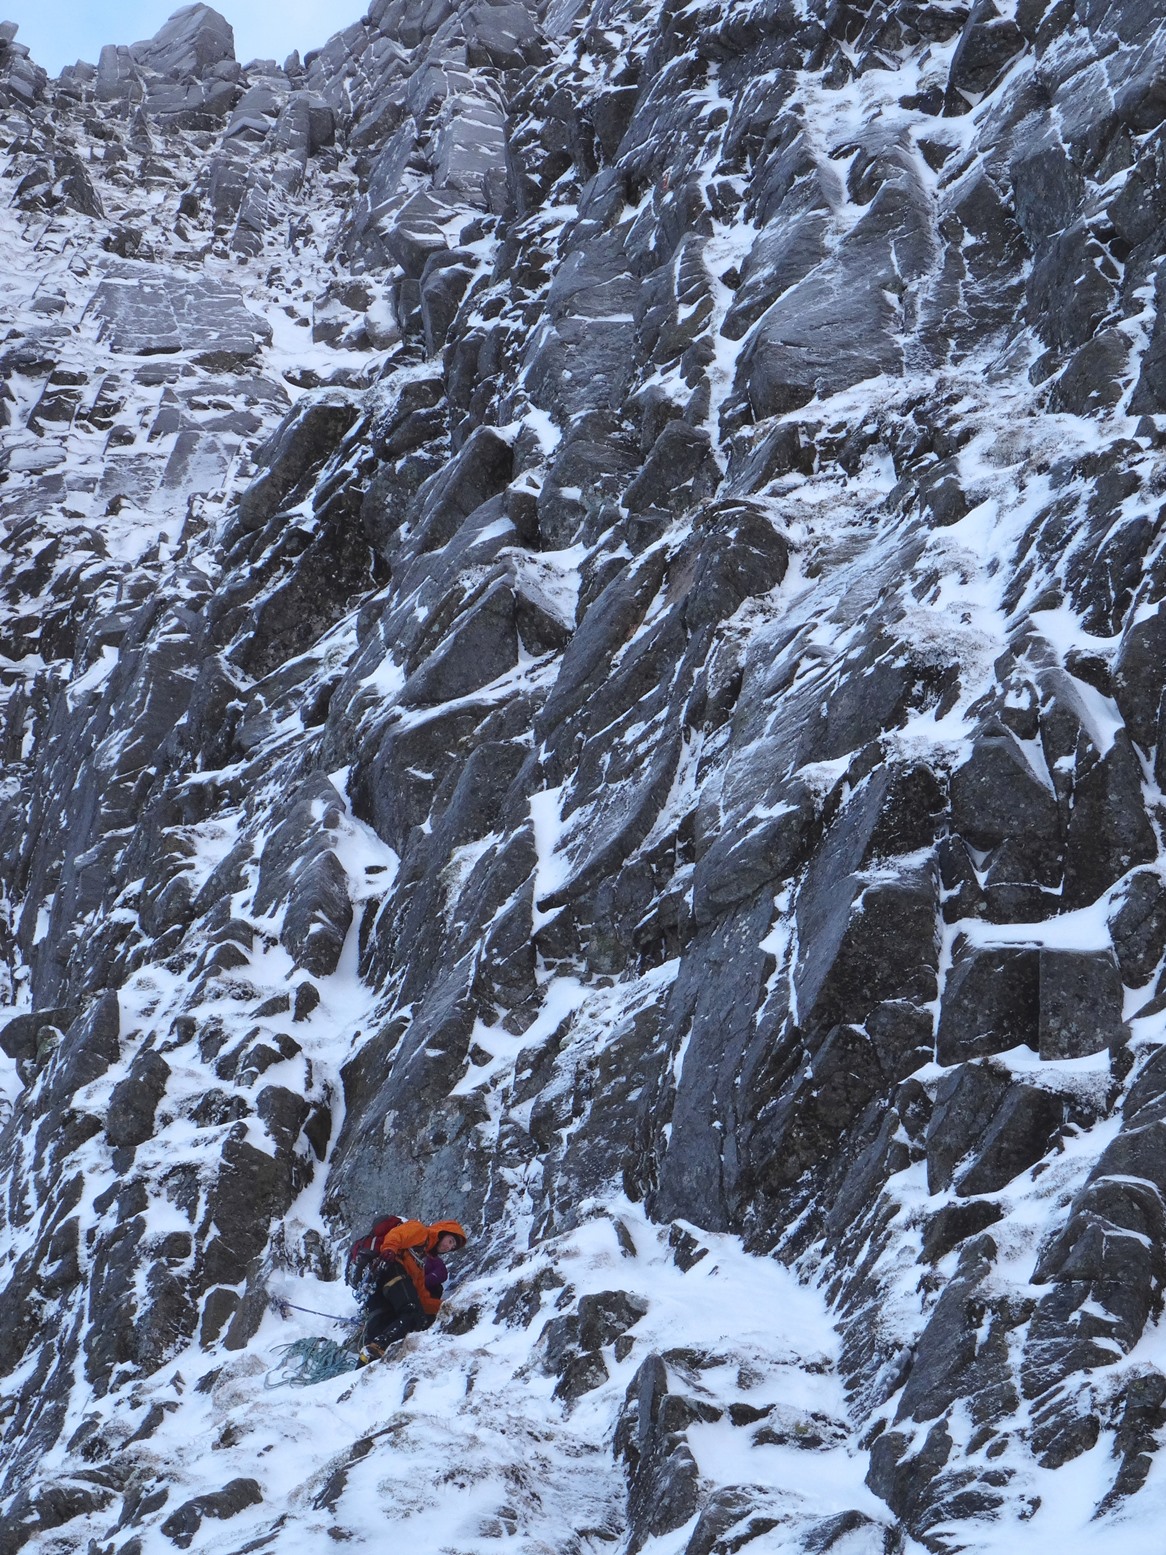

Initially the crux was well-protected and constituted a series of strenuous moves until just below a steep slab with some blobs of turf on its left side. Here the gear dried up and the next sequence entailed a number of lock-offs before being able to rock over onto a poor sloping foothold on the slab. A few delicate run-out moves later and I deposited myself on the ledges above. Having used my small wires below, I had to hammer in a piton to supplement the one rusting in-situ and then brought a grinning Debs up to the belay.
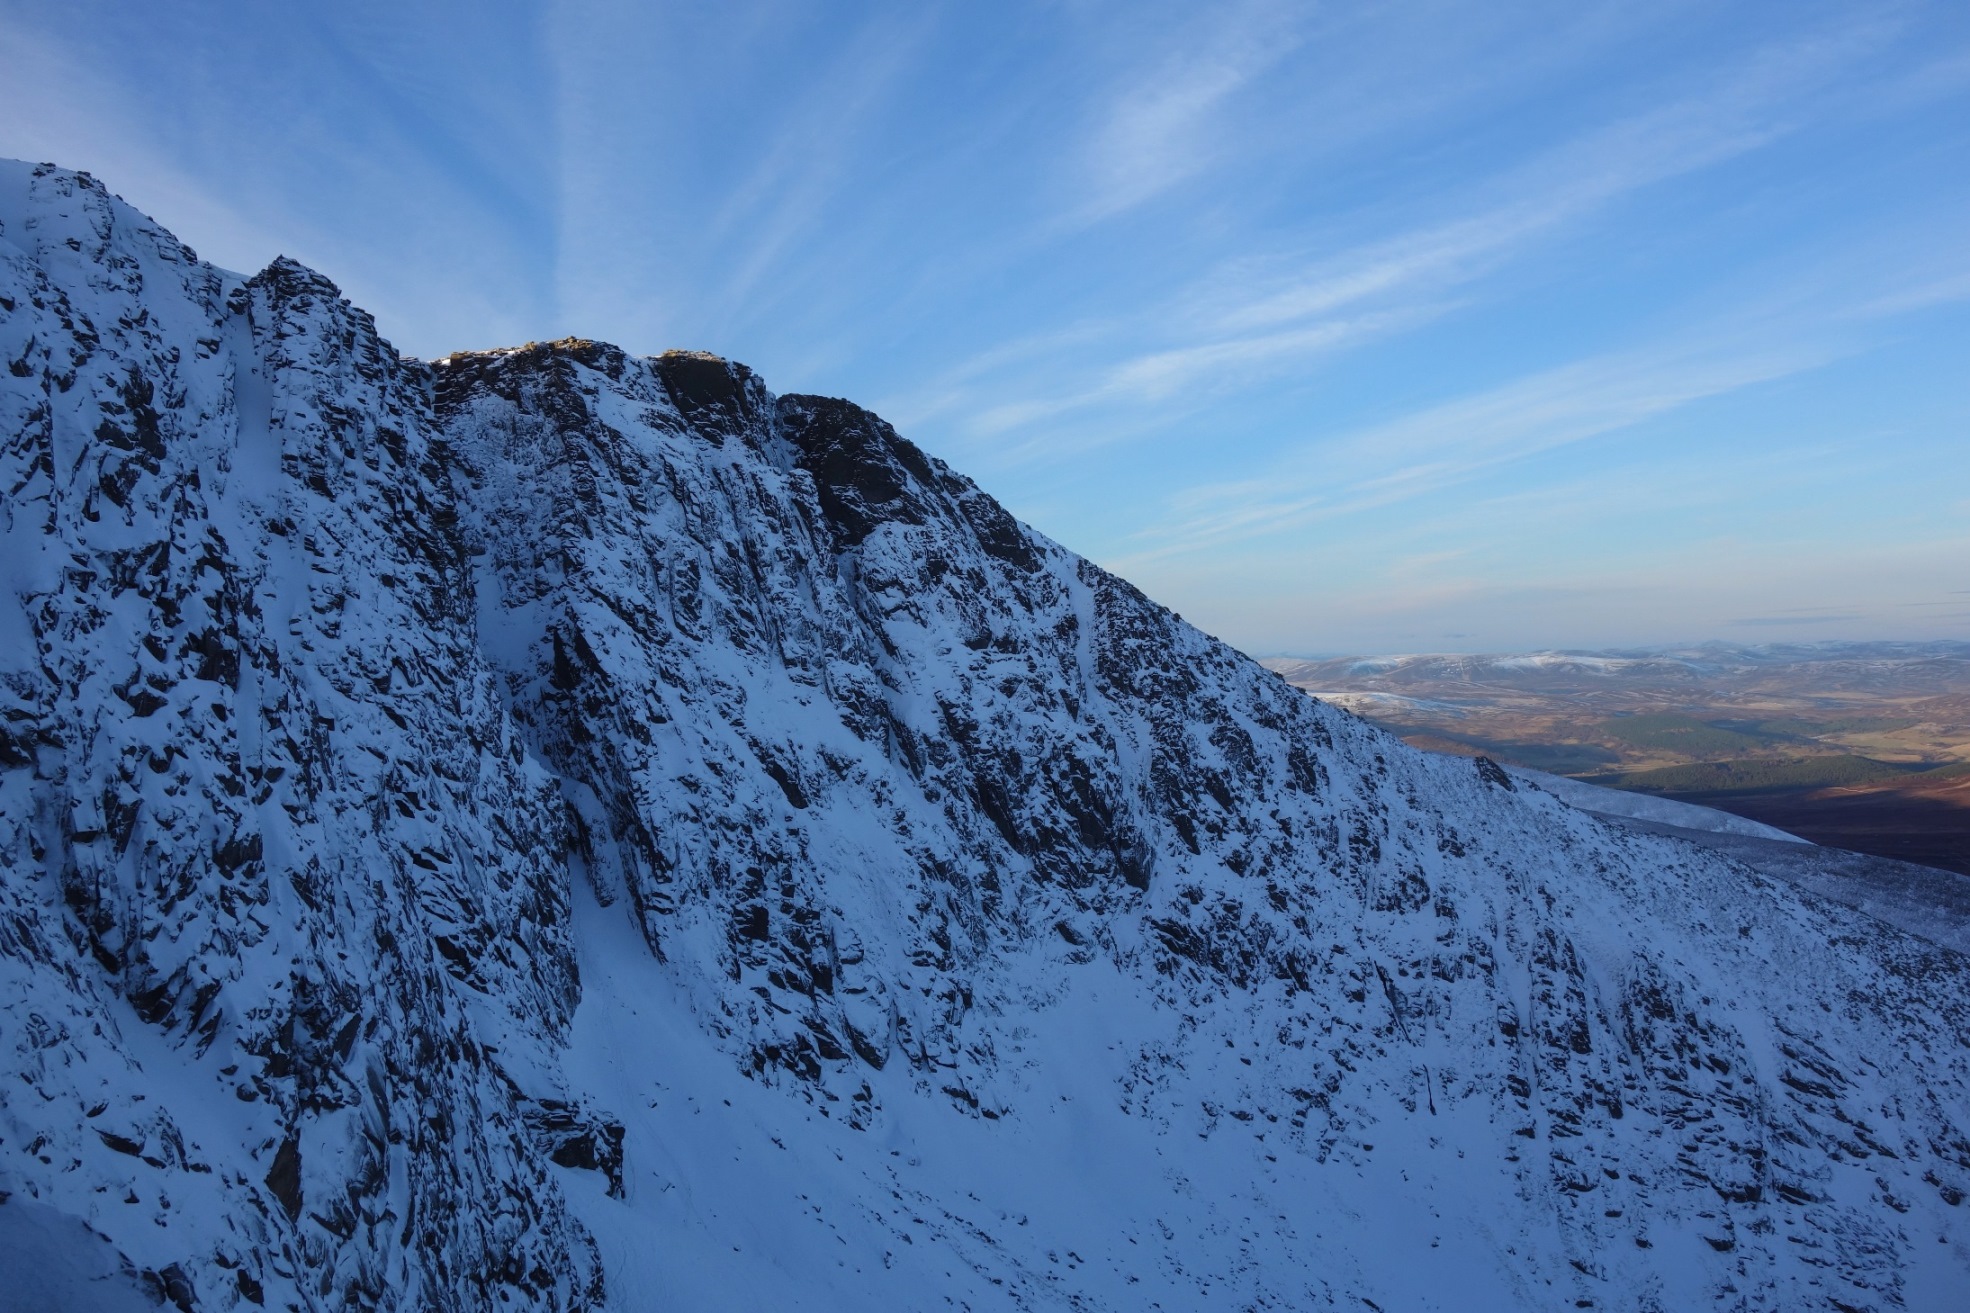
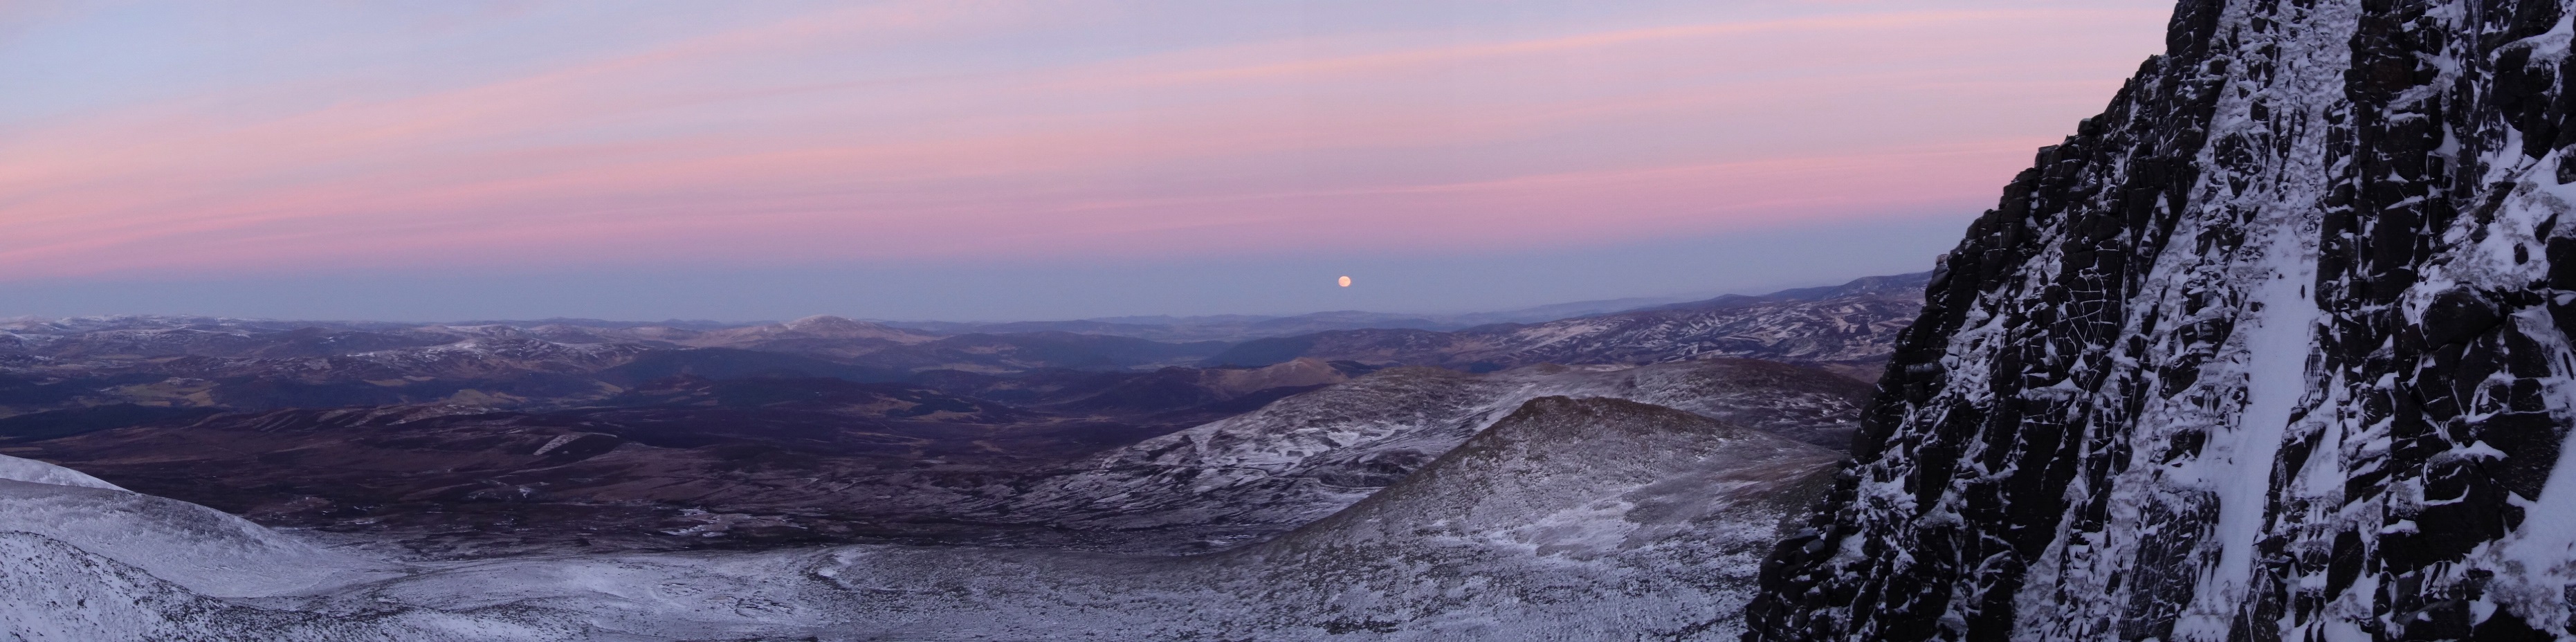
After some precarious and exposed moves overlooking the gully below, the angle eased off and we found ourselves presented with an enjoyable looking series of walls and towers leading up towards the plateau rim. The next three rope lengths were a superb grade III ridge climb in their own right, providing stunning situations and climbing that was interesting but never taxing.
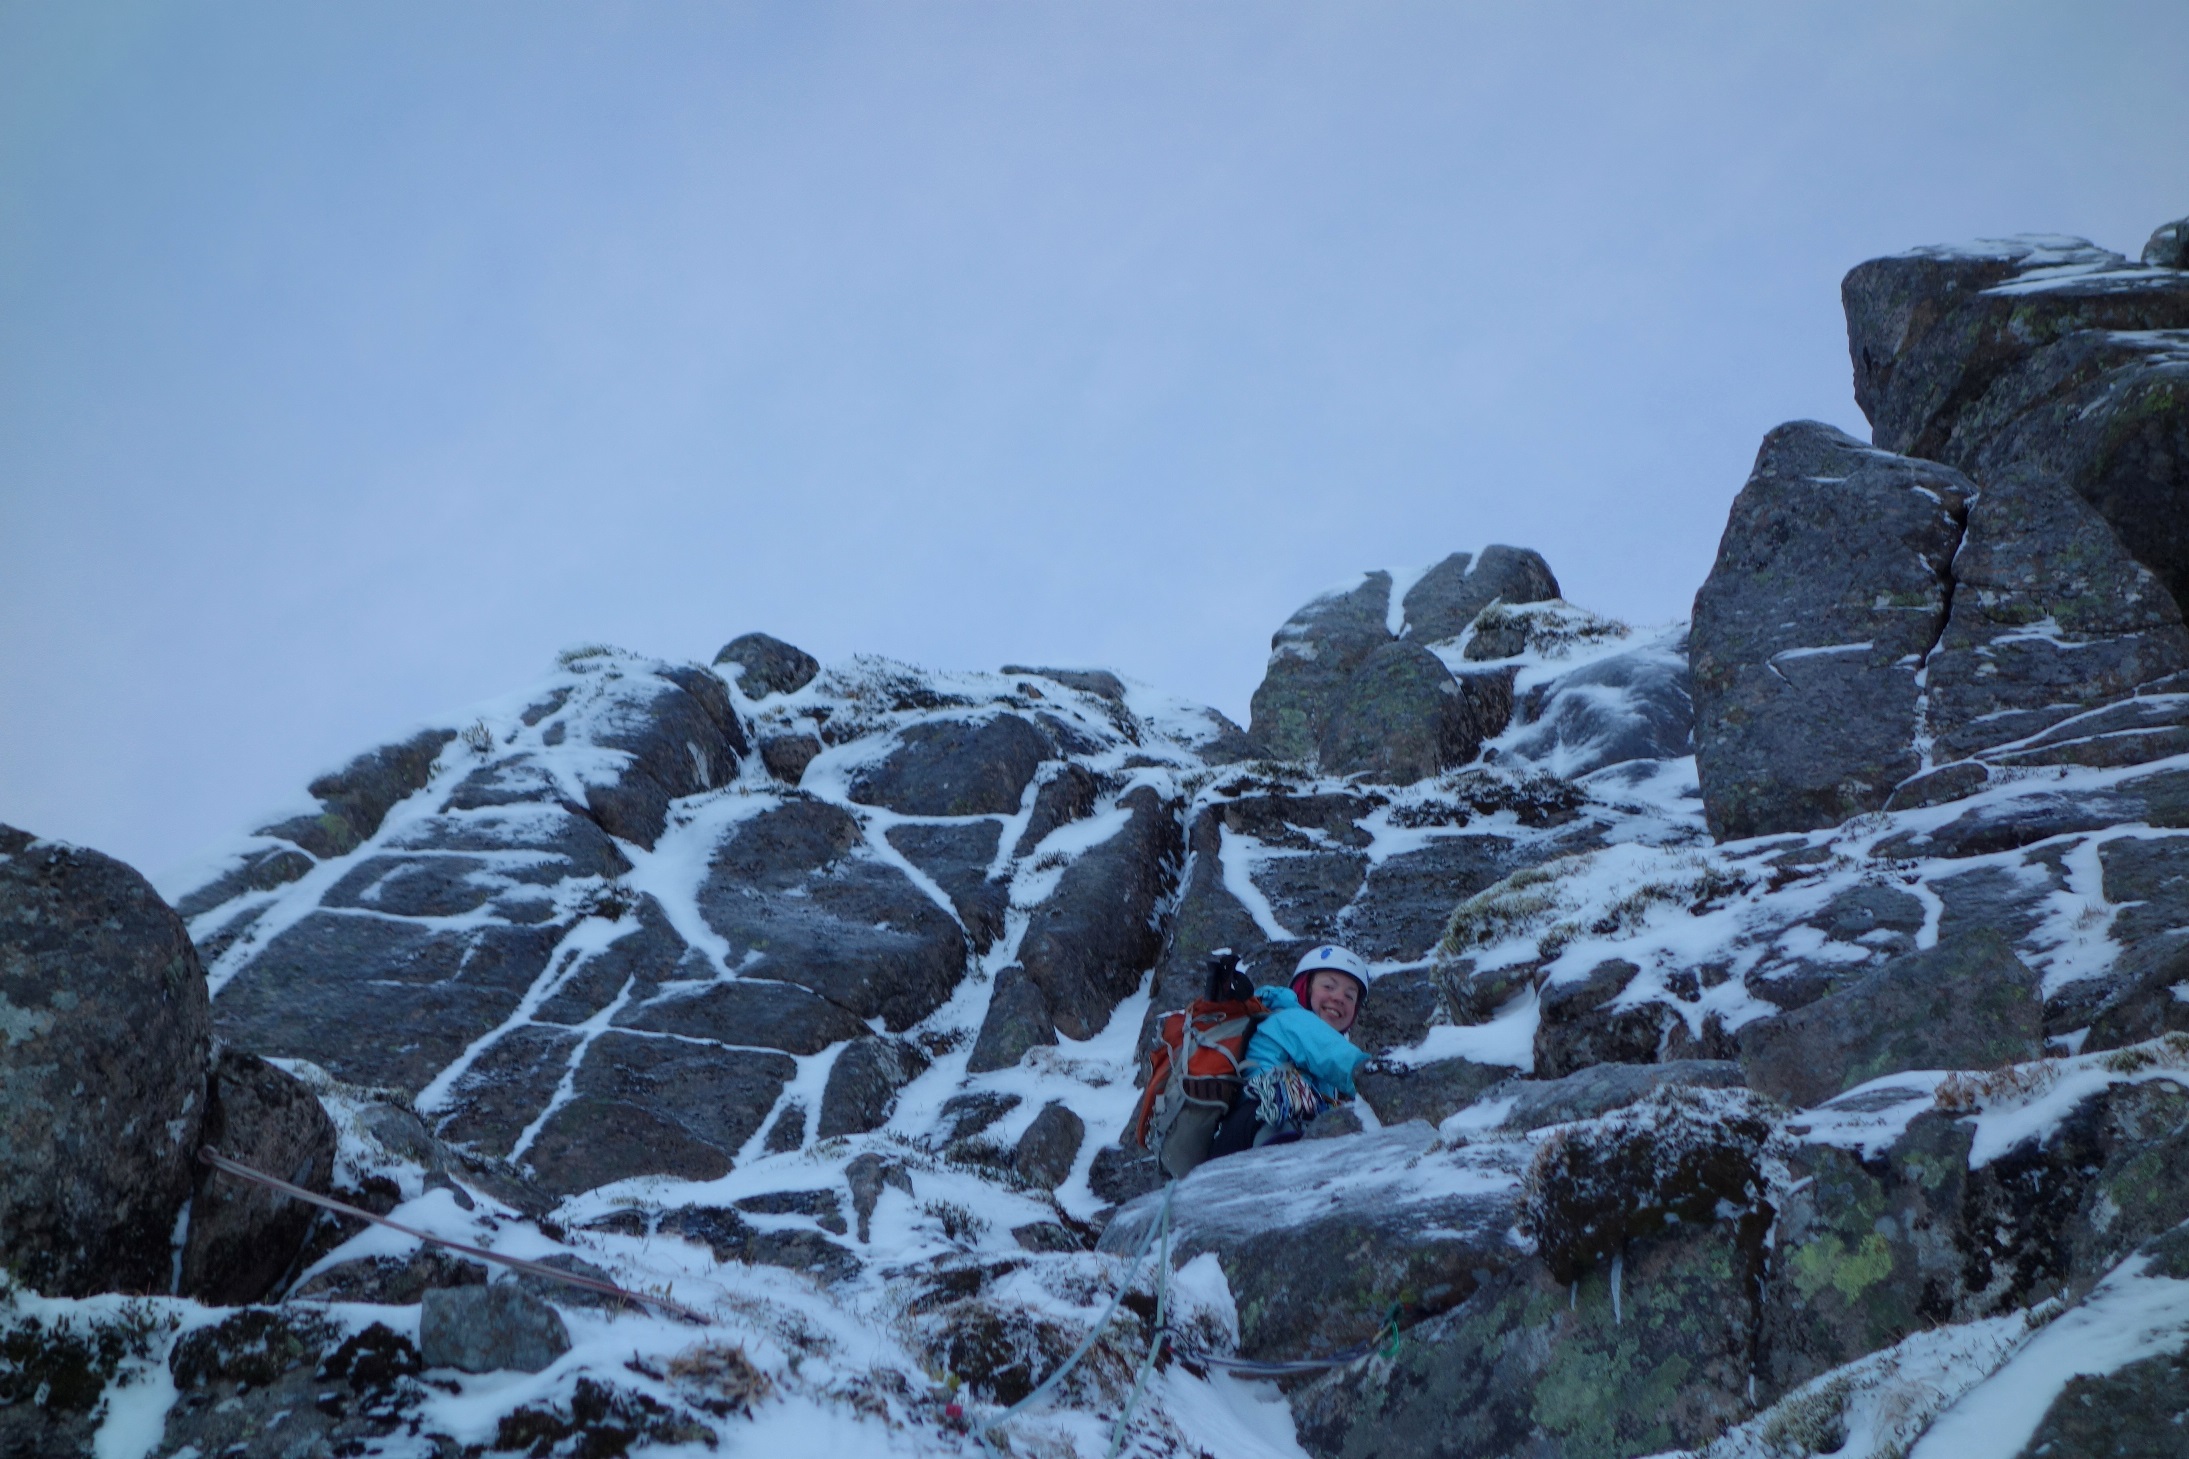
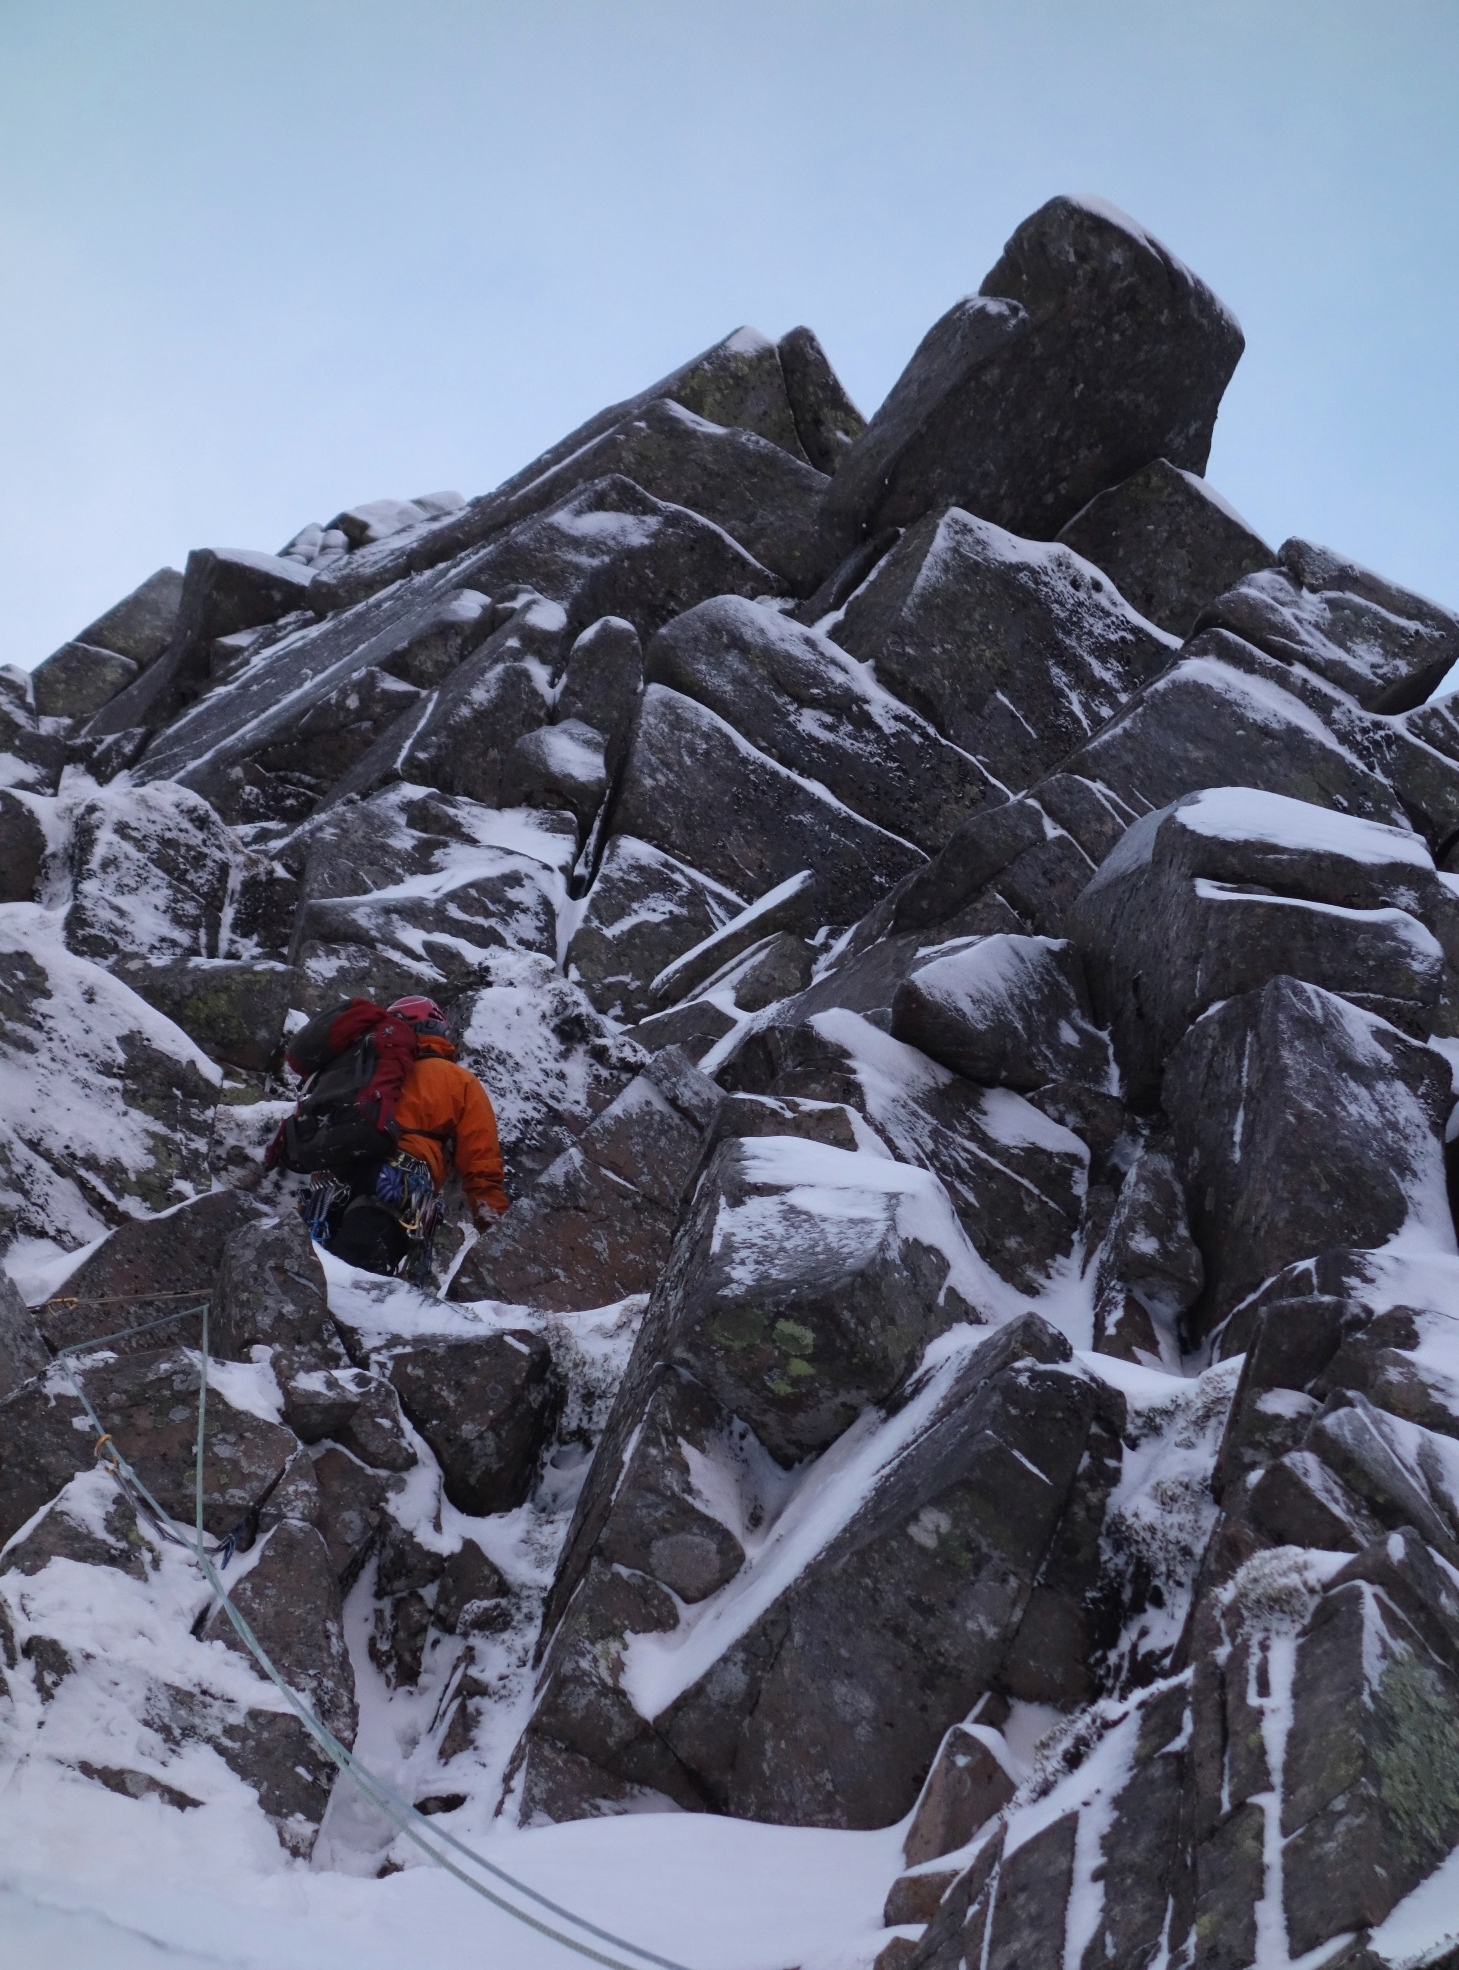
Darkness caught up with us during the last pitch, but not before we were treated to a spectacular moon rise over Deeside. The perfect end to great route!
Looks like Eagle Ridge should be next on the list!