It All Came Together on The Hoarmaster and The Message: Photo Gallery
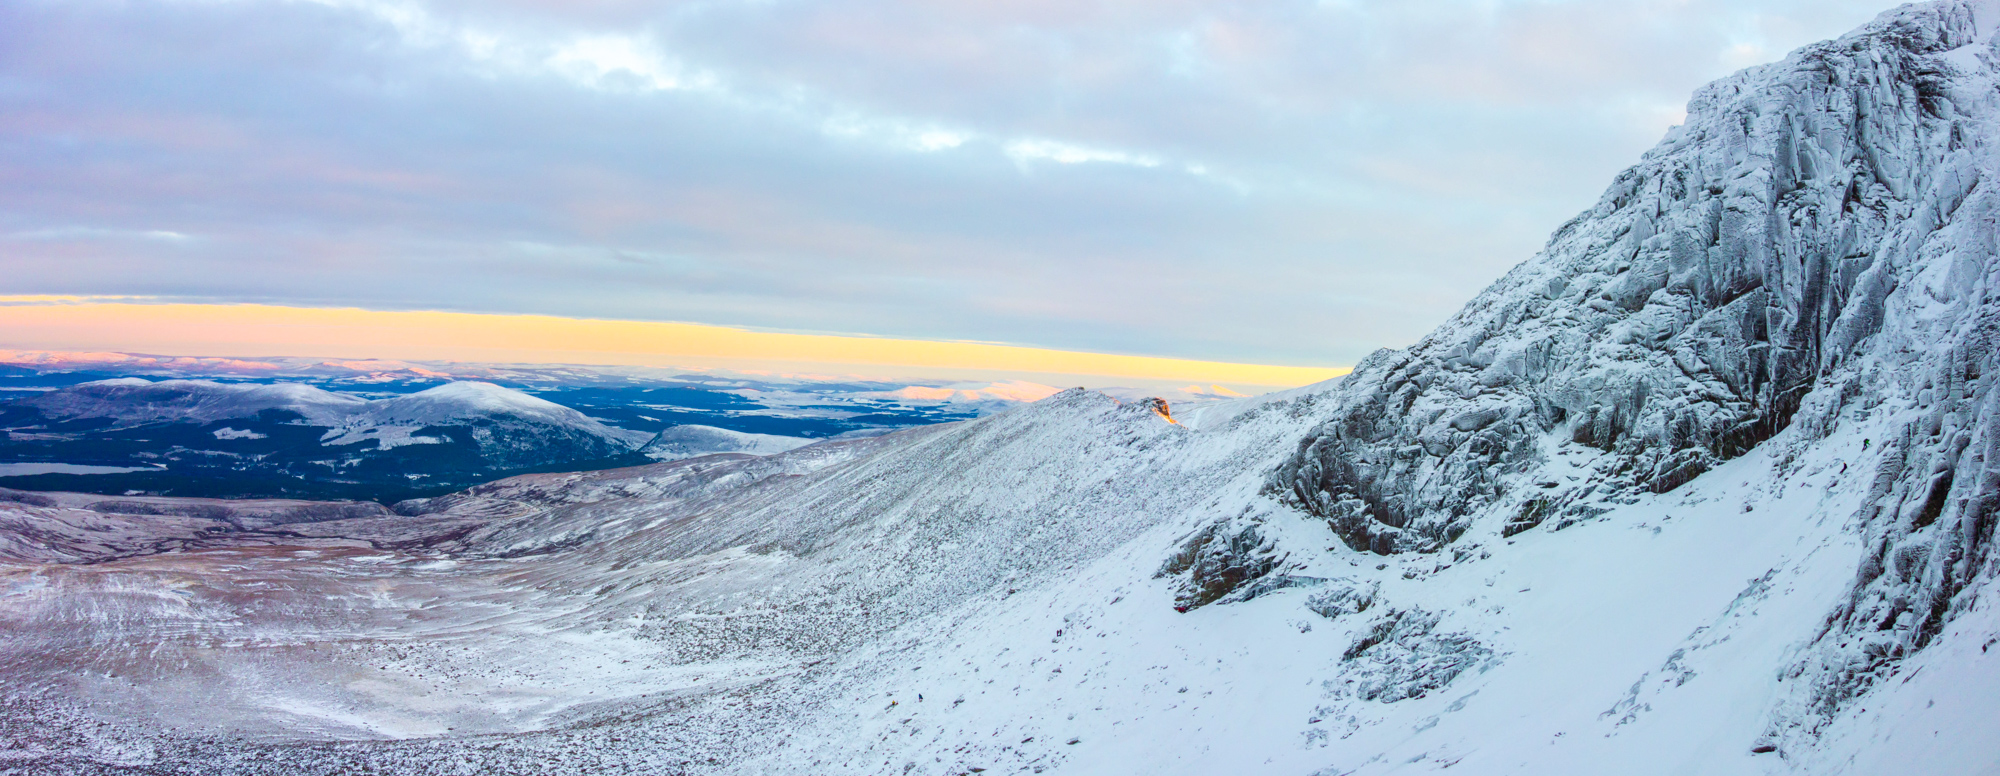
It’s gonna be a good ‘un! Lovely dawn light and breaking clouds greeted us at the base of the crags. Photo credit: Paul Gibbison
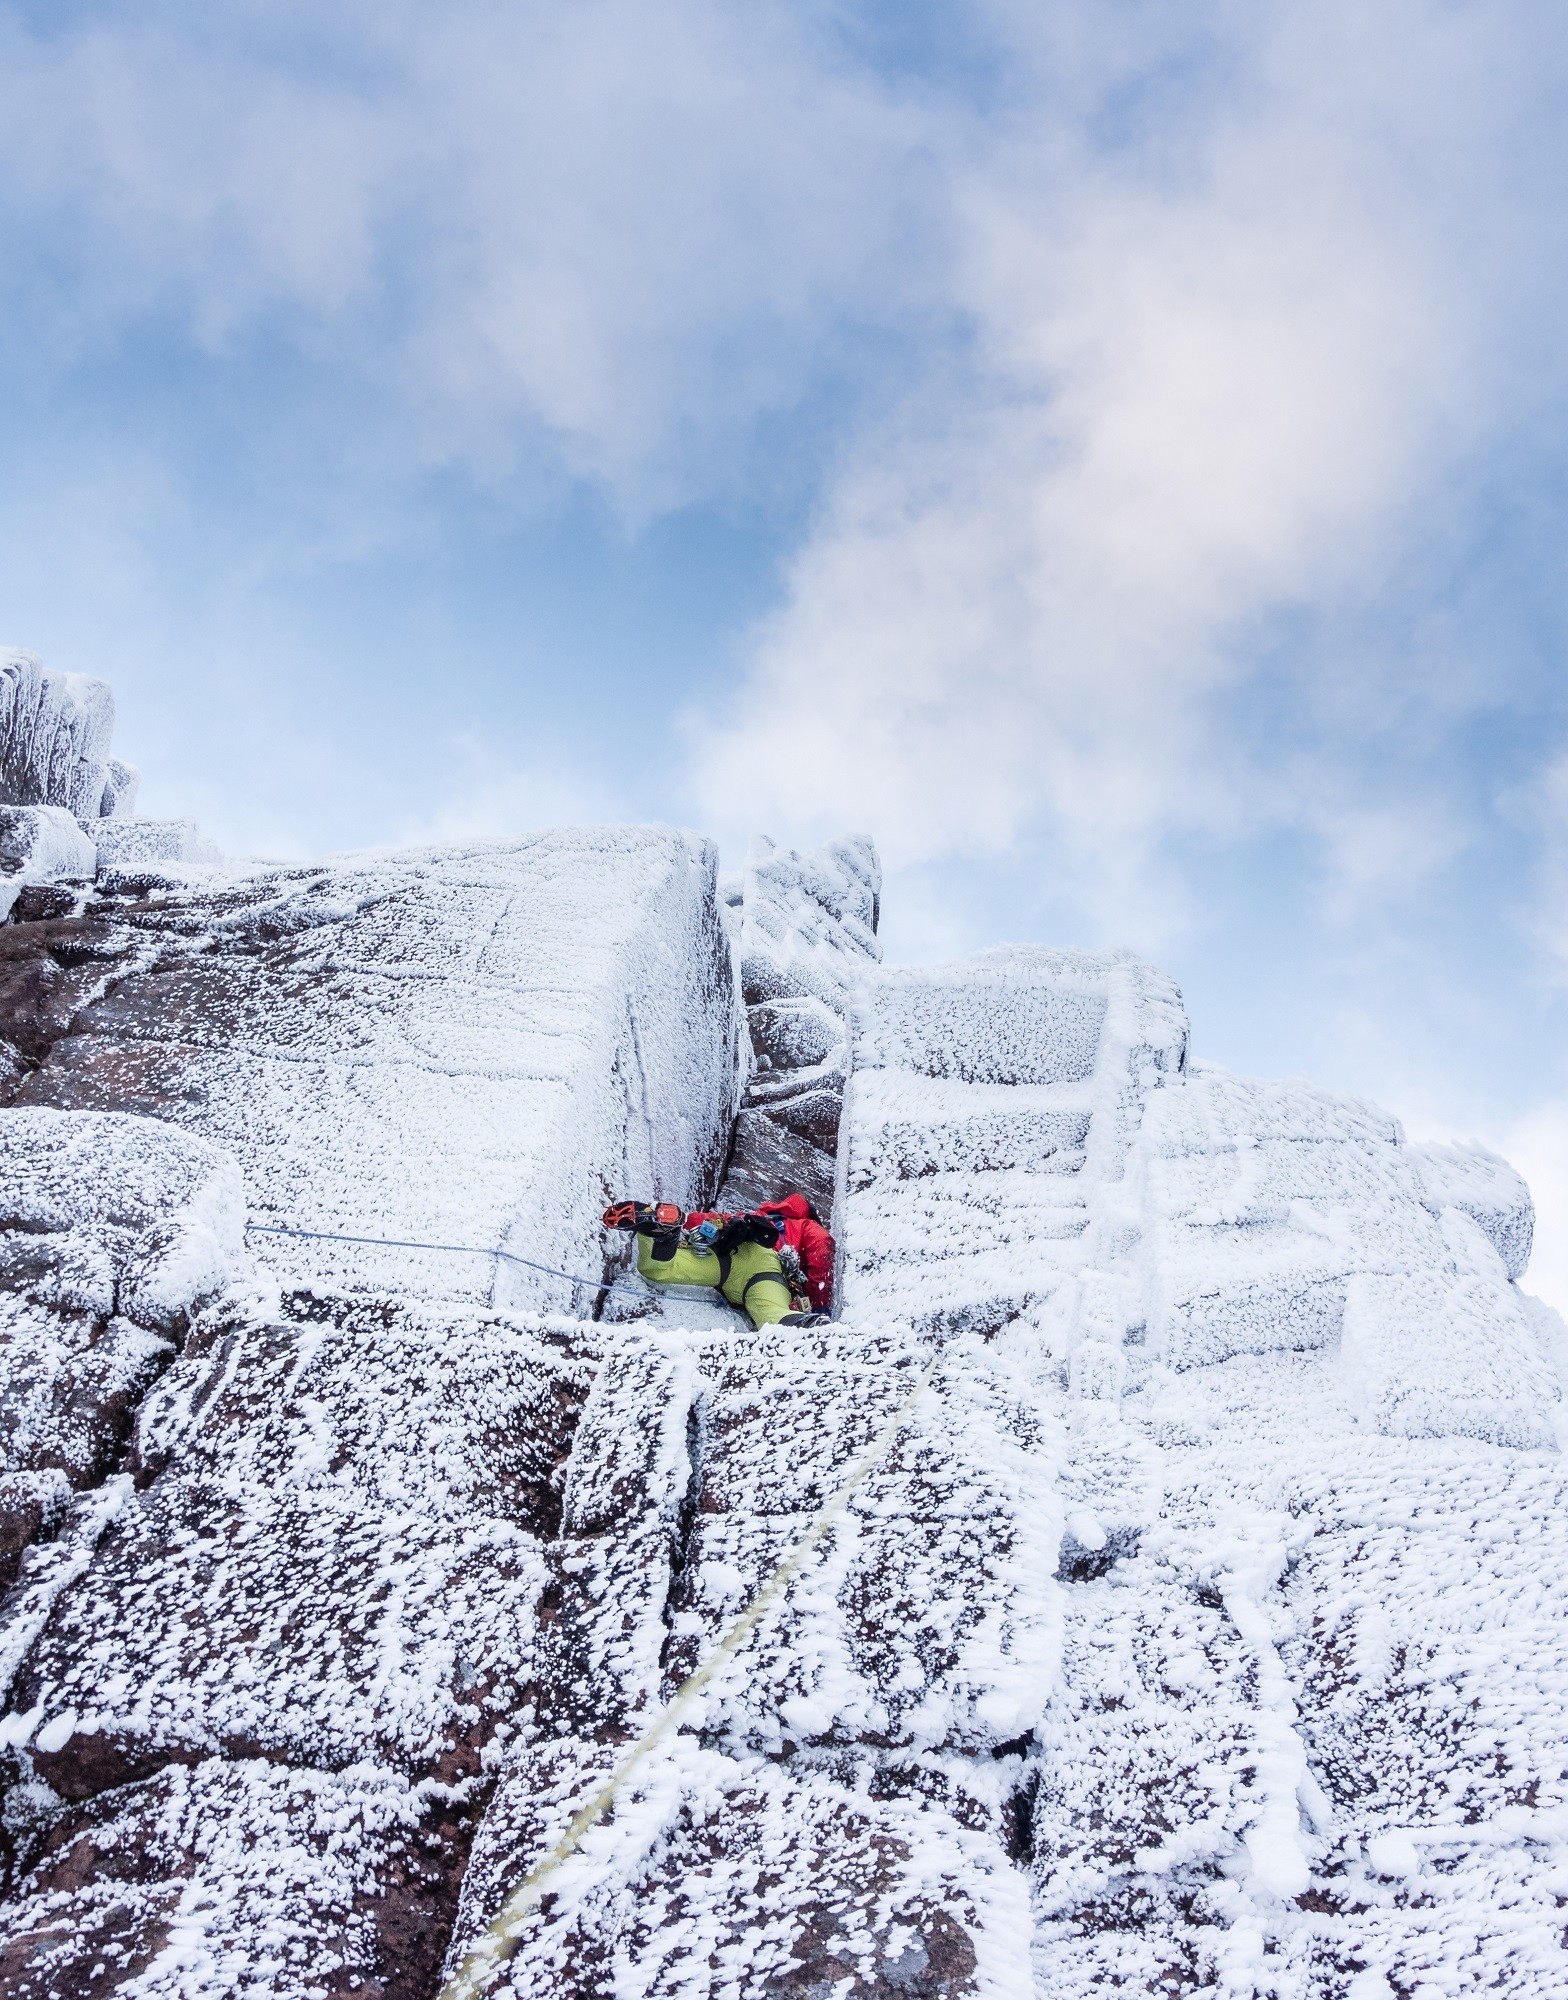
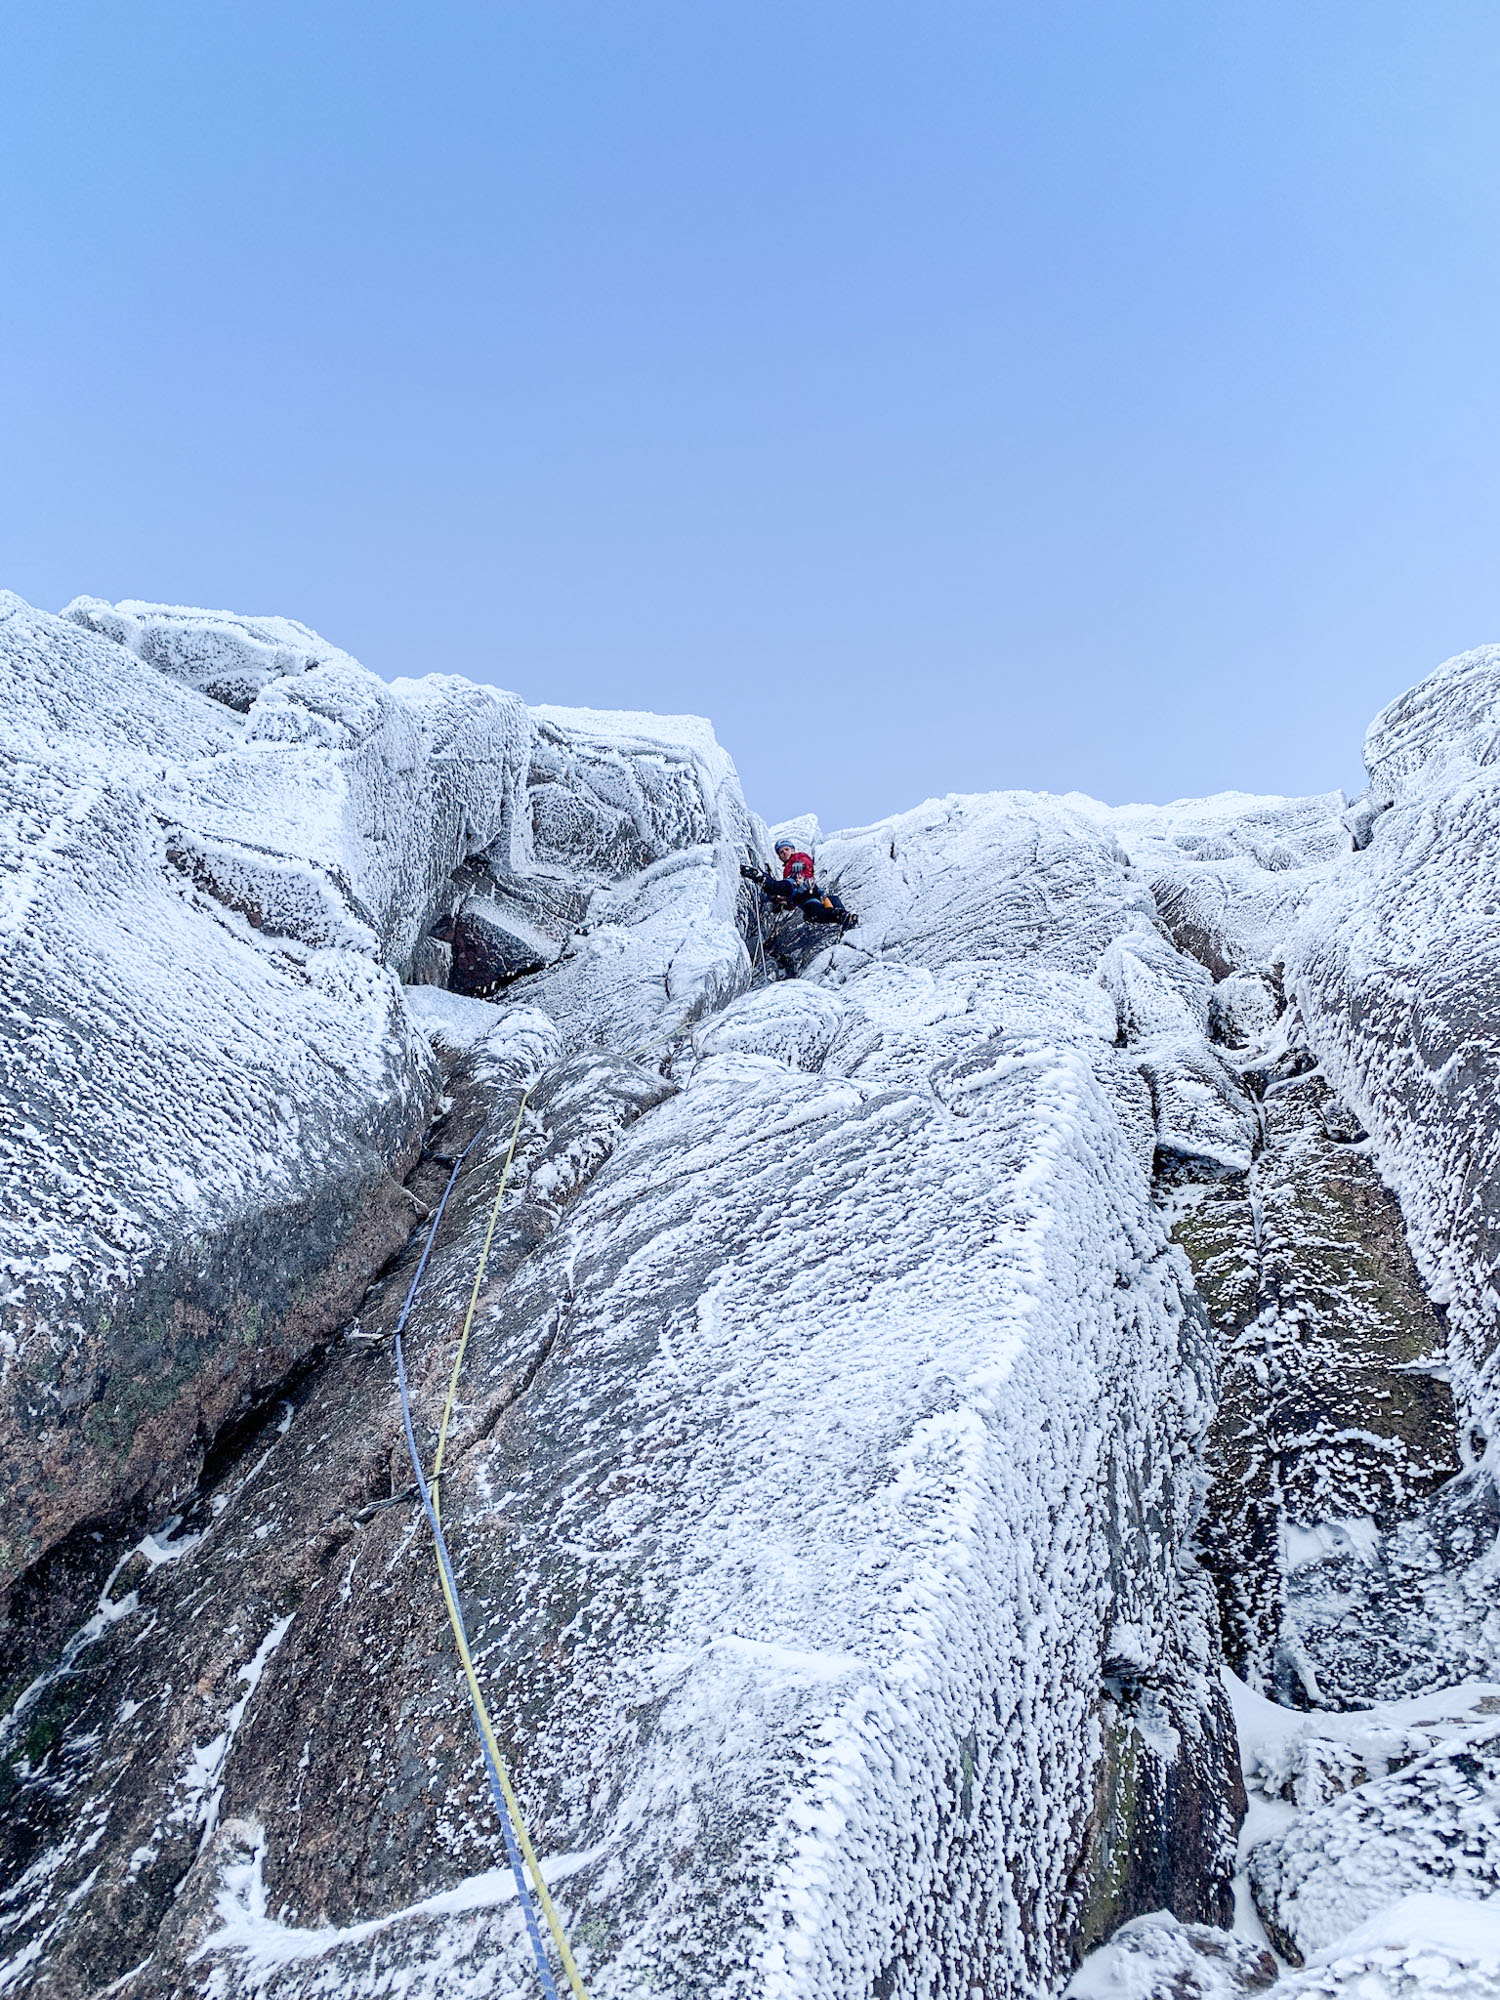
Joe frogging himself into the start of the chimney – one of the trickier sections dispatched in style!
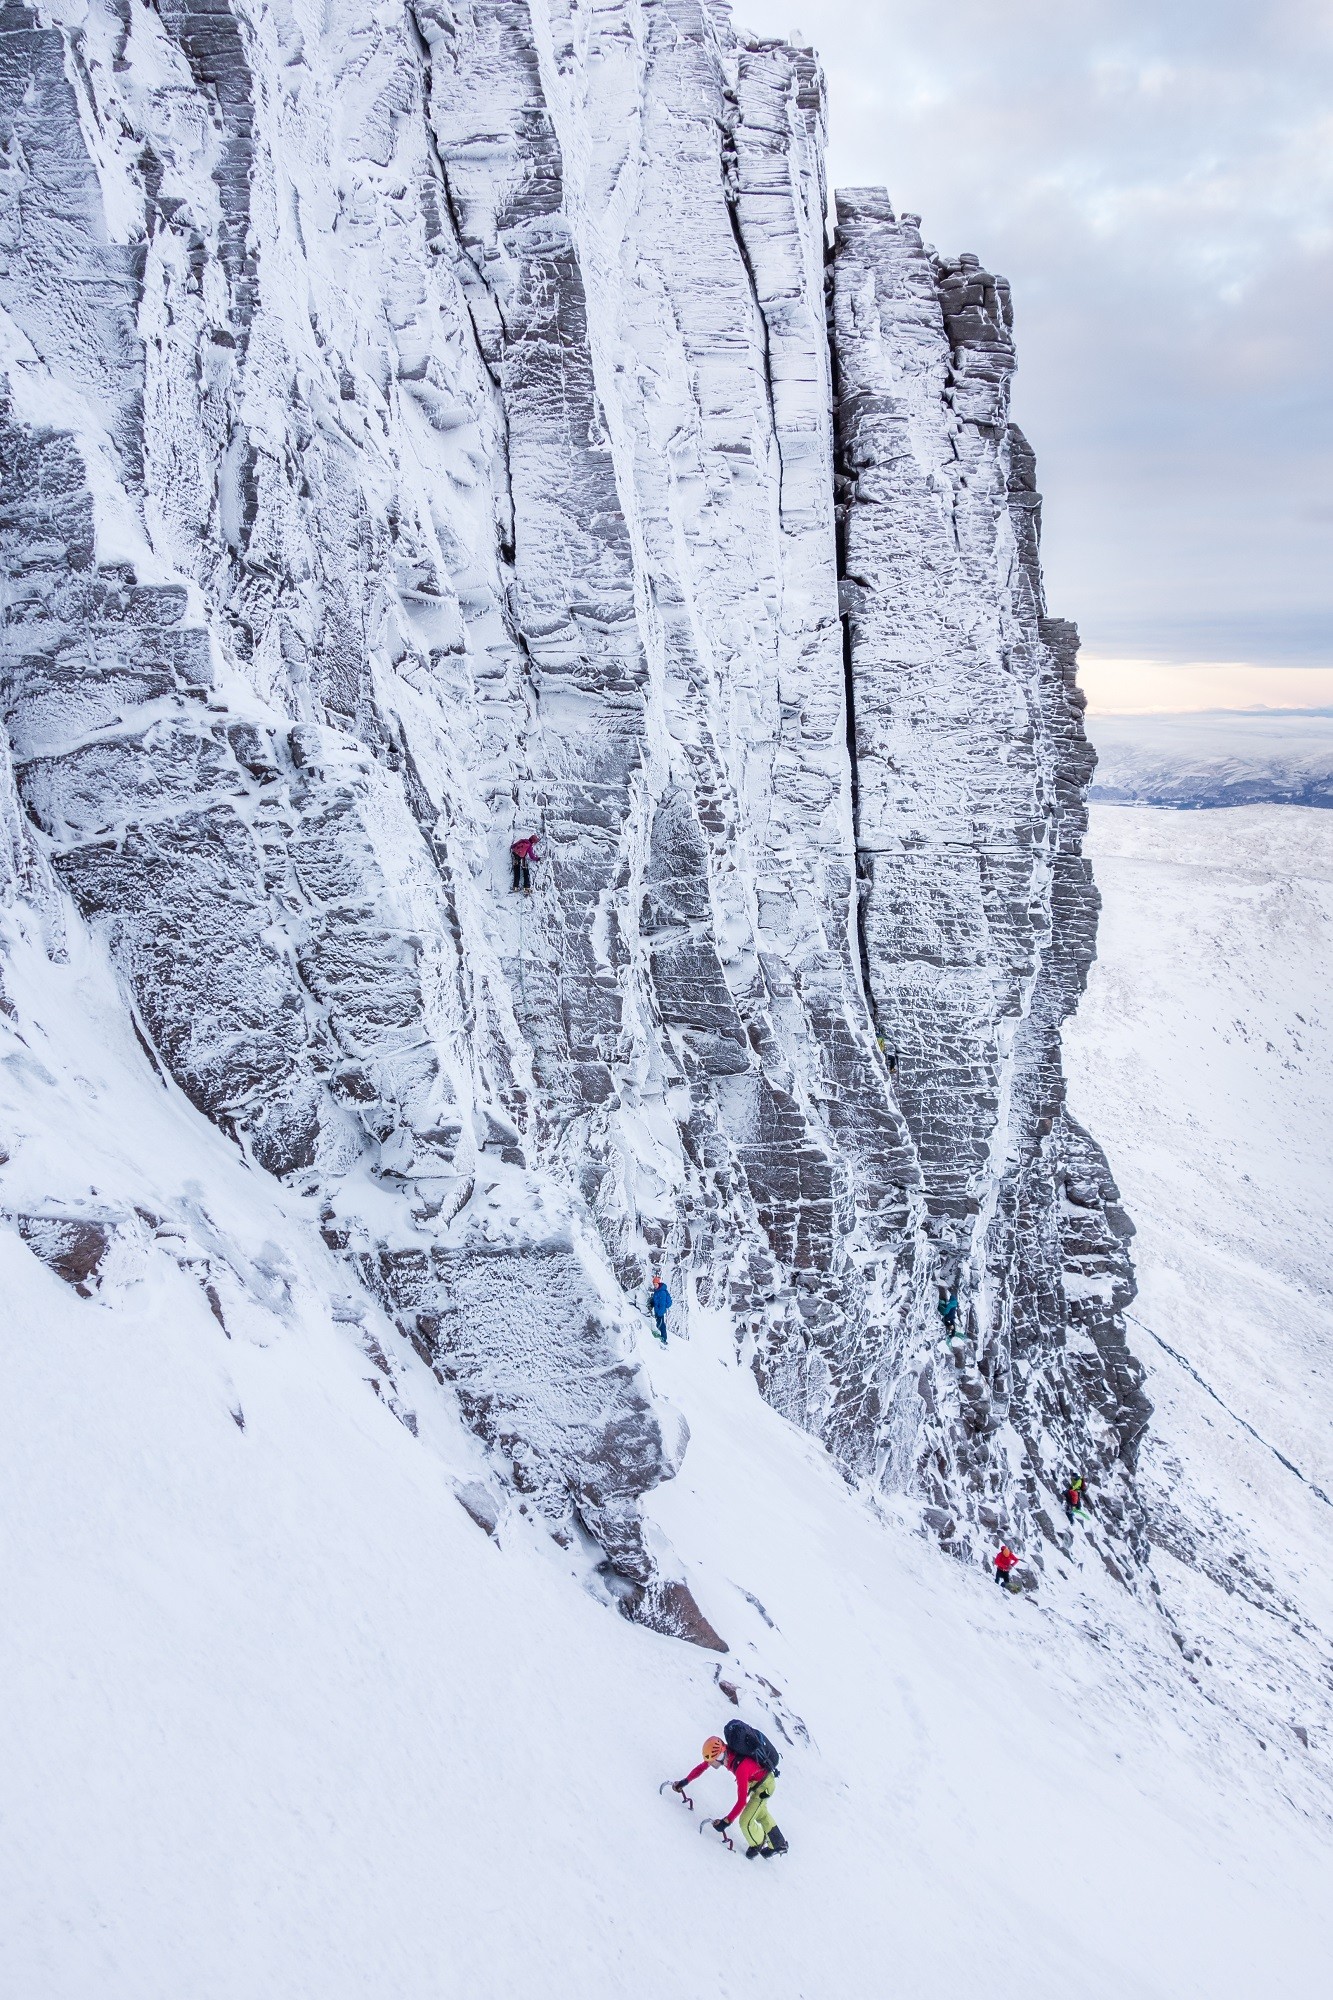
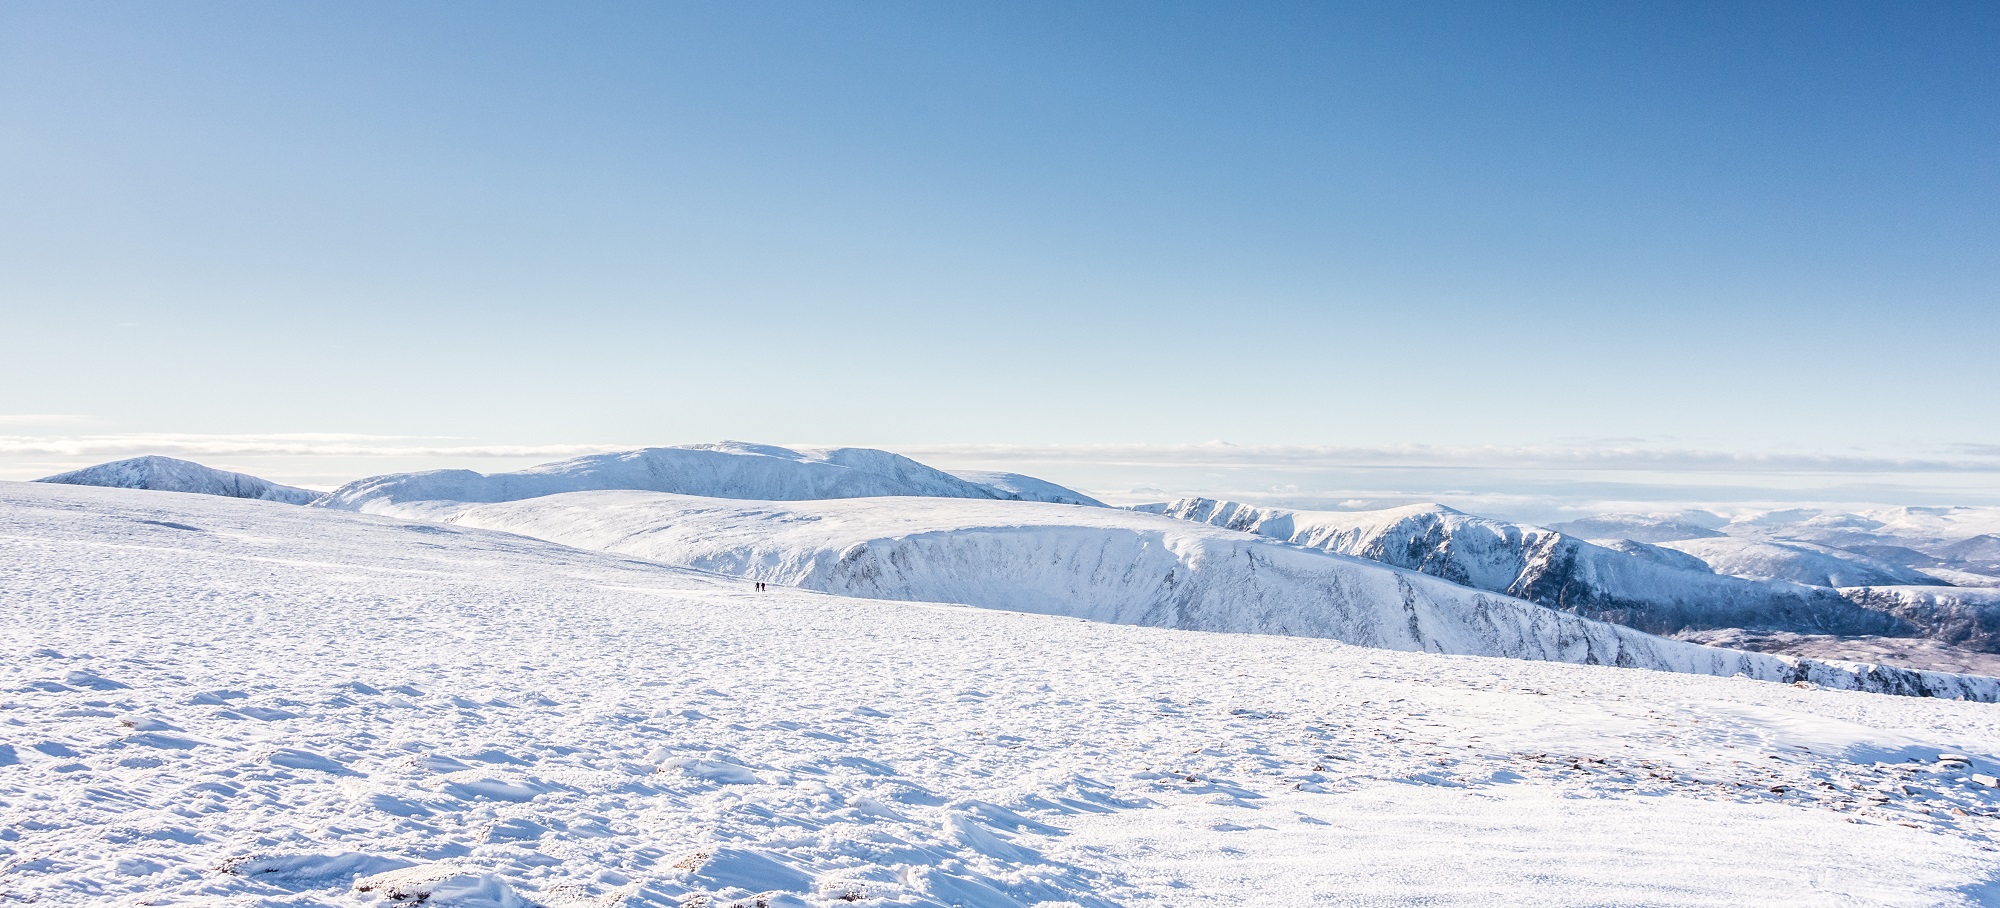
The view from Hoarmaster – Katie and Flavio enjoying the excellent conditions and quality climbing on Deep Throat and Savage Slit
Joe ensconced in the back-and-foot section of the chimney, where improving footholds on the right wall allow a moment of respite!
All ‘go’ in Lochain as a colourful climber motors up to the start of the Y-gully pinnacle to climb The Gathering
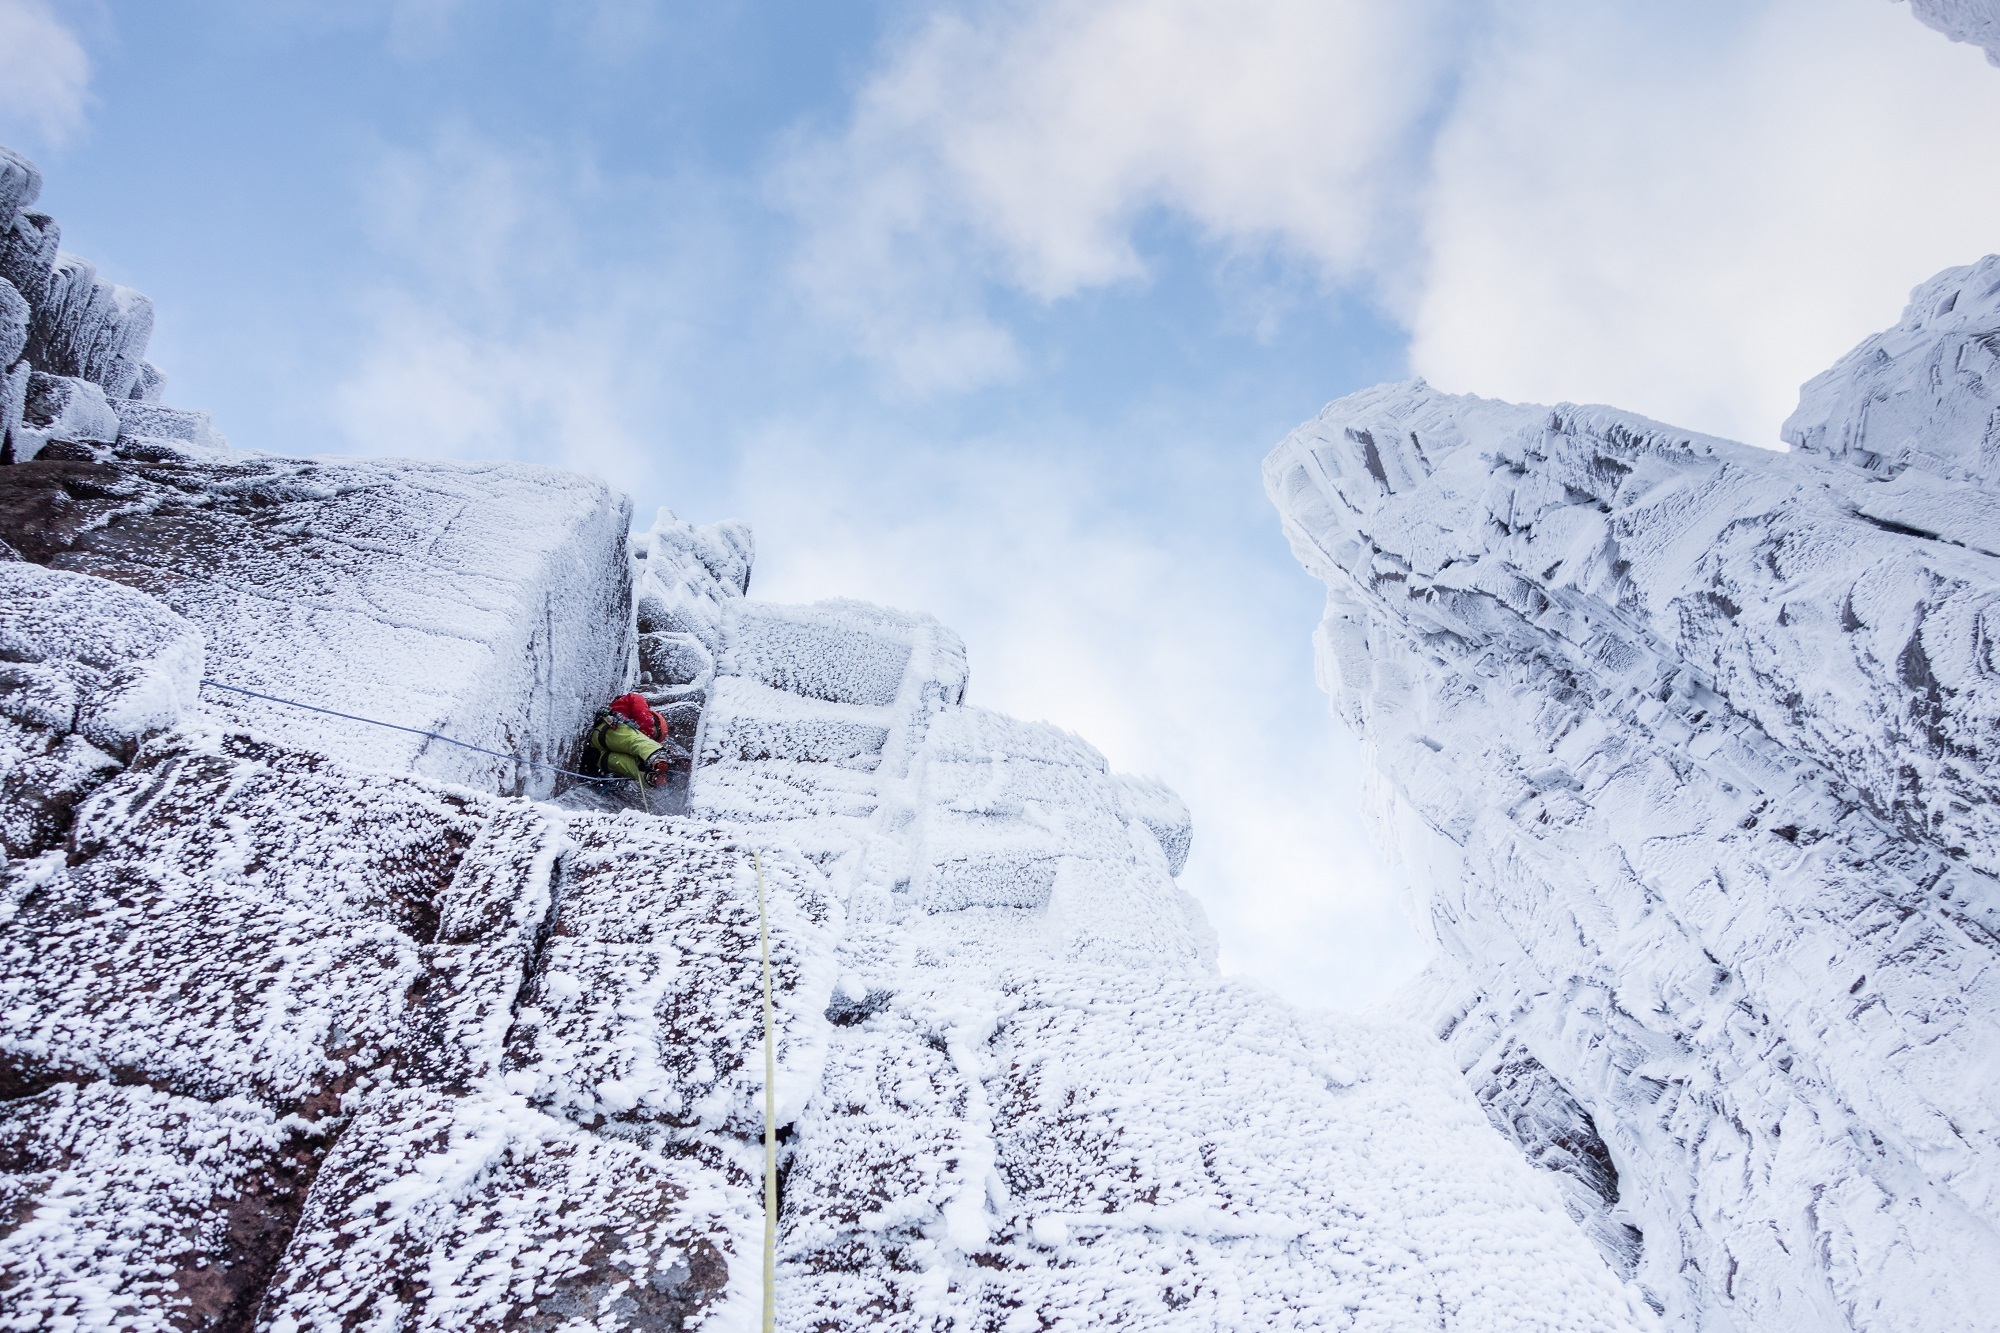
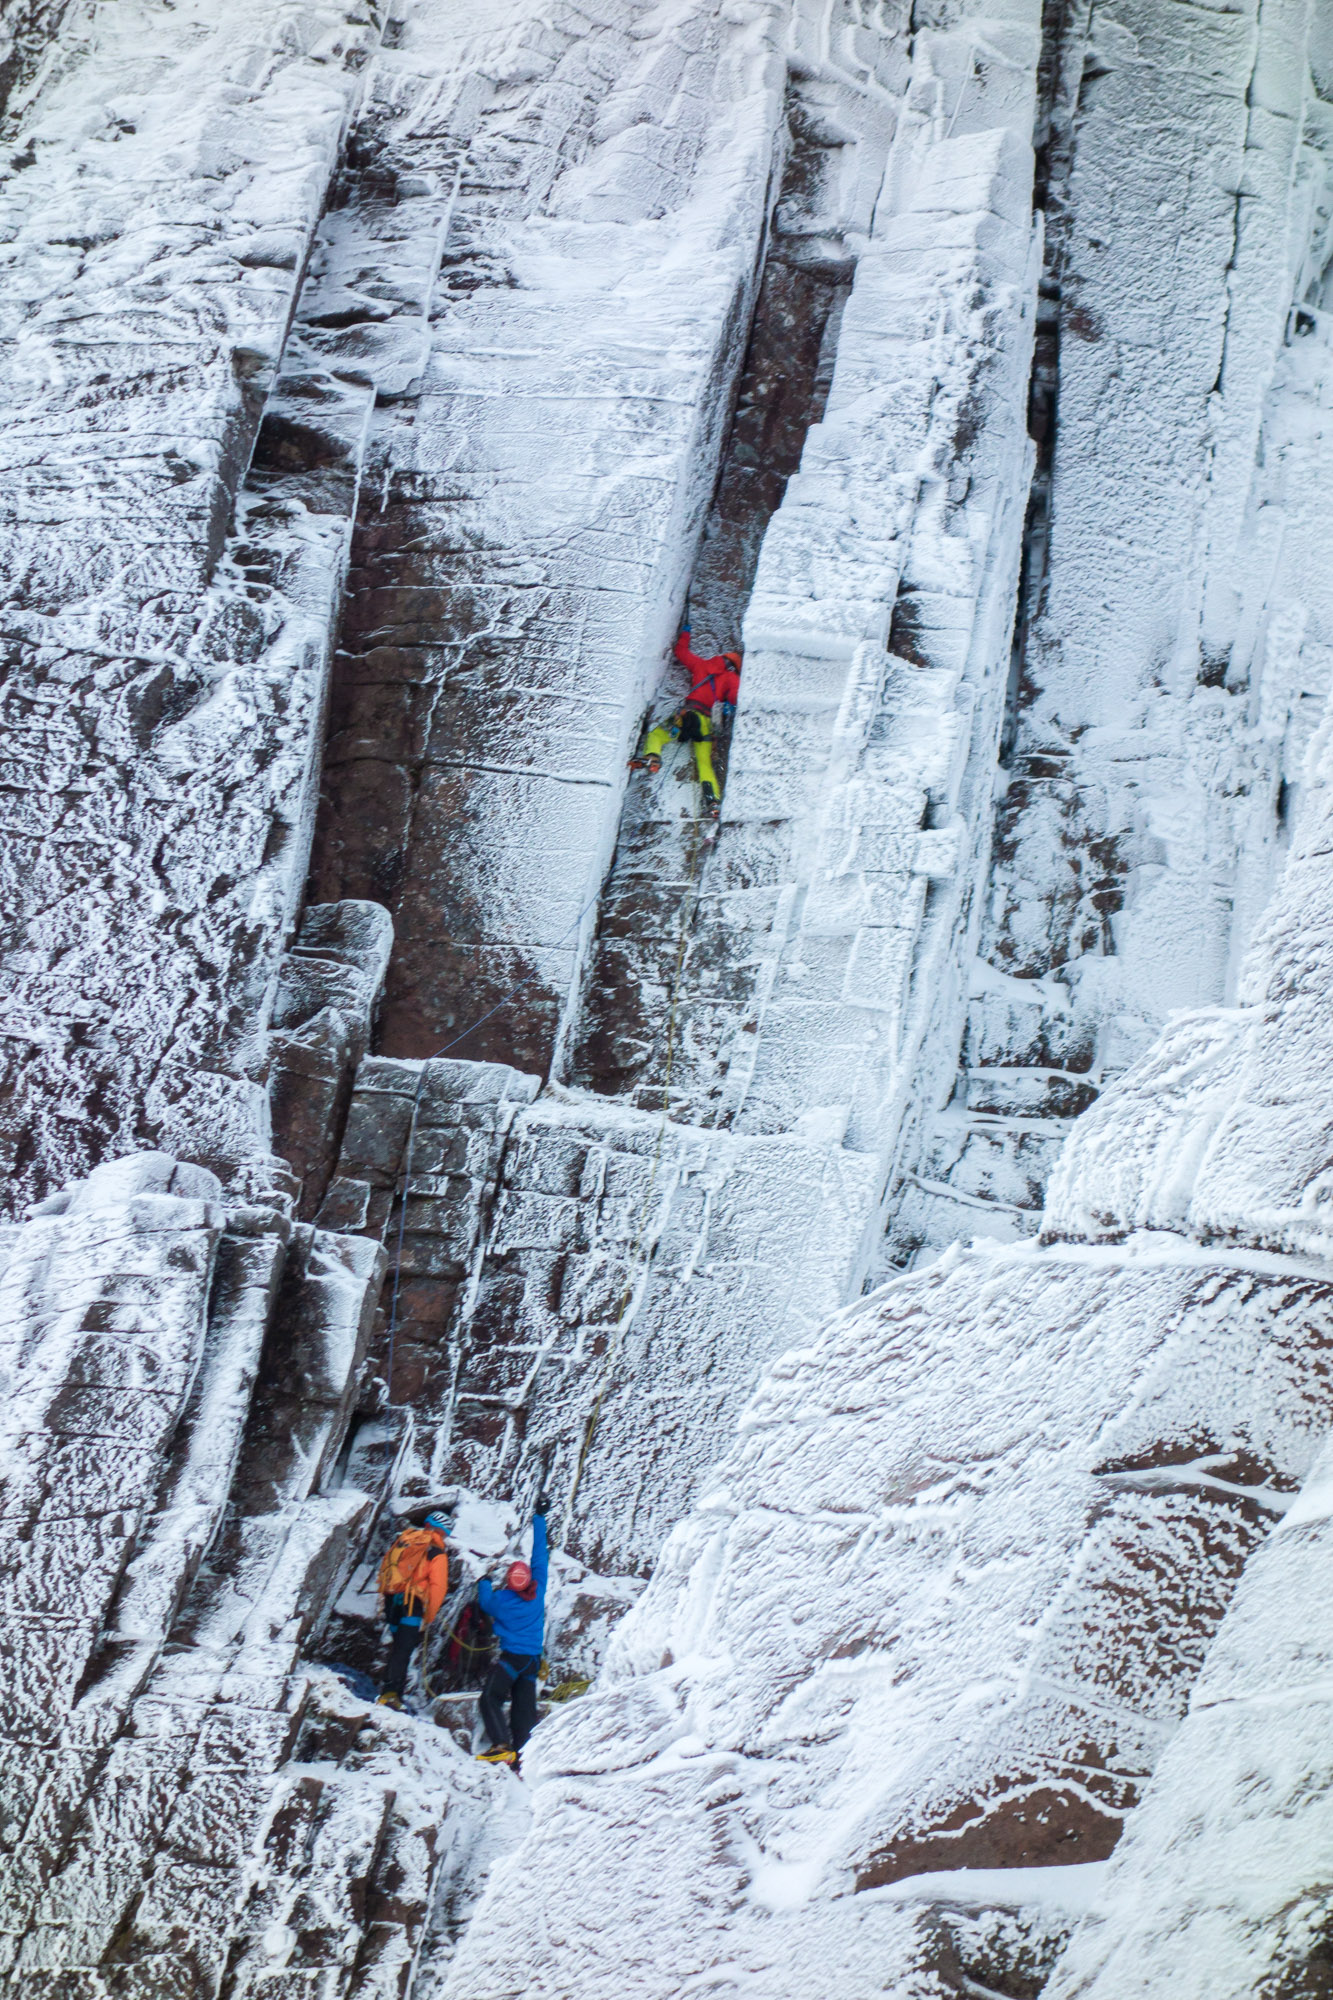
A great perspective on the route from the base of Deep Throat, with Joe fully engaged in the chimney. Photo credit: Paul Gibbison
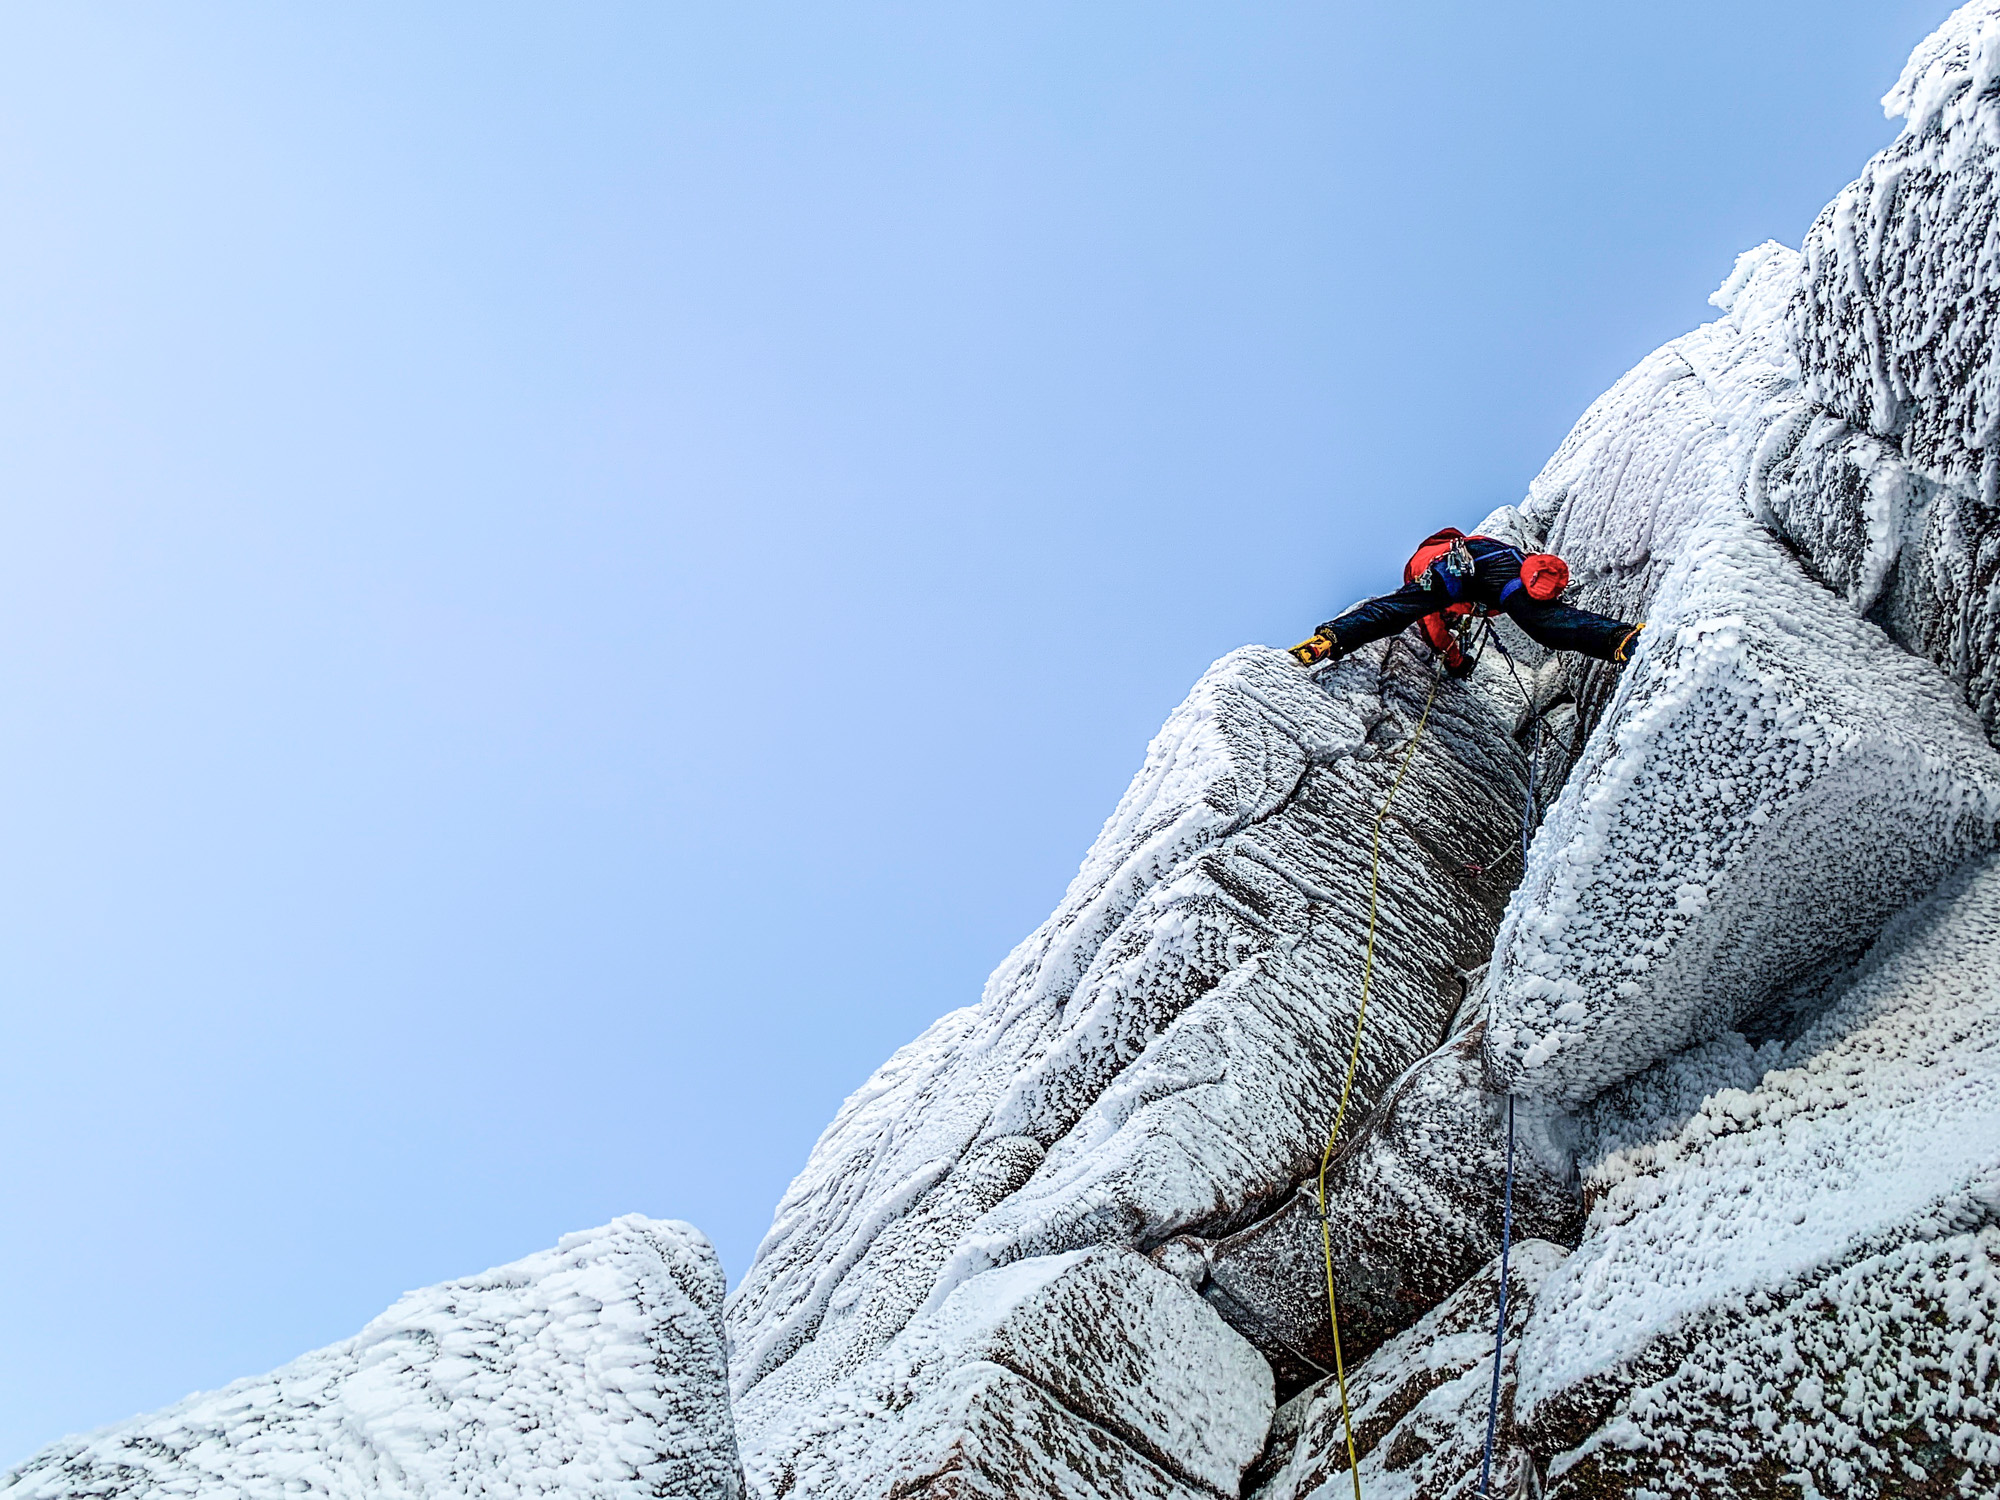
Why you should always wear bright colours climbing! Joe standing out on the final strenuous corner of pitch 1. Photo credit: Paul Gibbison
Andy getting busy with one of the numerous short sections of squeeze-chimney on the second pitch.
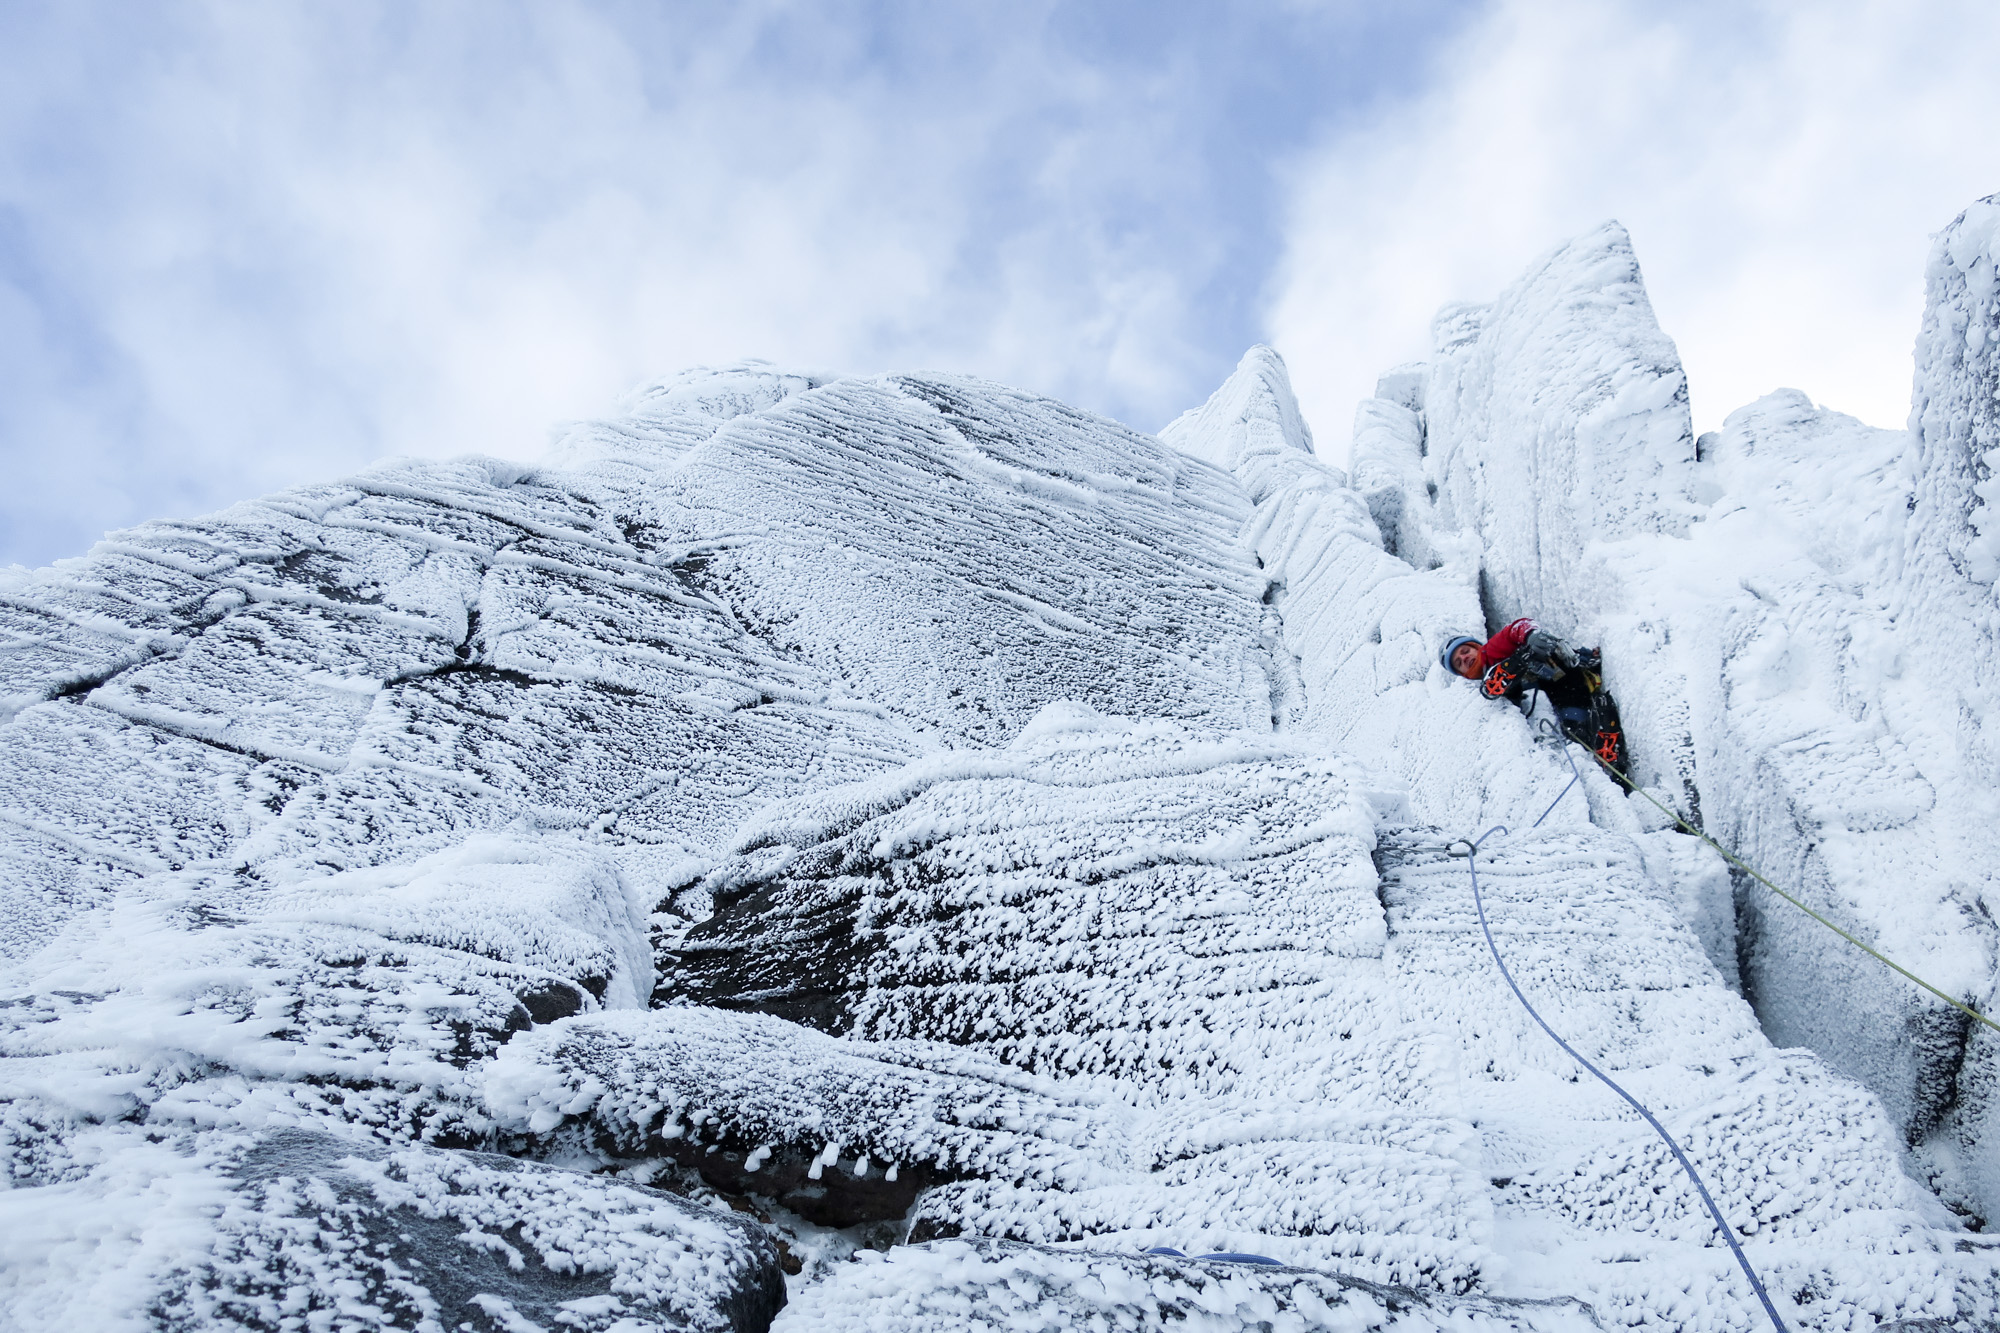
Andy sizing up the final tricky bulge – surmounted by a swing left on less-than-ideal hooks. A stunning pitch!
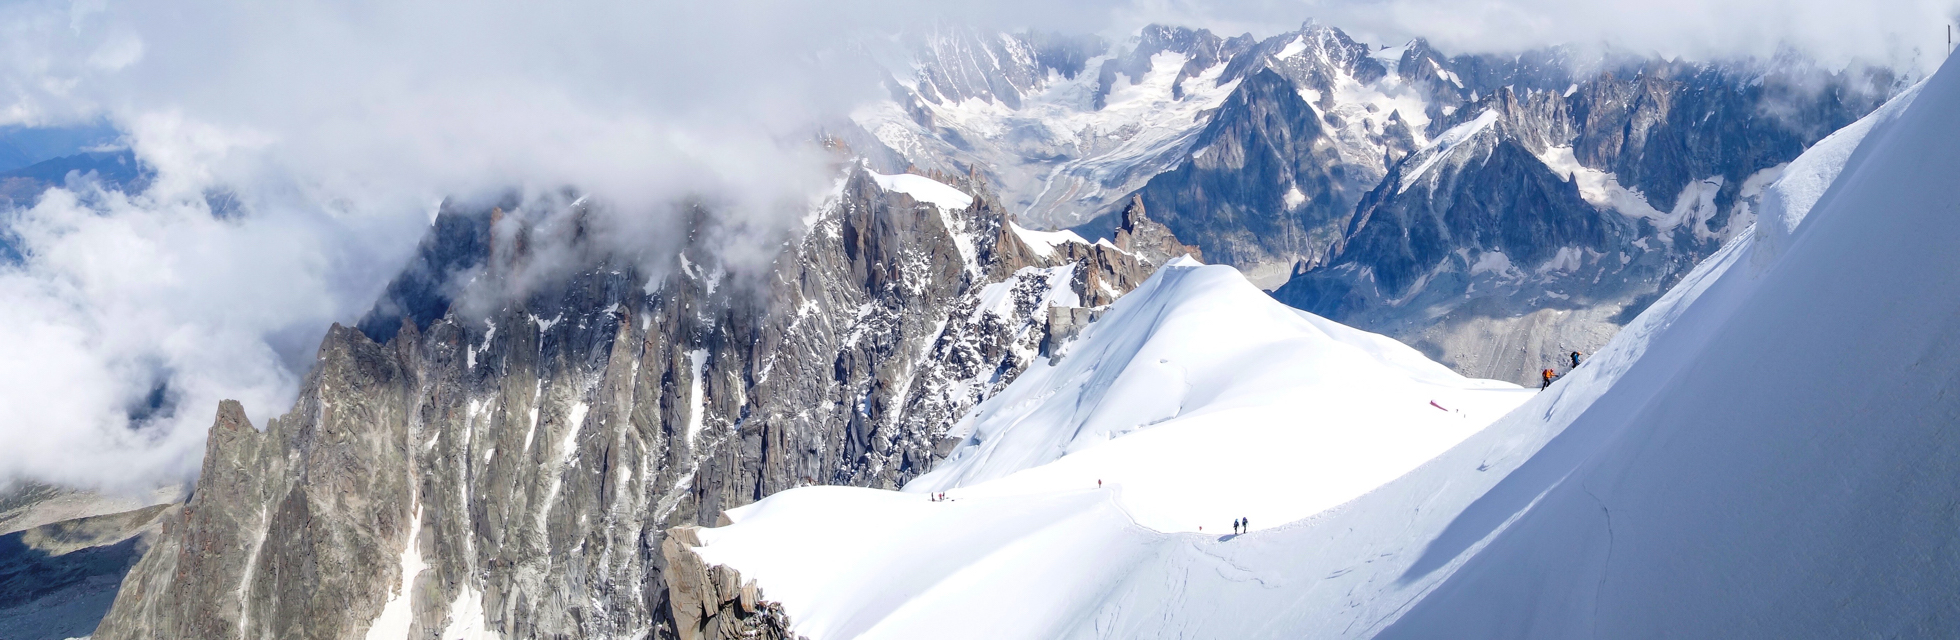
Crystal clear views to the west coast from the top of Coire an Lochain. Cairn Toul, Braeriach and Sgor Goith in the foreground.
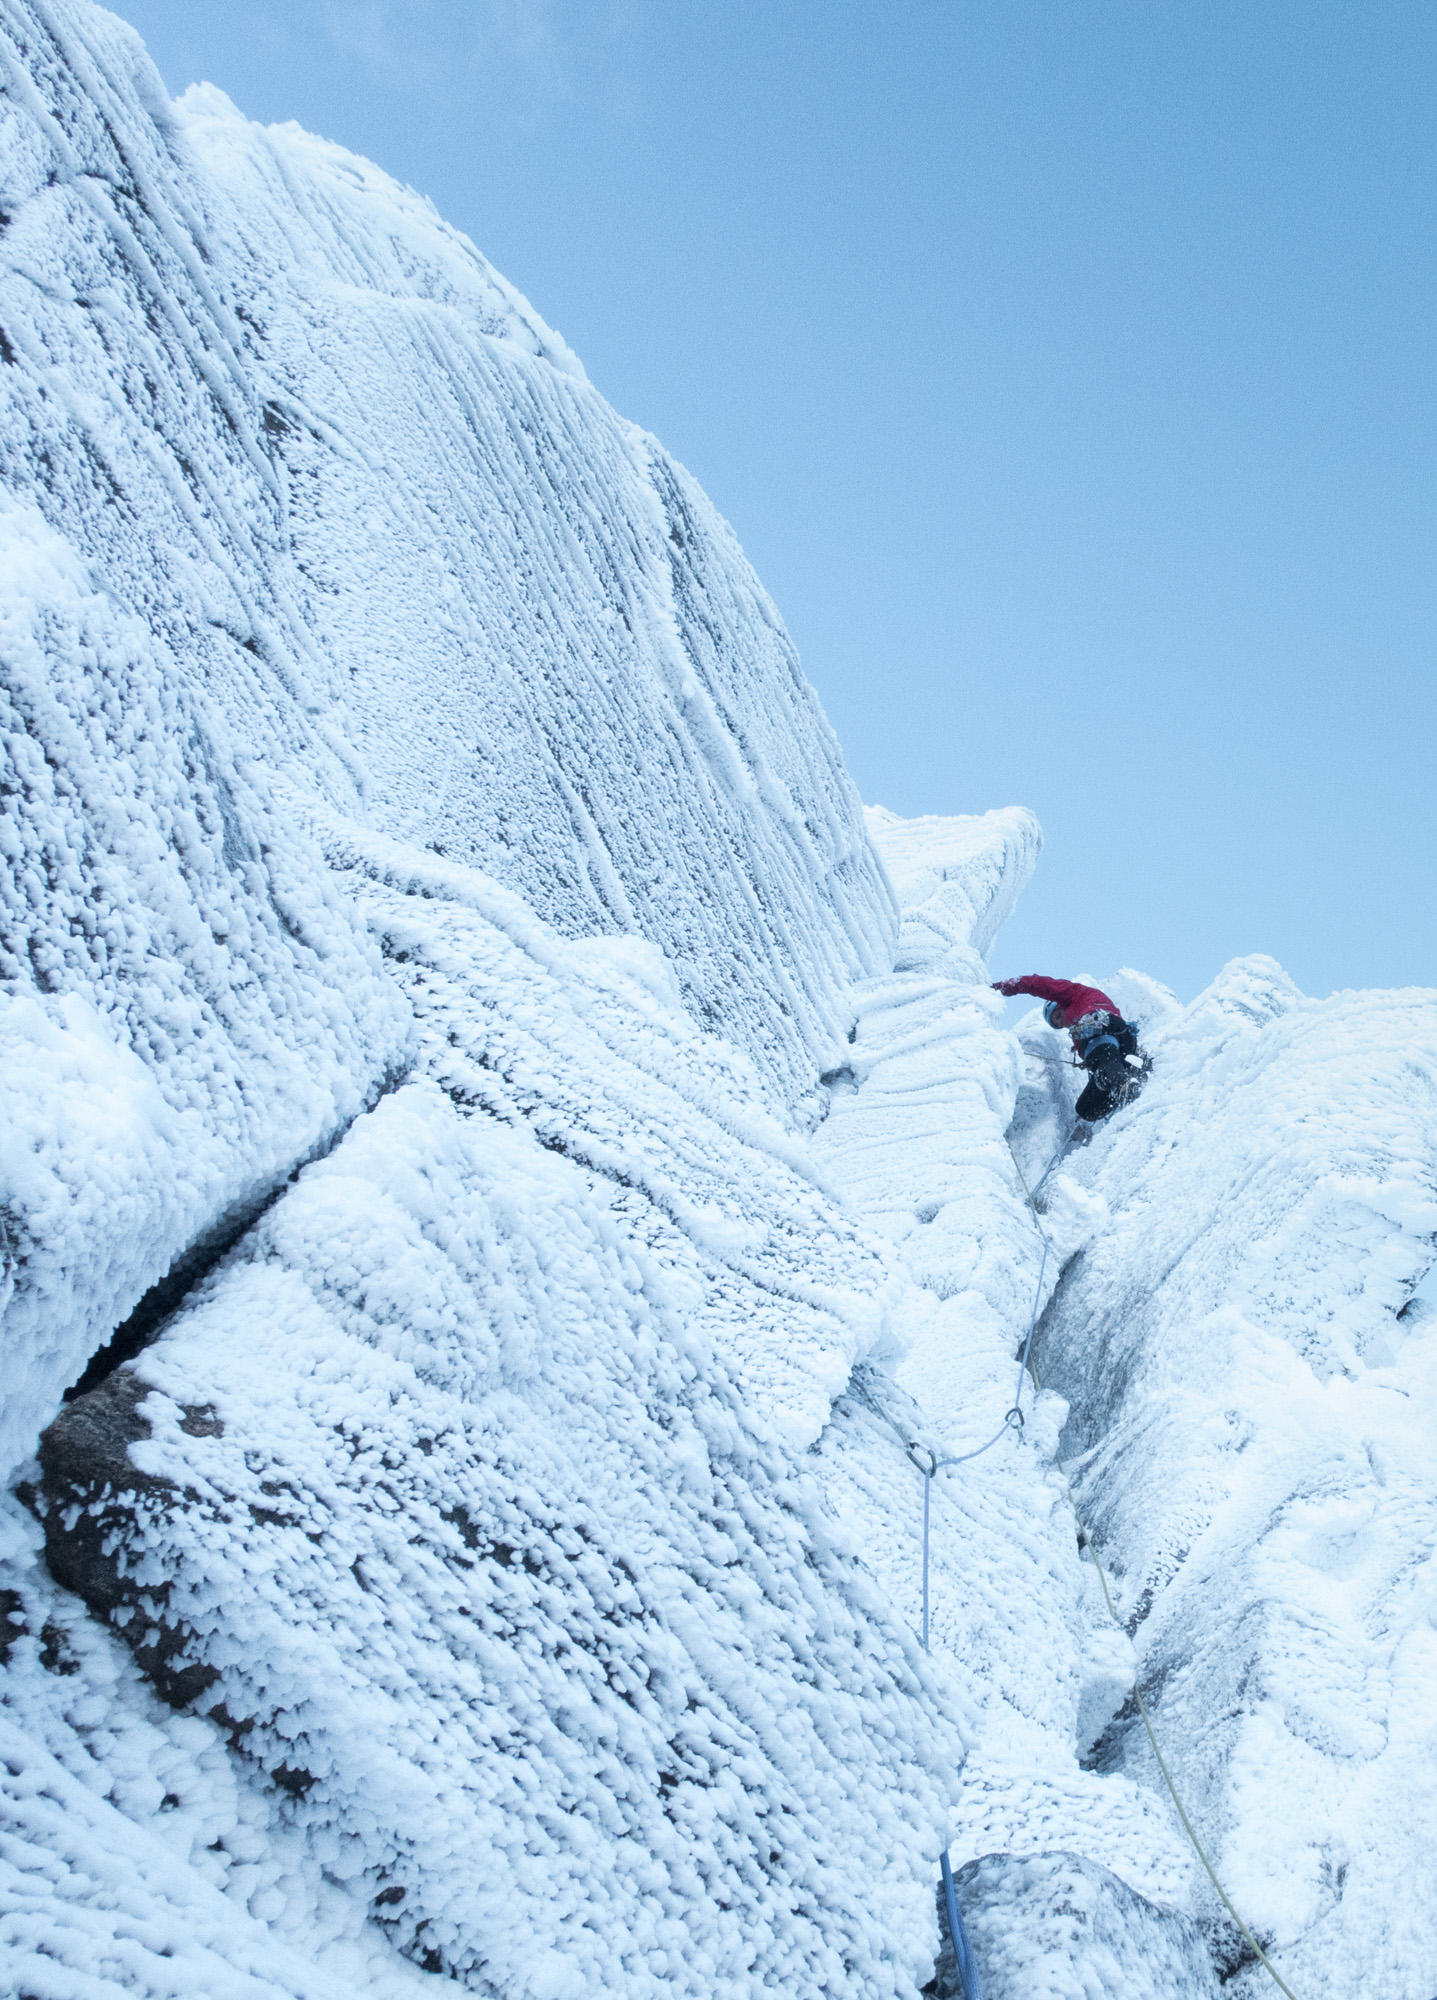
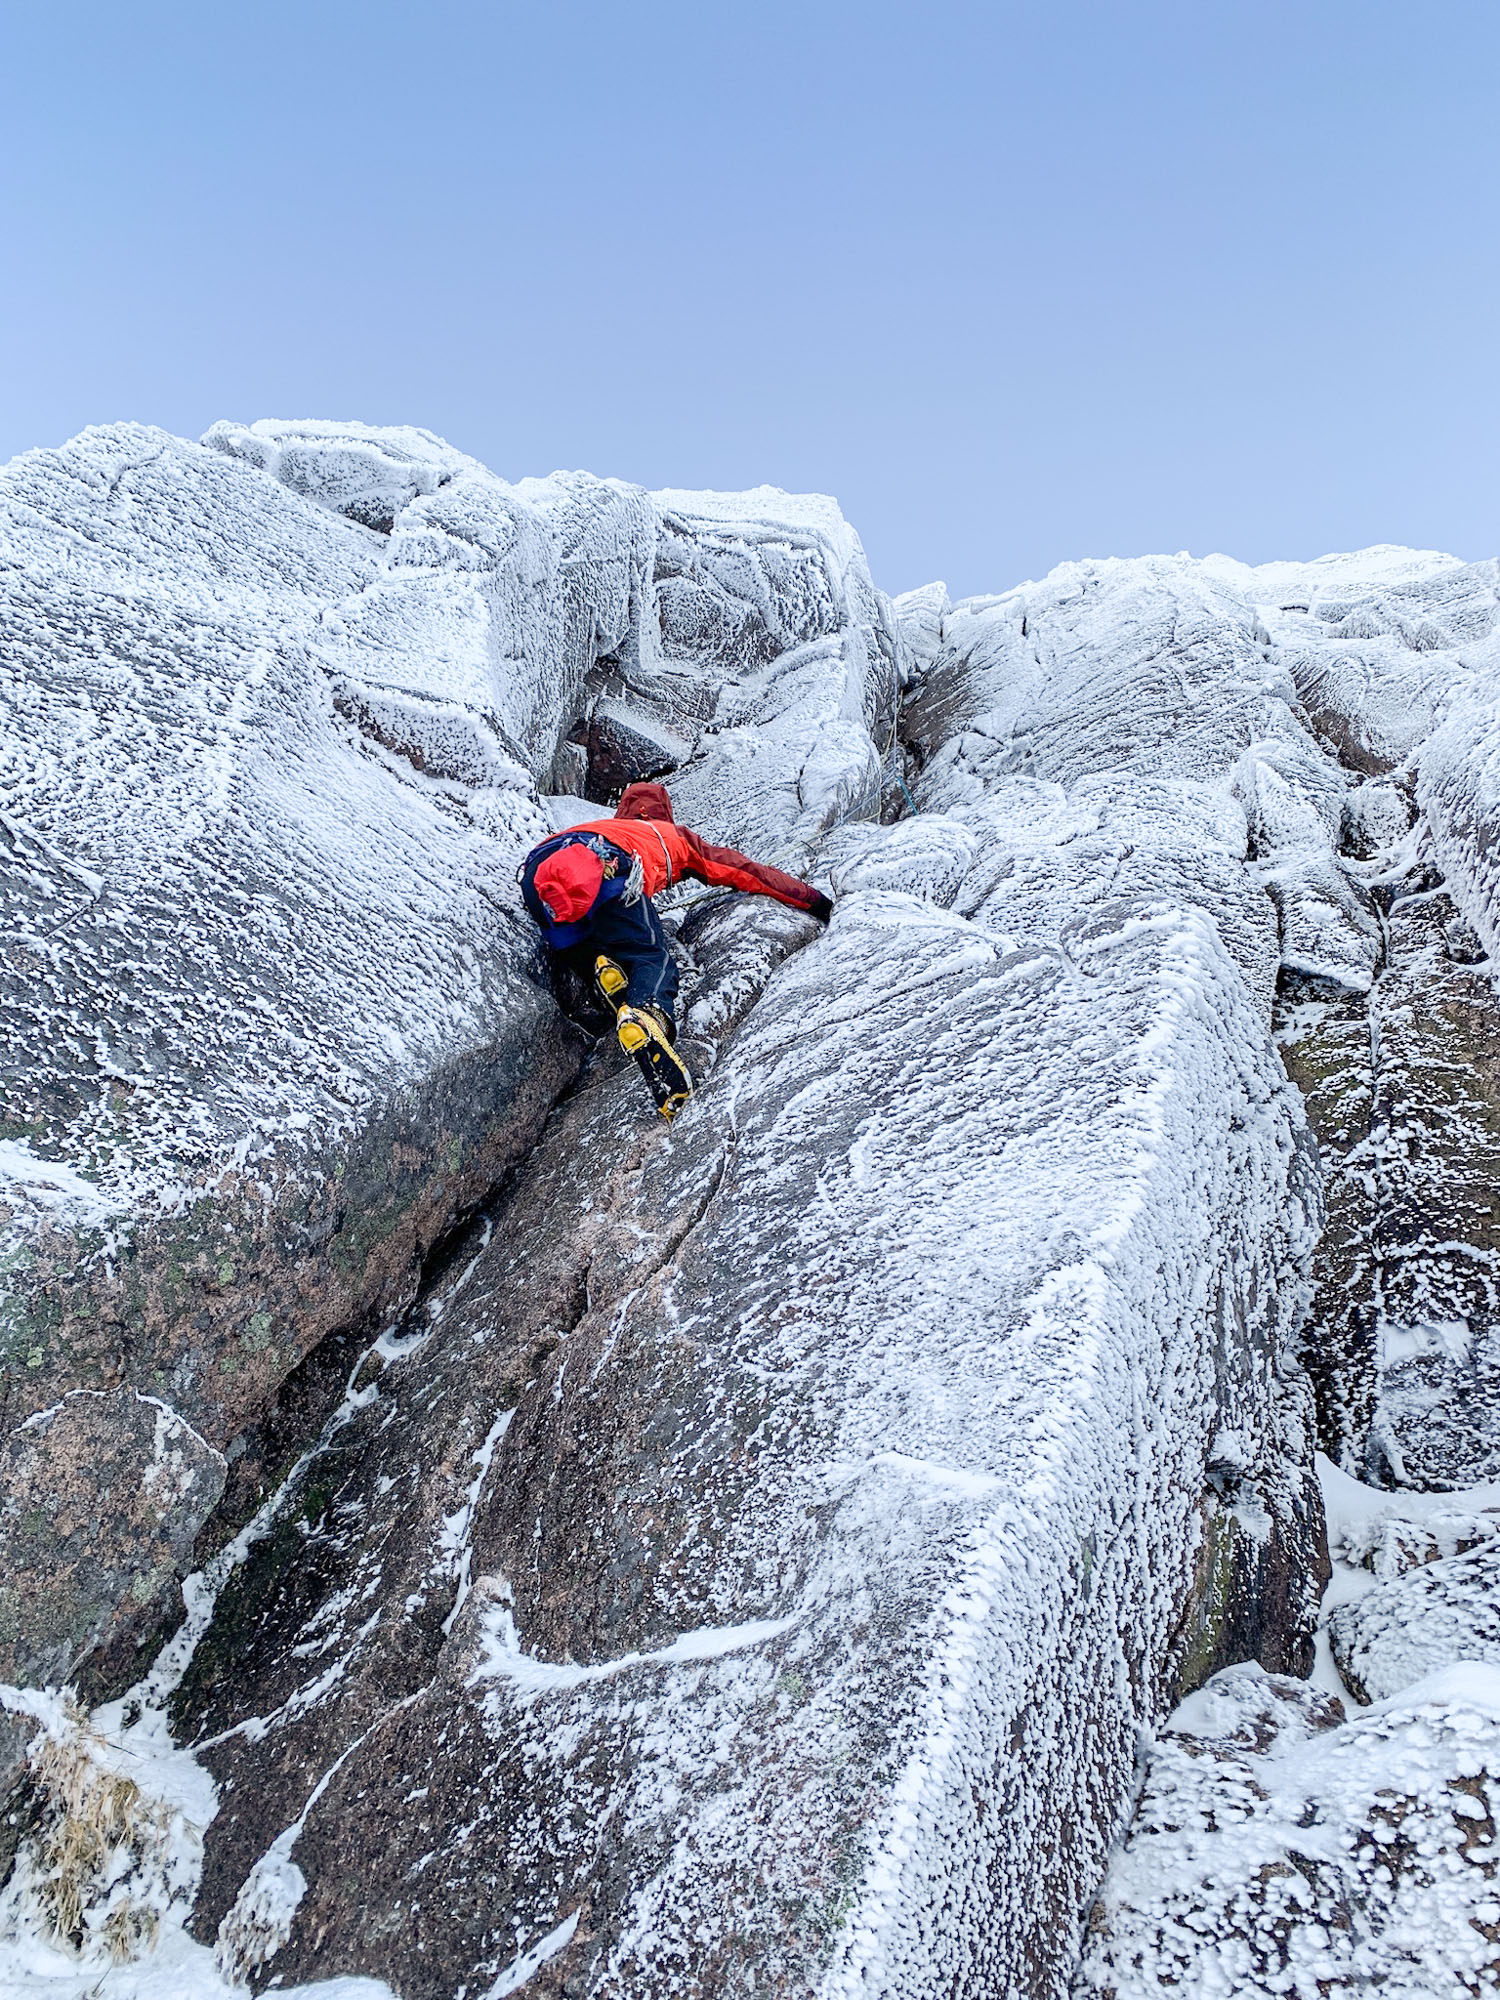
Andy working those hips on the classic corner pitch of The Message – a total hook-fest and easily protectable in these conditions. Photo credit: Dave Stocks
The hardest section on the route by far; this slim corner-groove does have a positive hook on the left but the feet are thin and getting out of the groove requires some very technical grovelling. Photo credit: Dave Stocks
A route that keeps on giving, the final pitch provides brilliant positive climbing in an exposed position! Photo credit: Dave Stocks
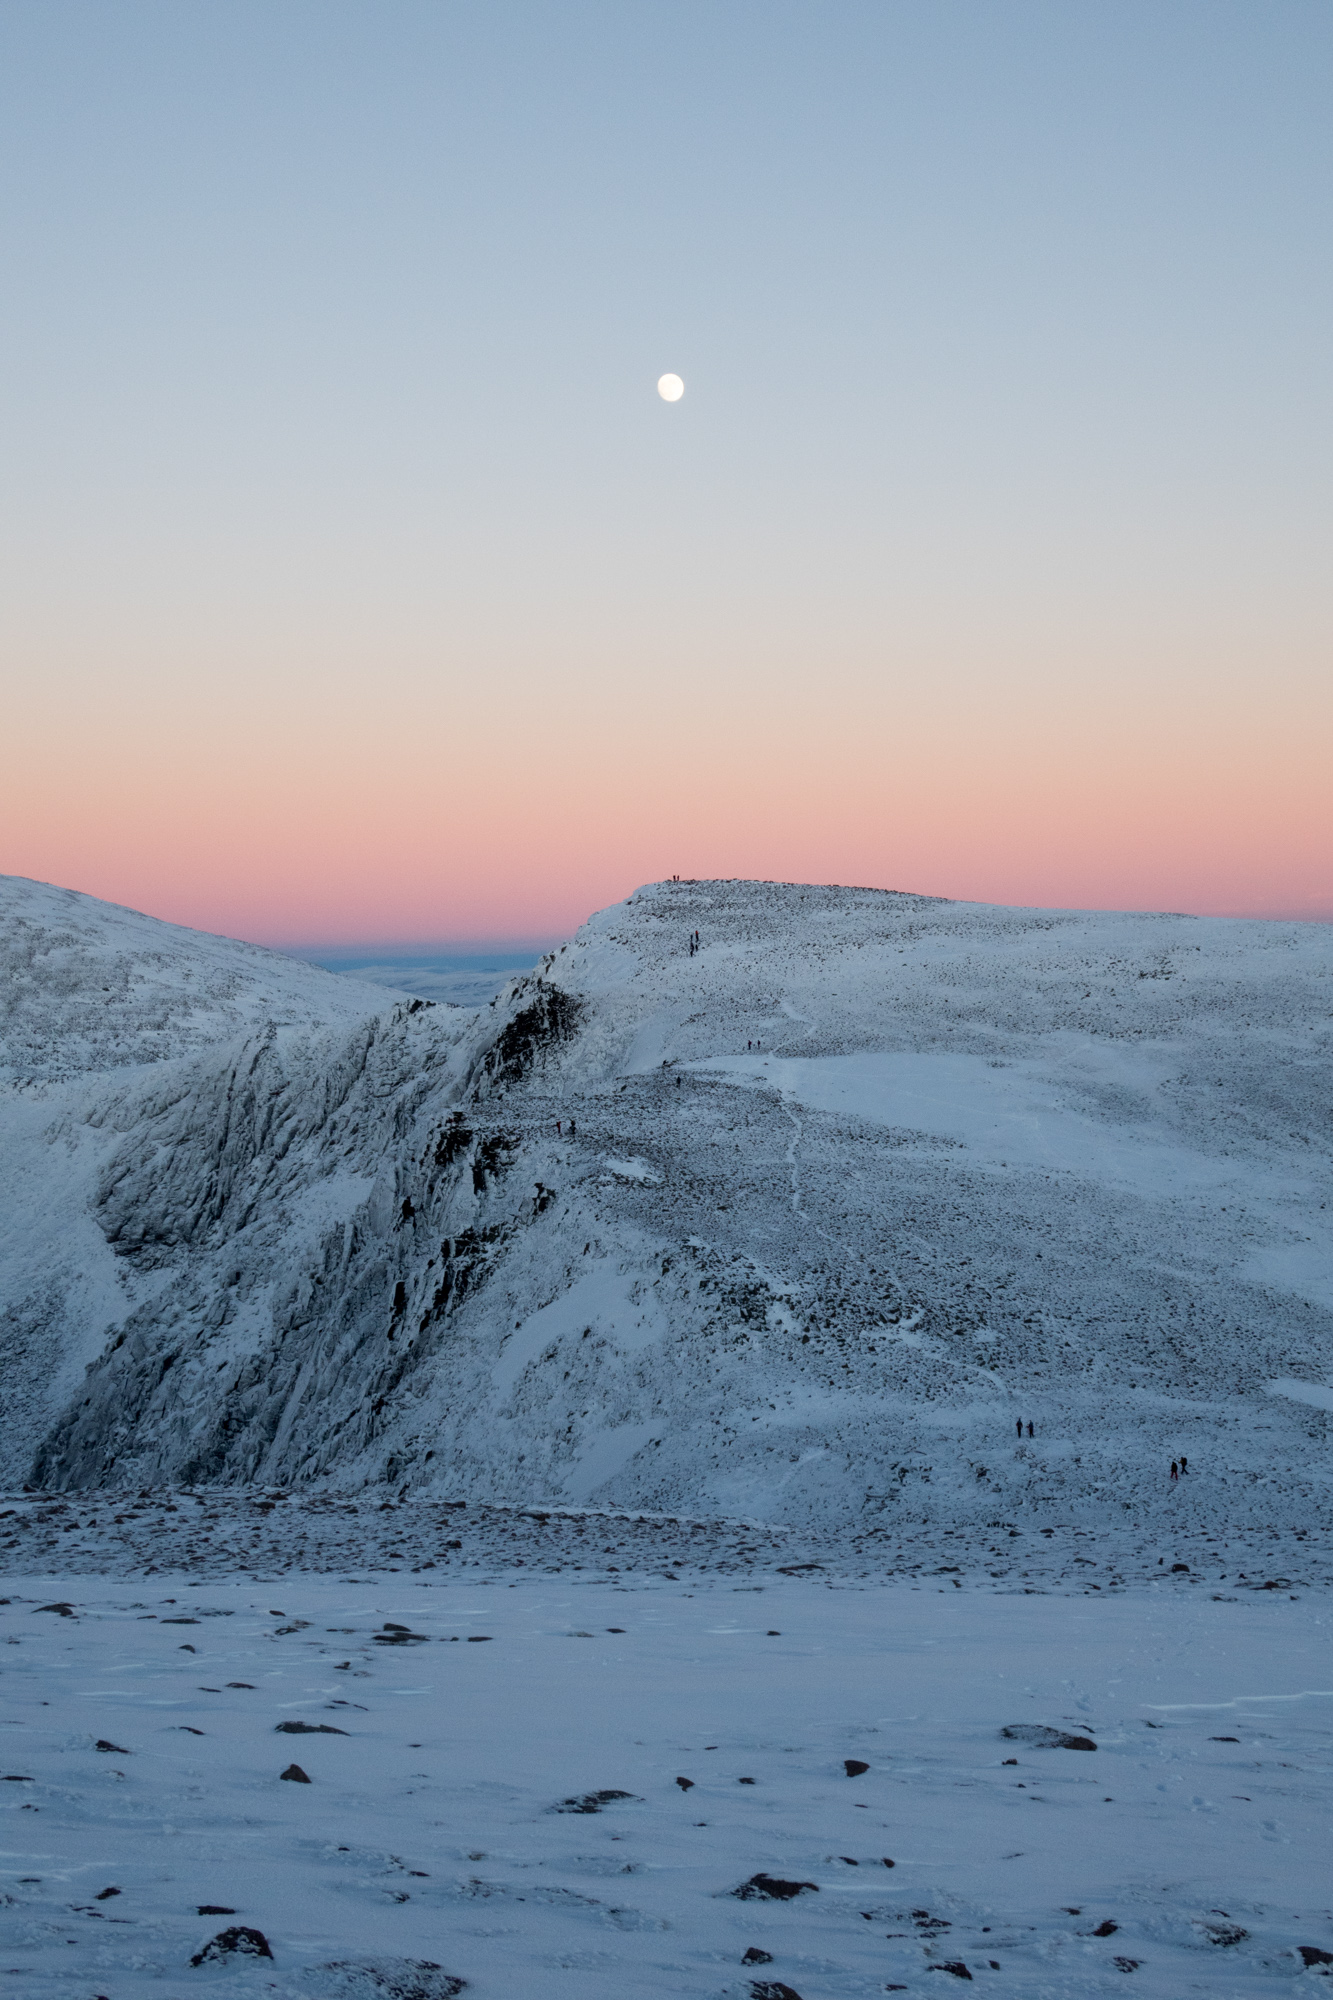
A fitting way to end a great day – soft pastel hues and bright moonlight. Photo credit: Joe Dobson