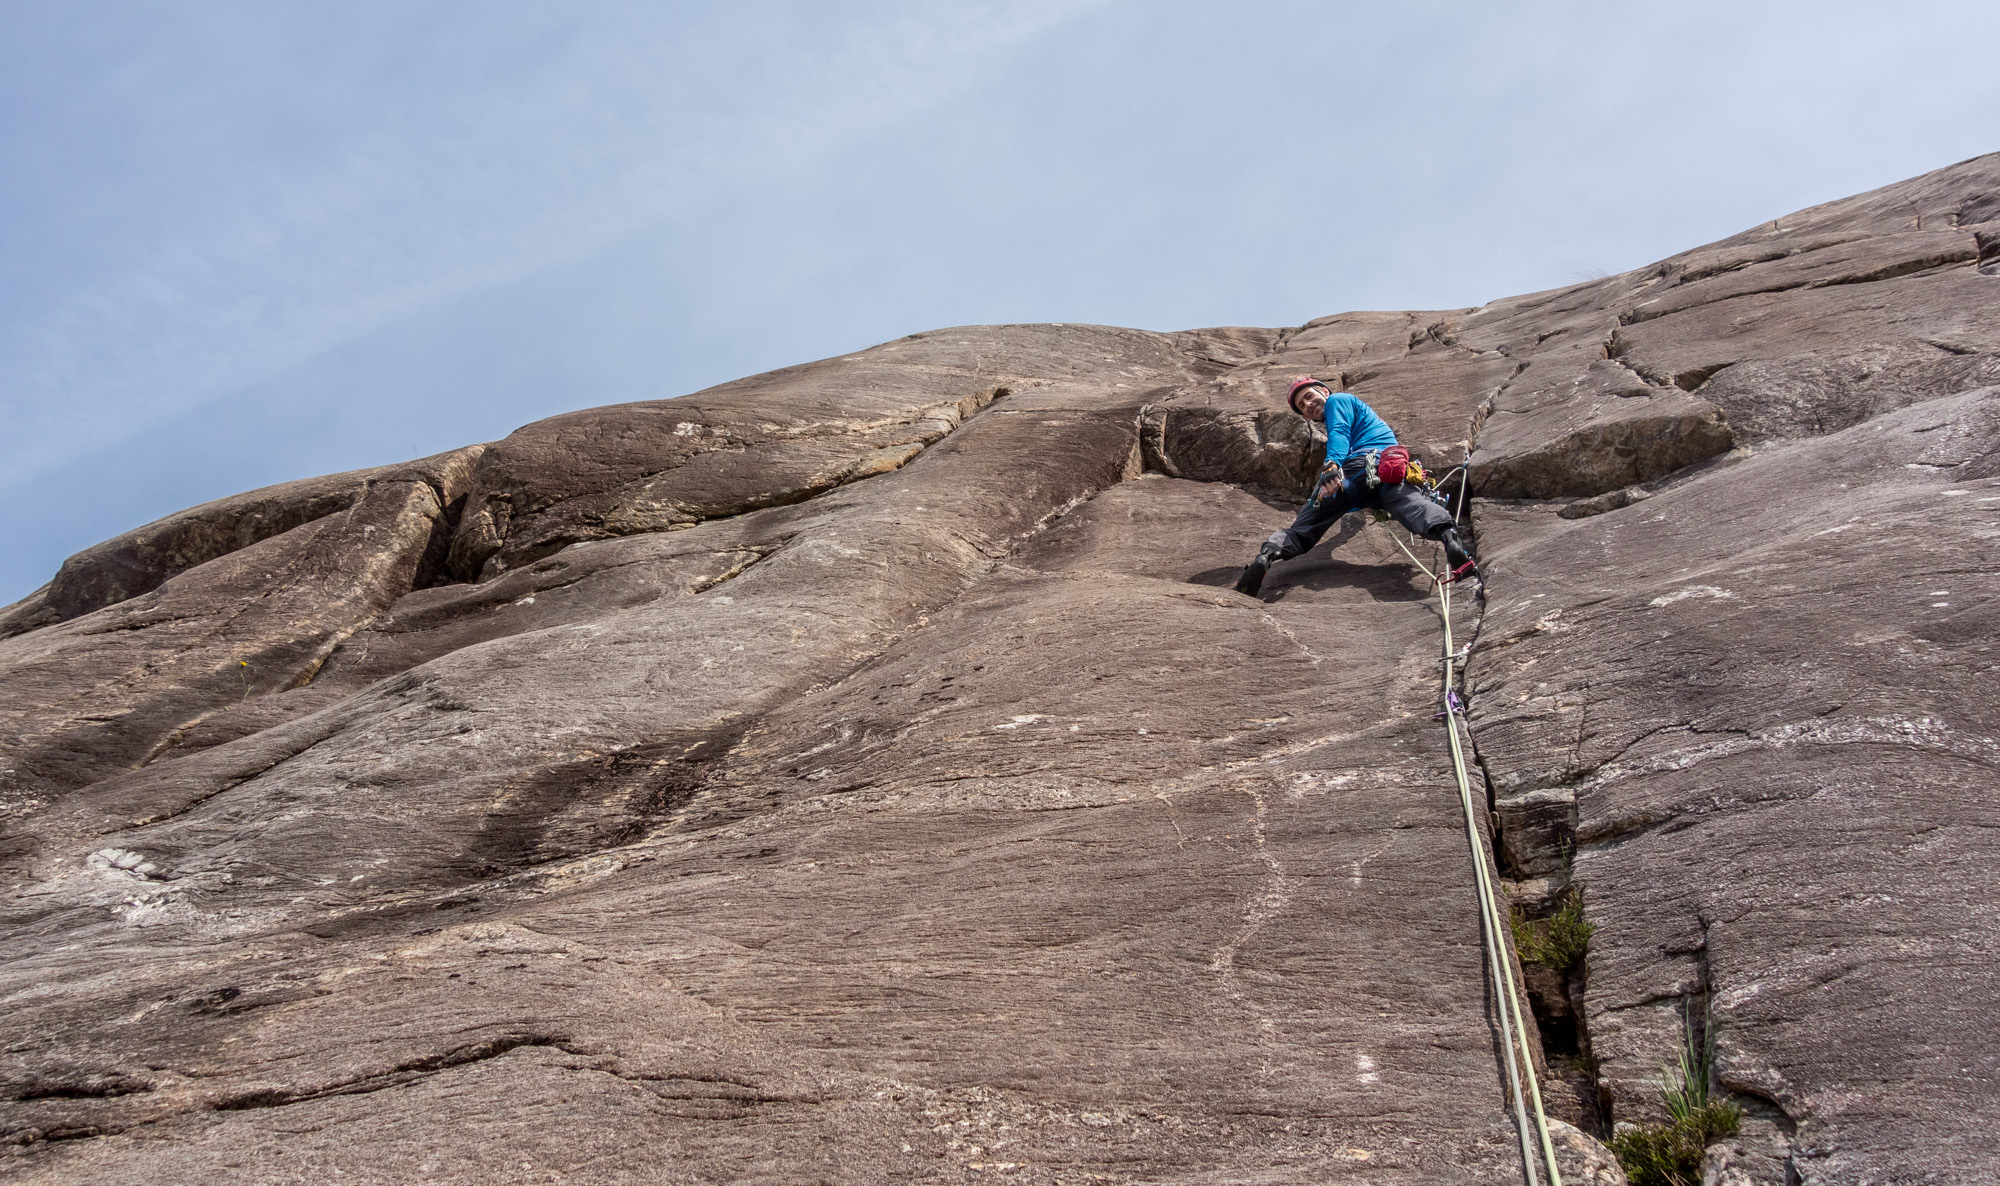
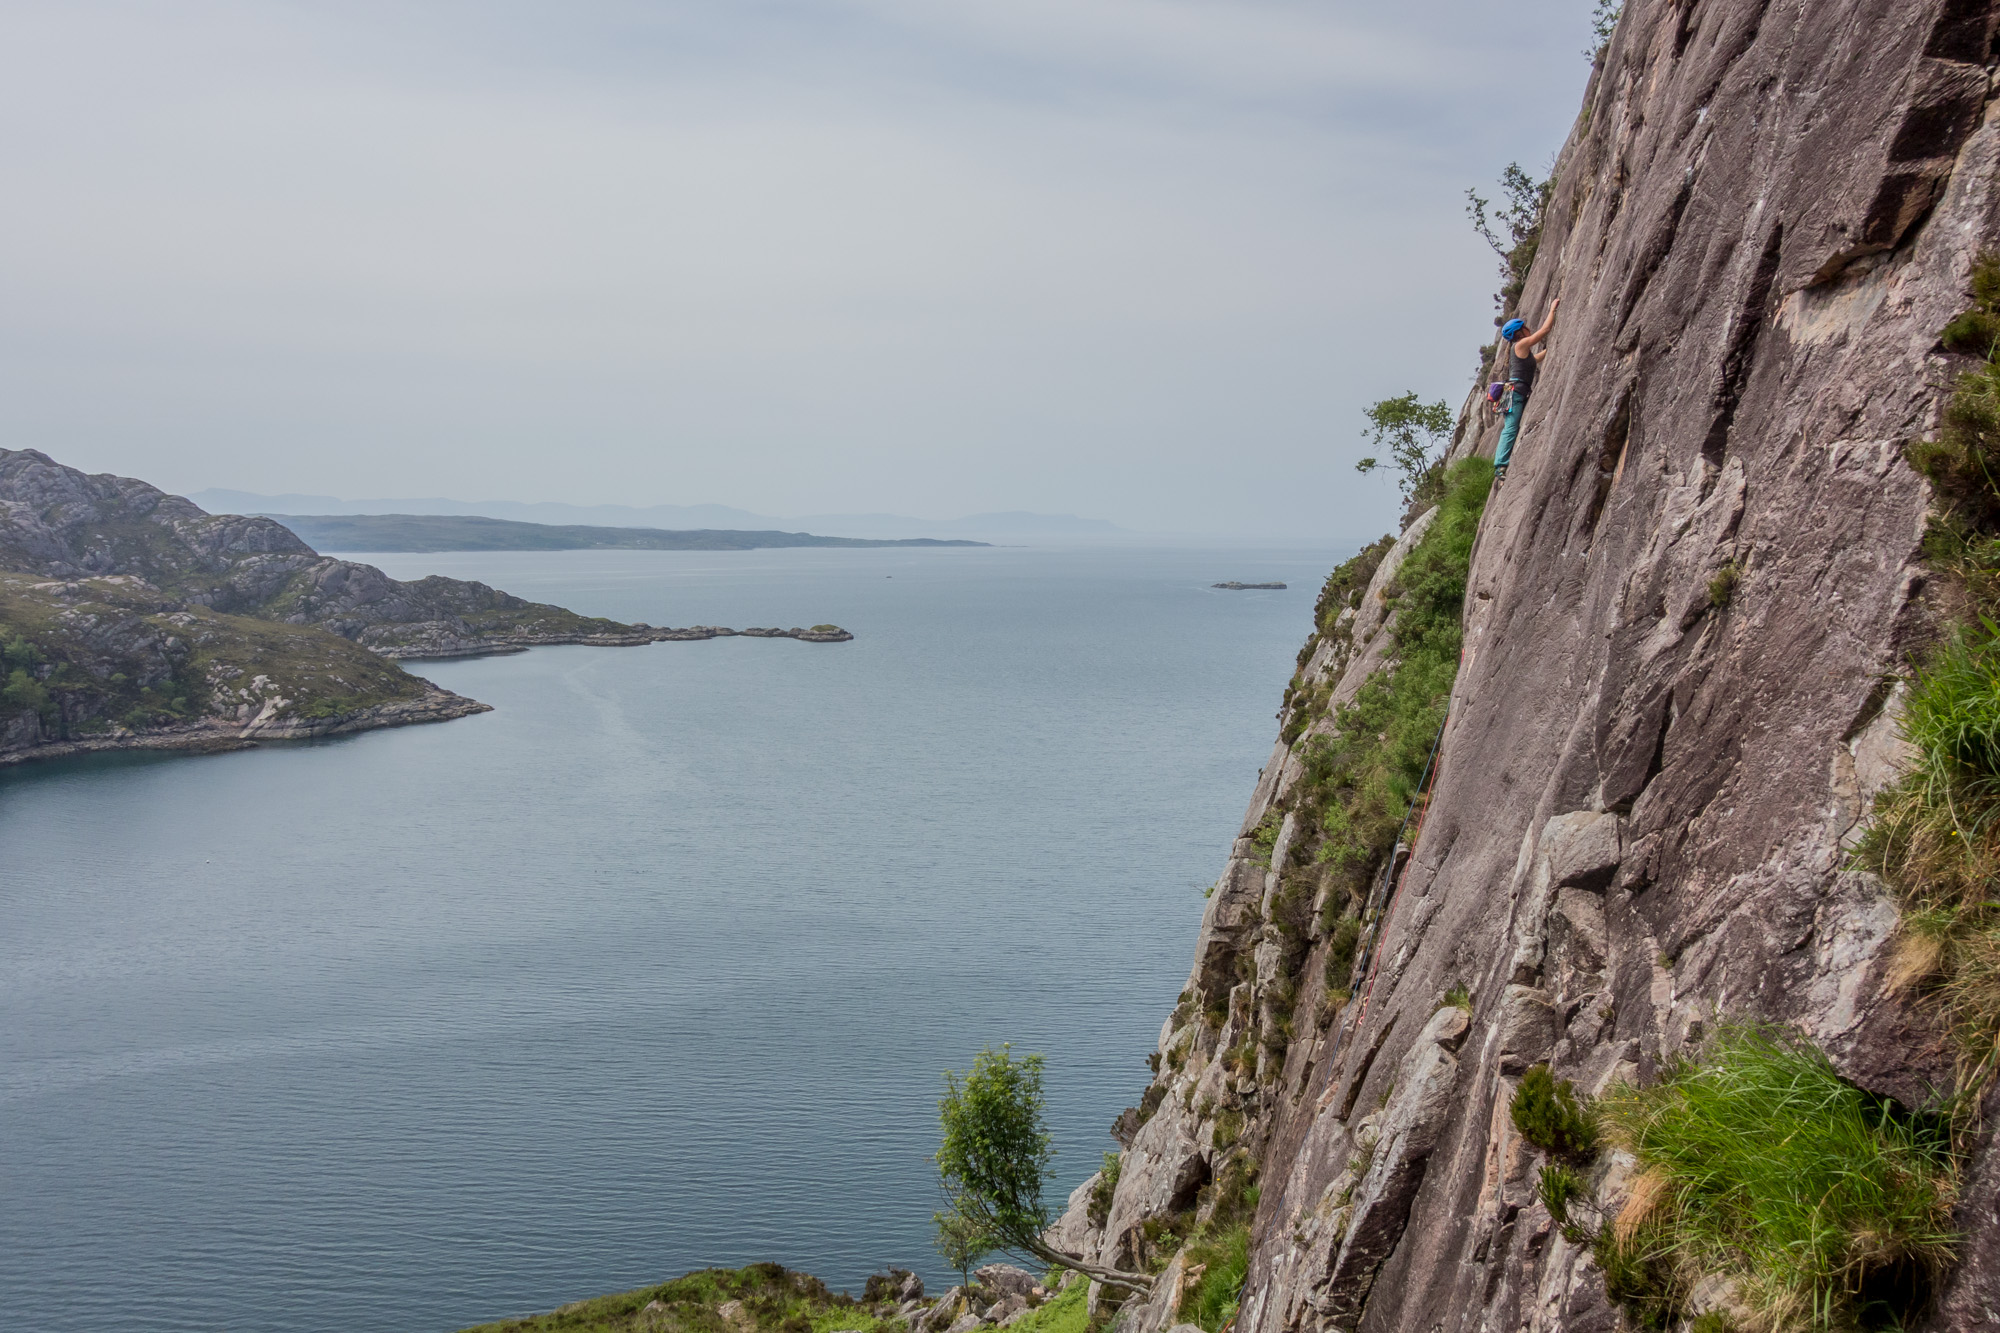
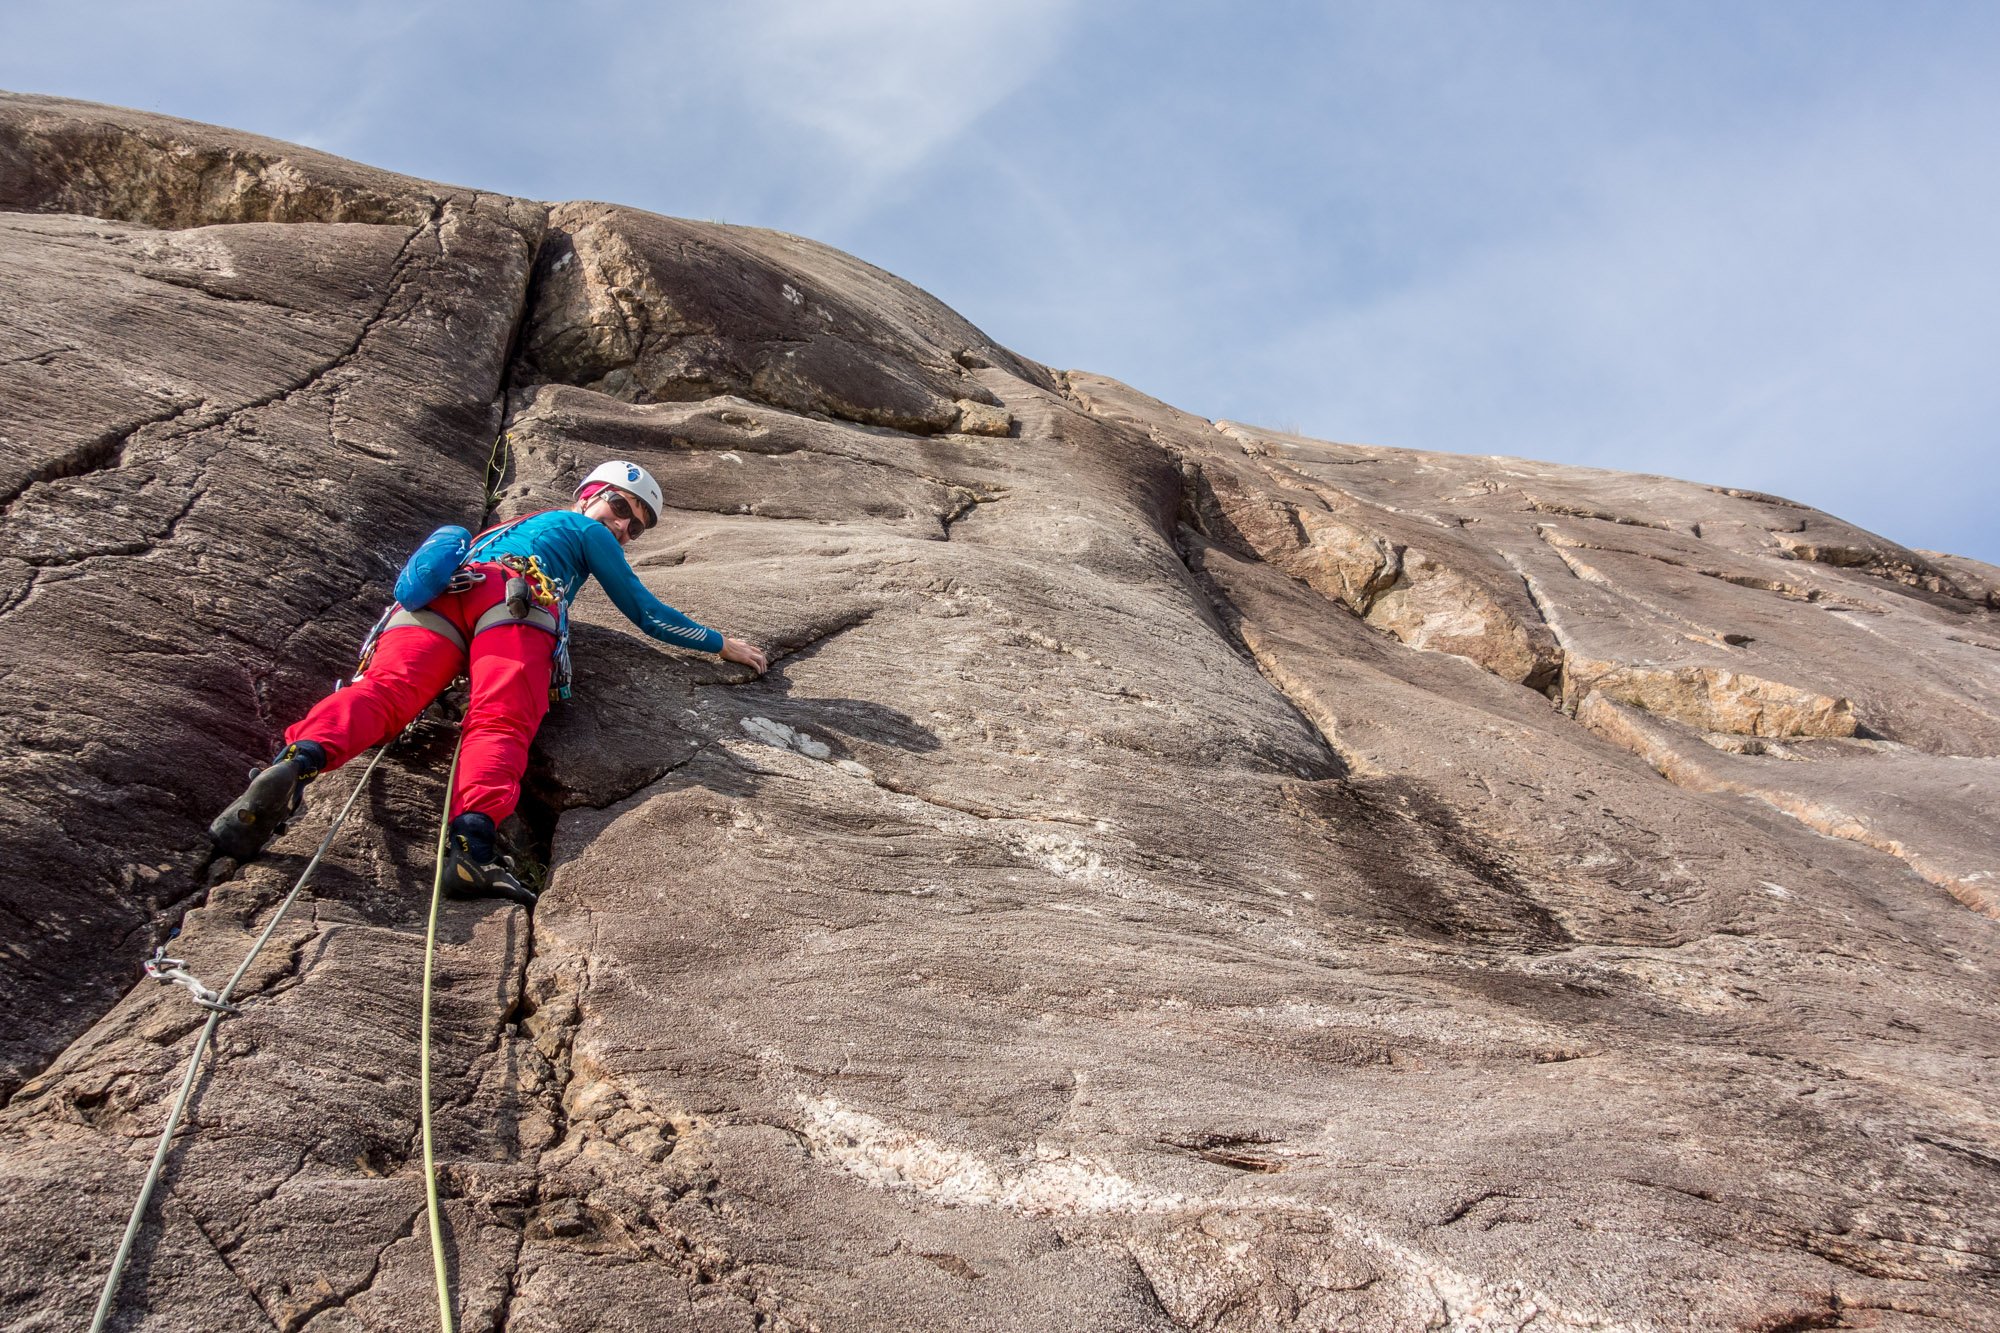
Sustained, well-protected and technical – common themes that would persist on all three of the routes we climbed at this superb crag. Debs on the first pitch of Route Two
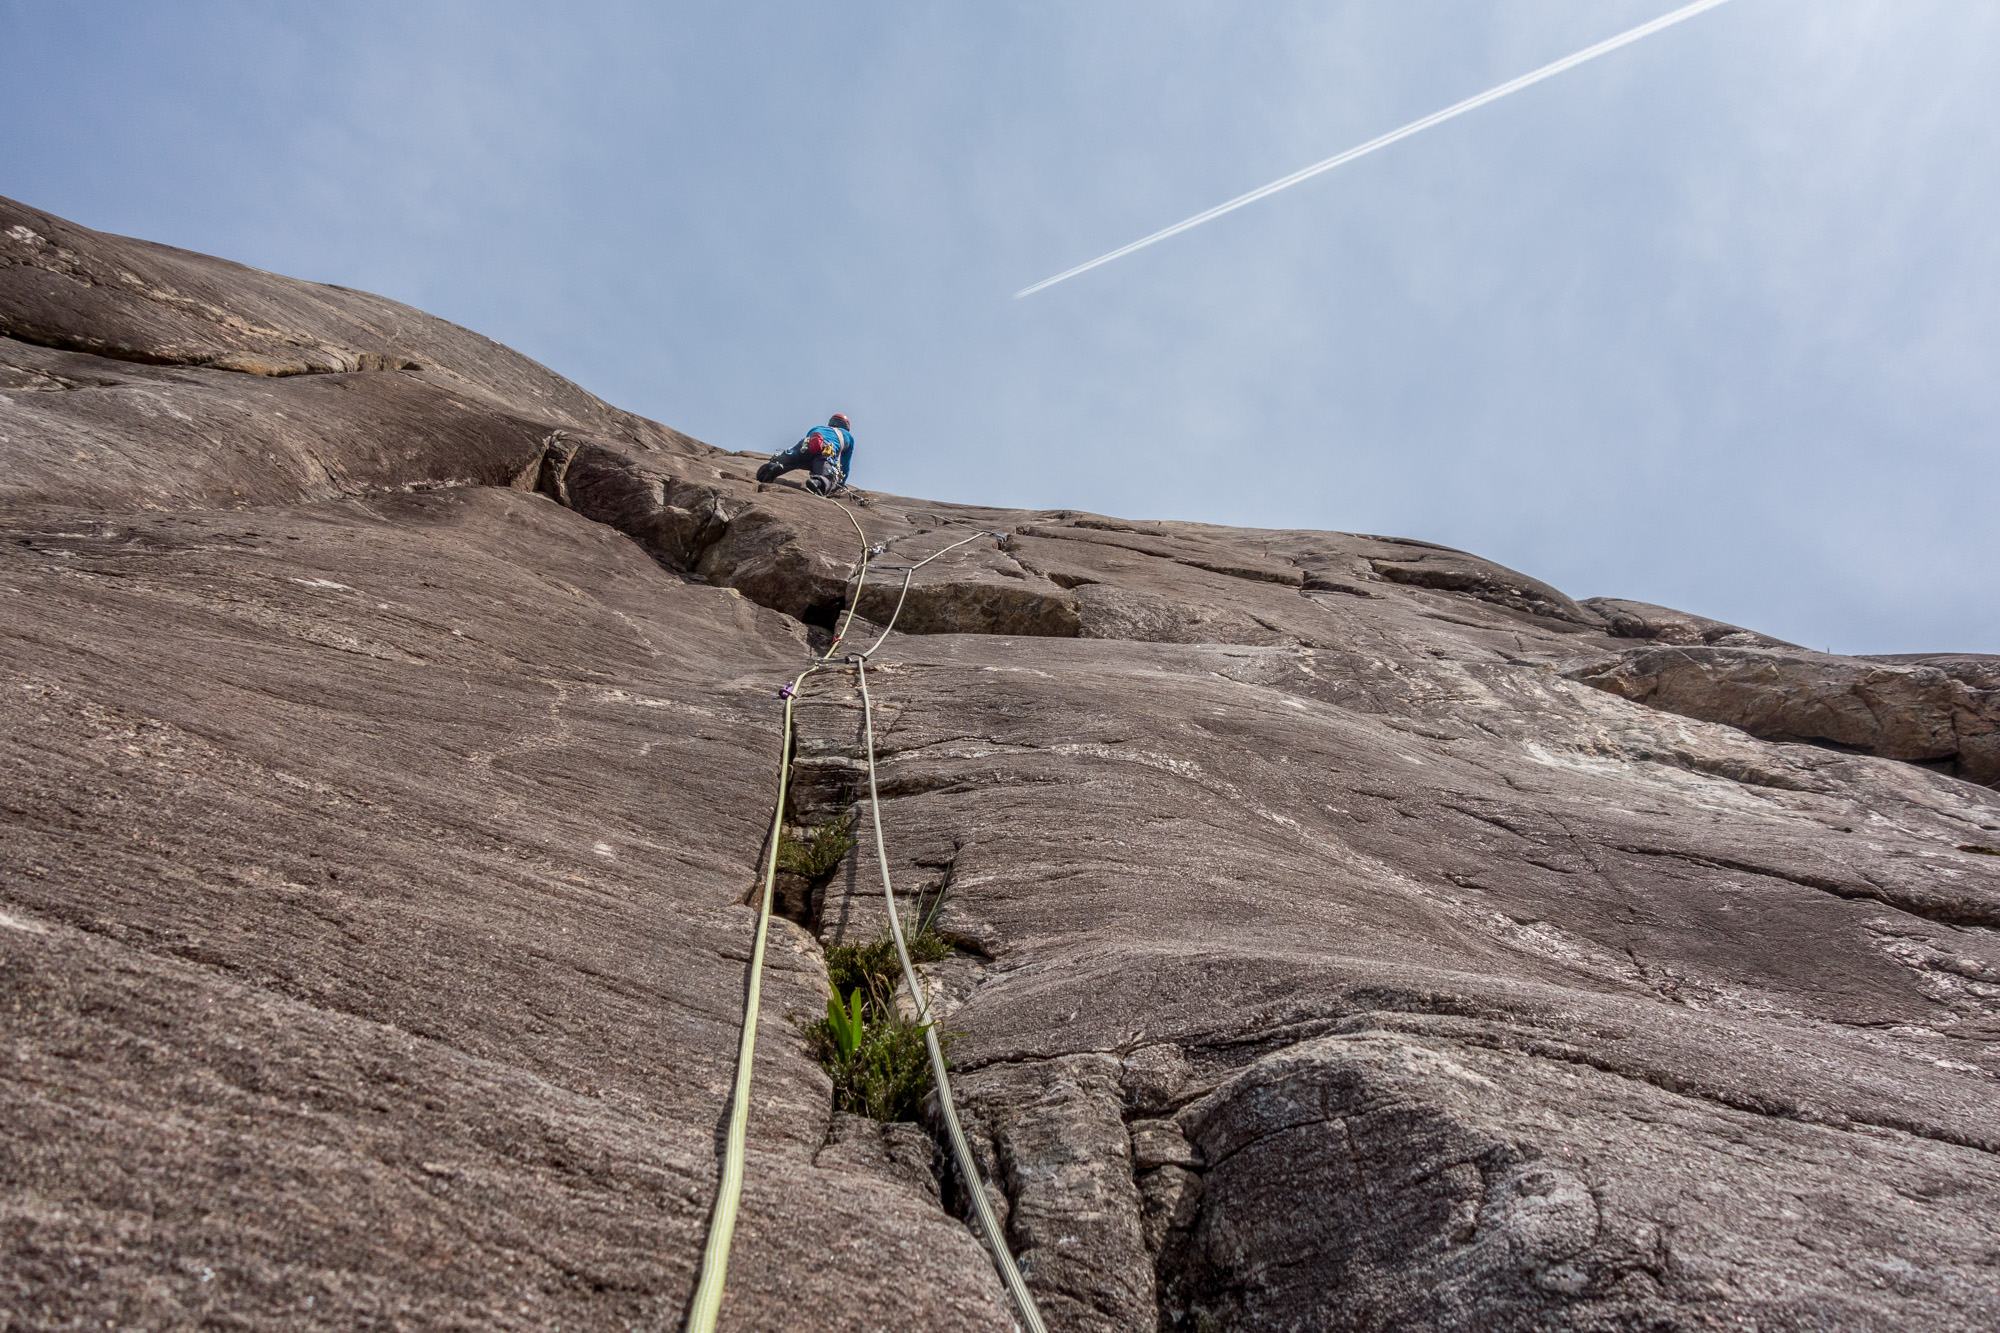
Immaculate rock and perfect cracks on the second pitch of Route Two
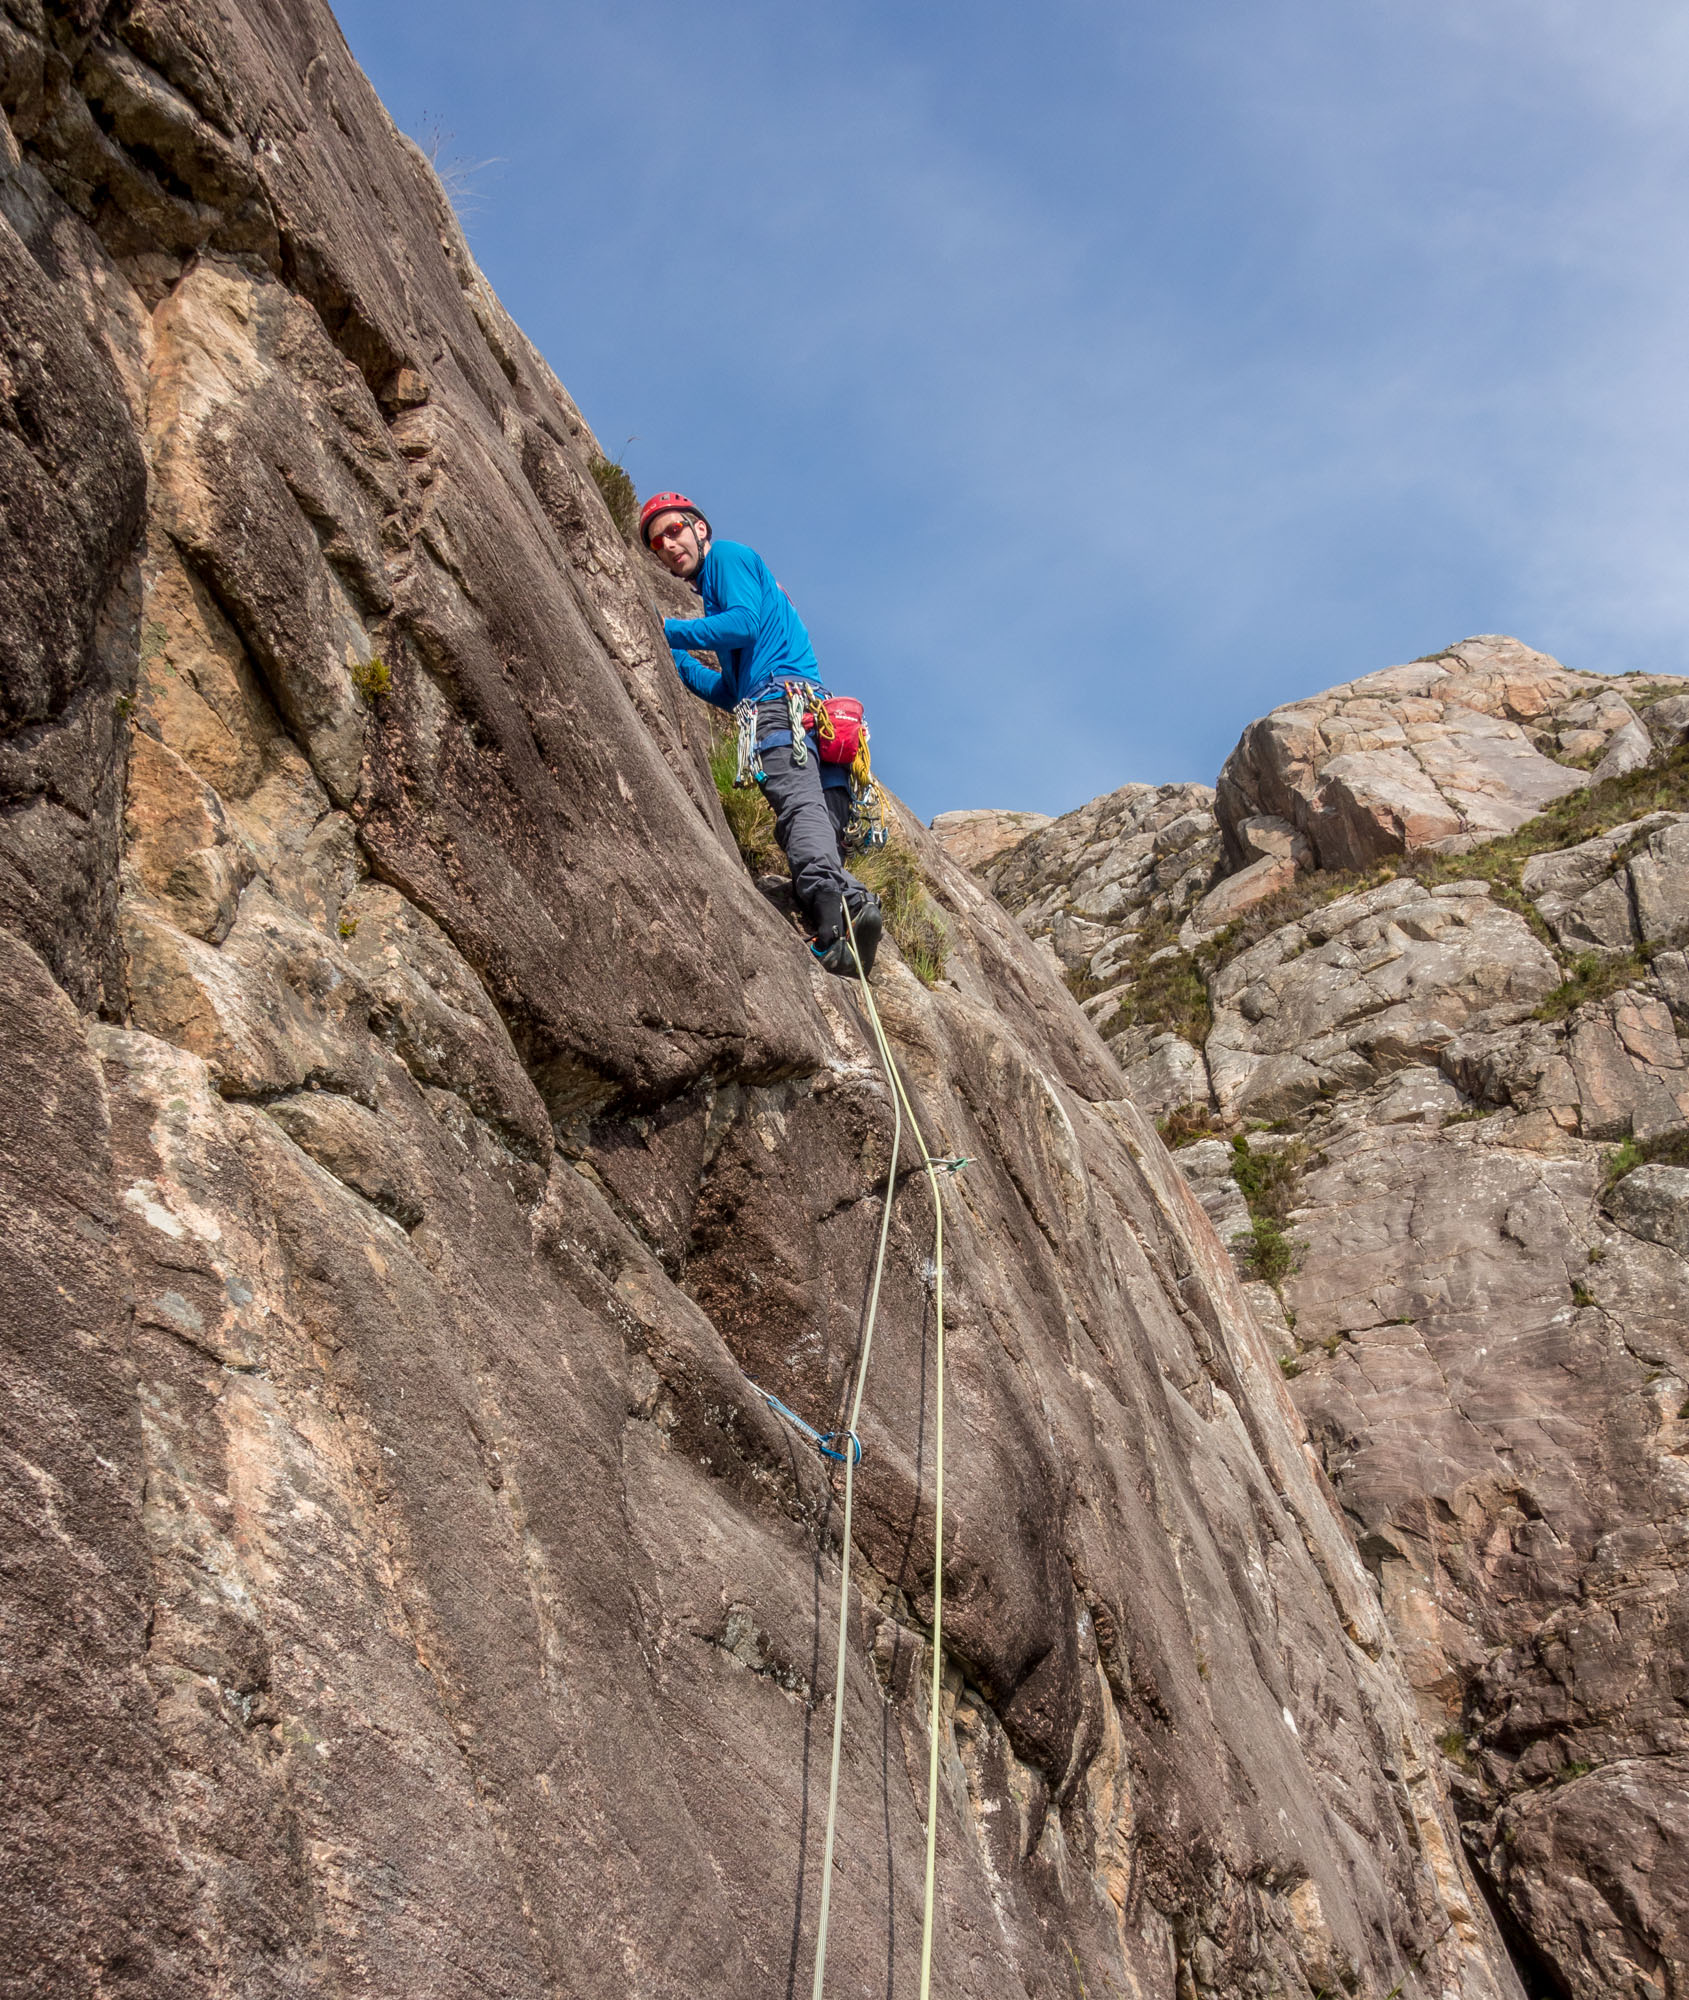
Flying high on Route Two and loving every second of it!
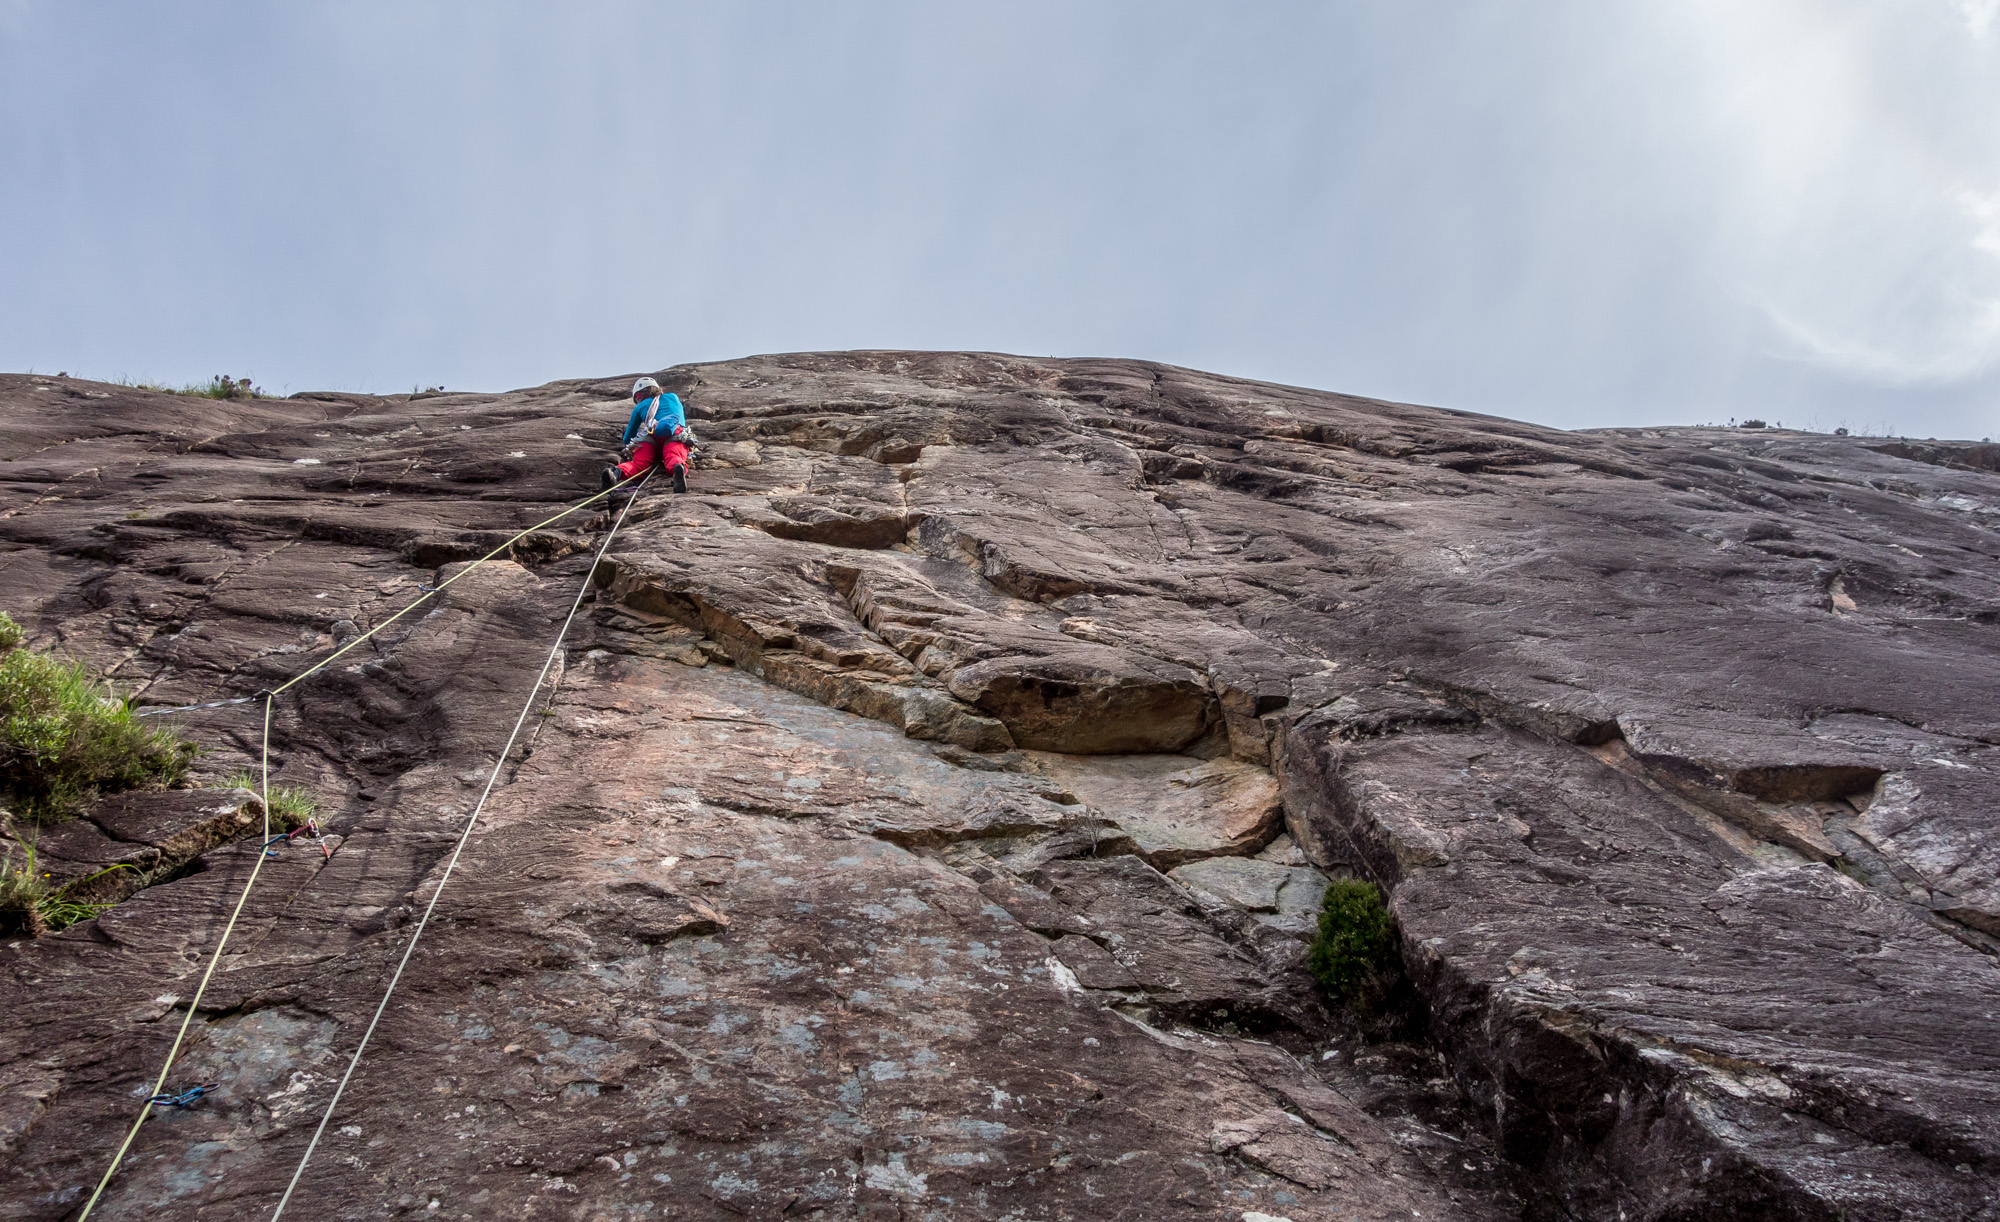
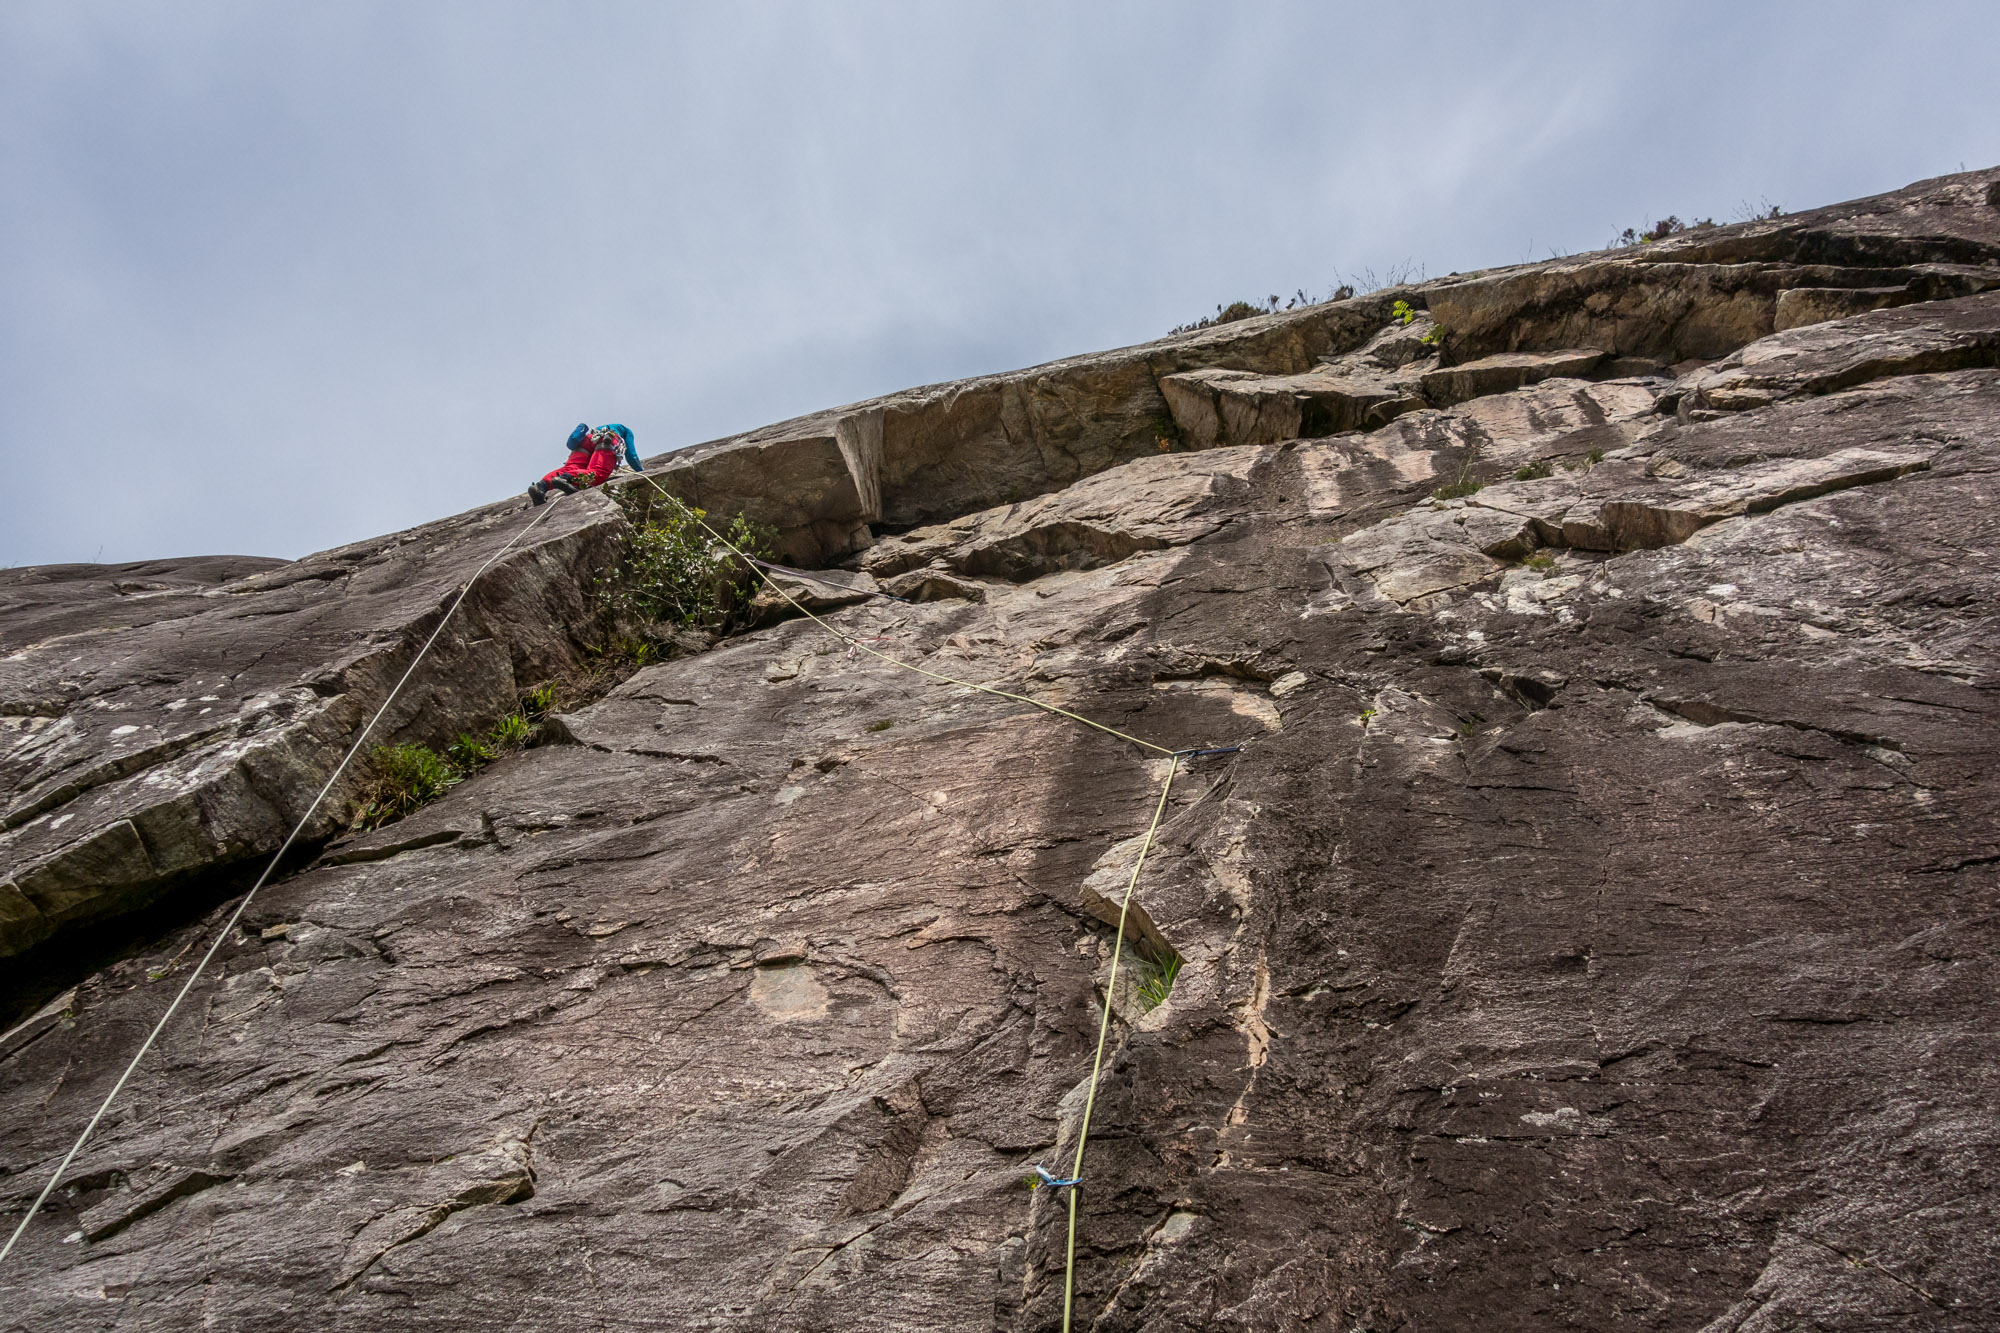
Route One seems to polarise opinion but we both thought it was great fun! Debs incentivised on the crux by the holly tree below…
A couple of stiff moves through the overlap with tricky footwork leads to the security of the slab above
Another perspective on the first pitch of Route Two as a leader romps up the route
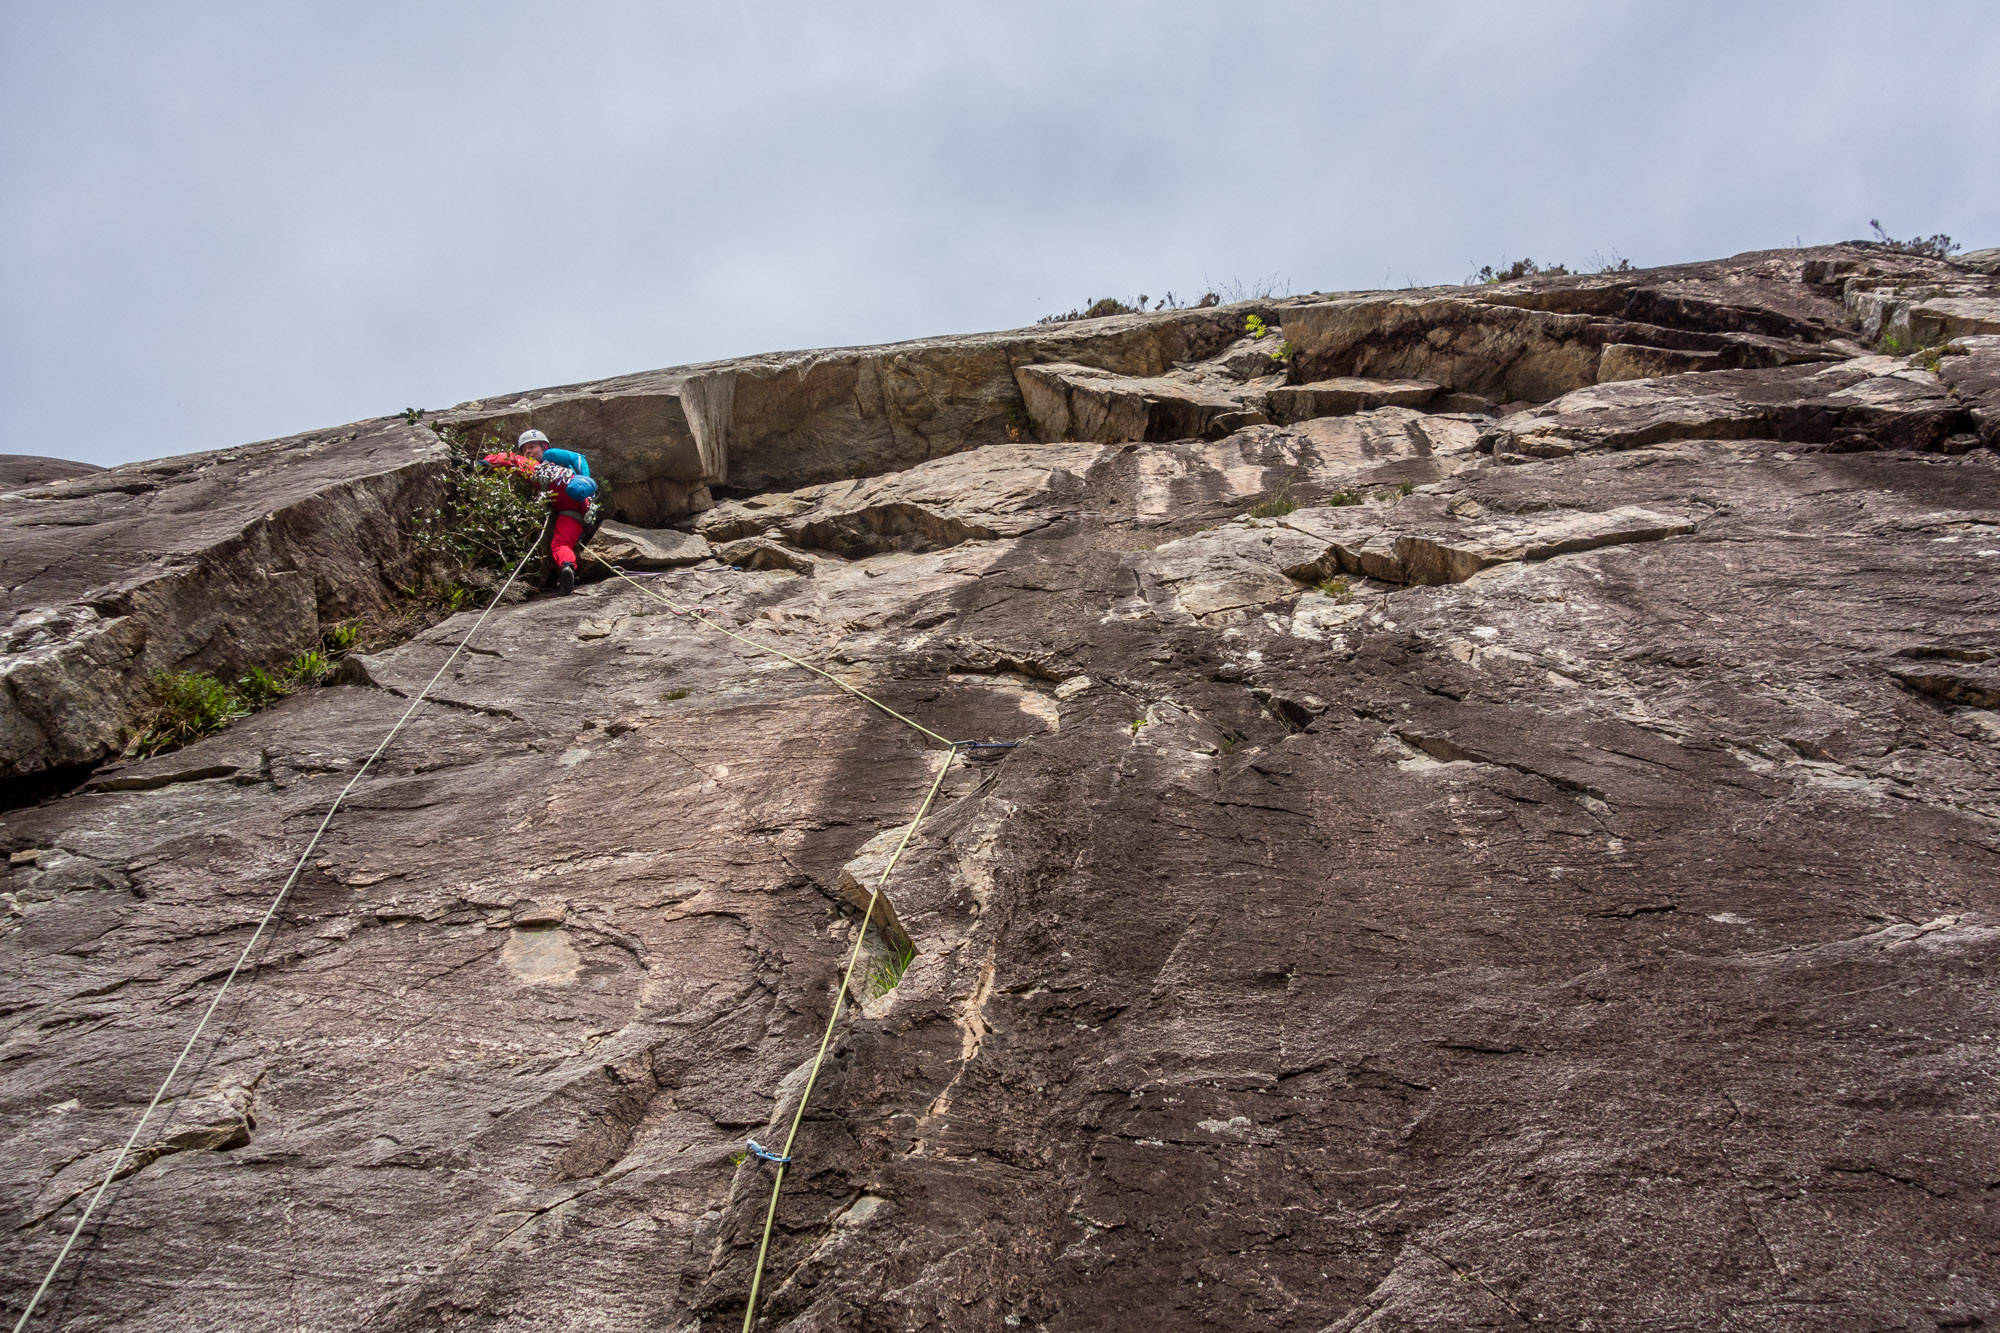
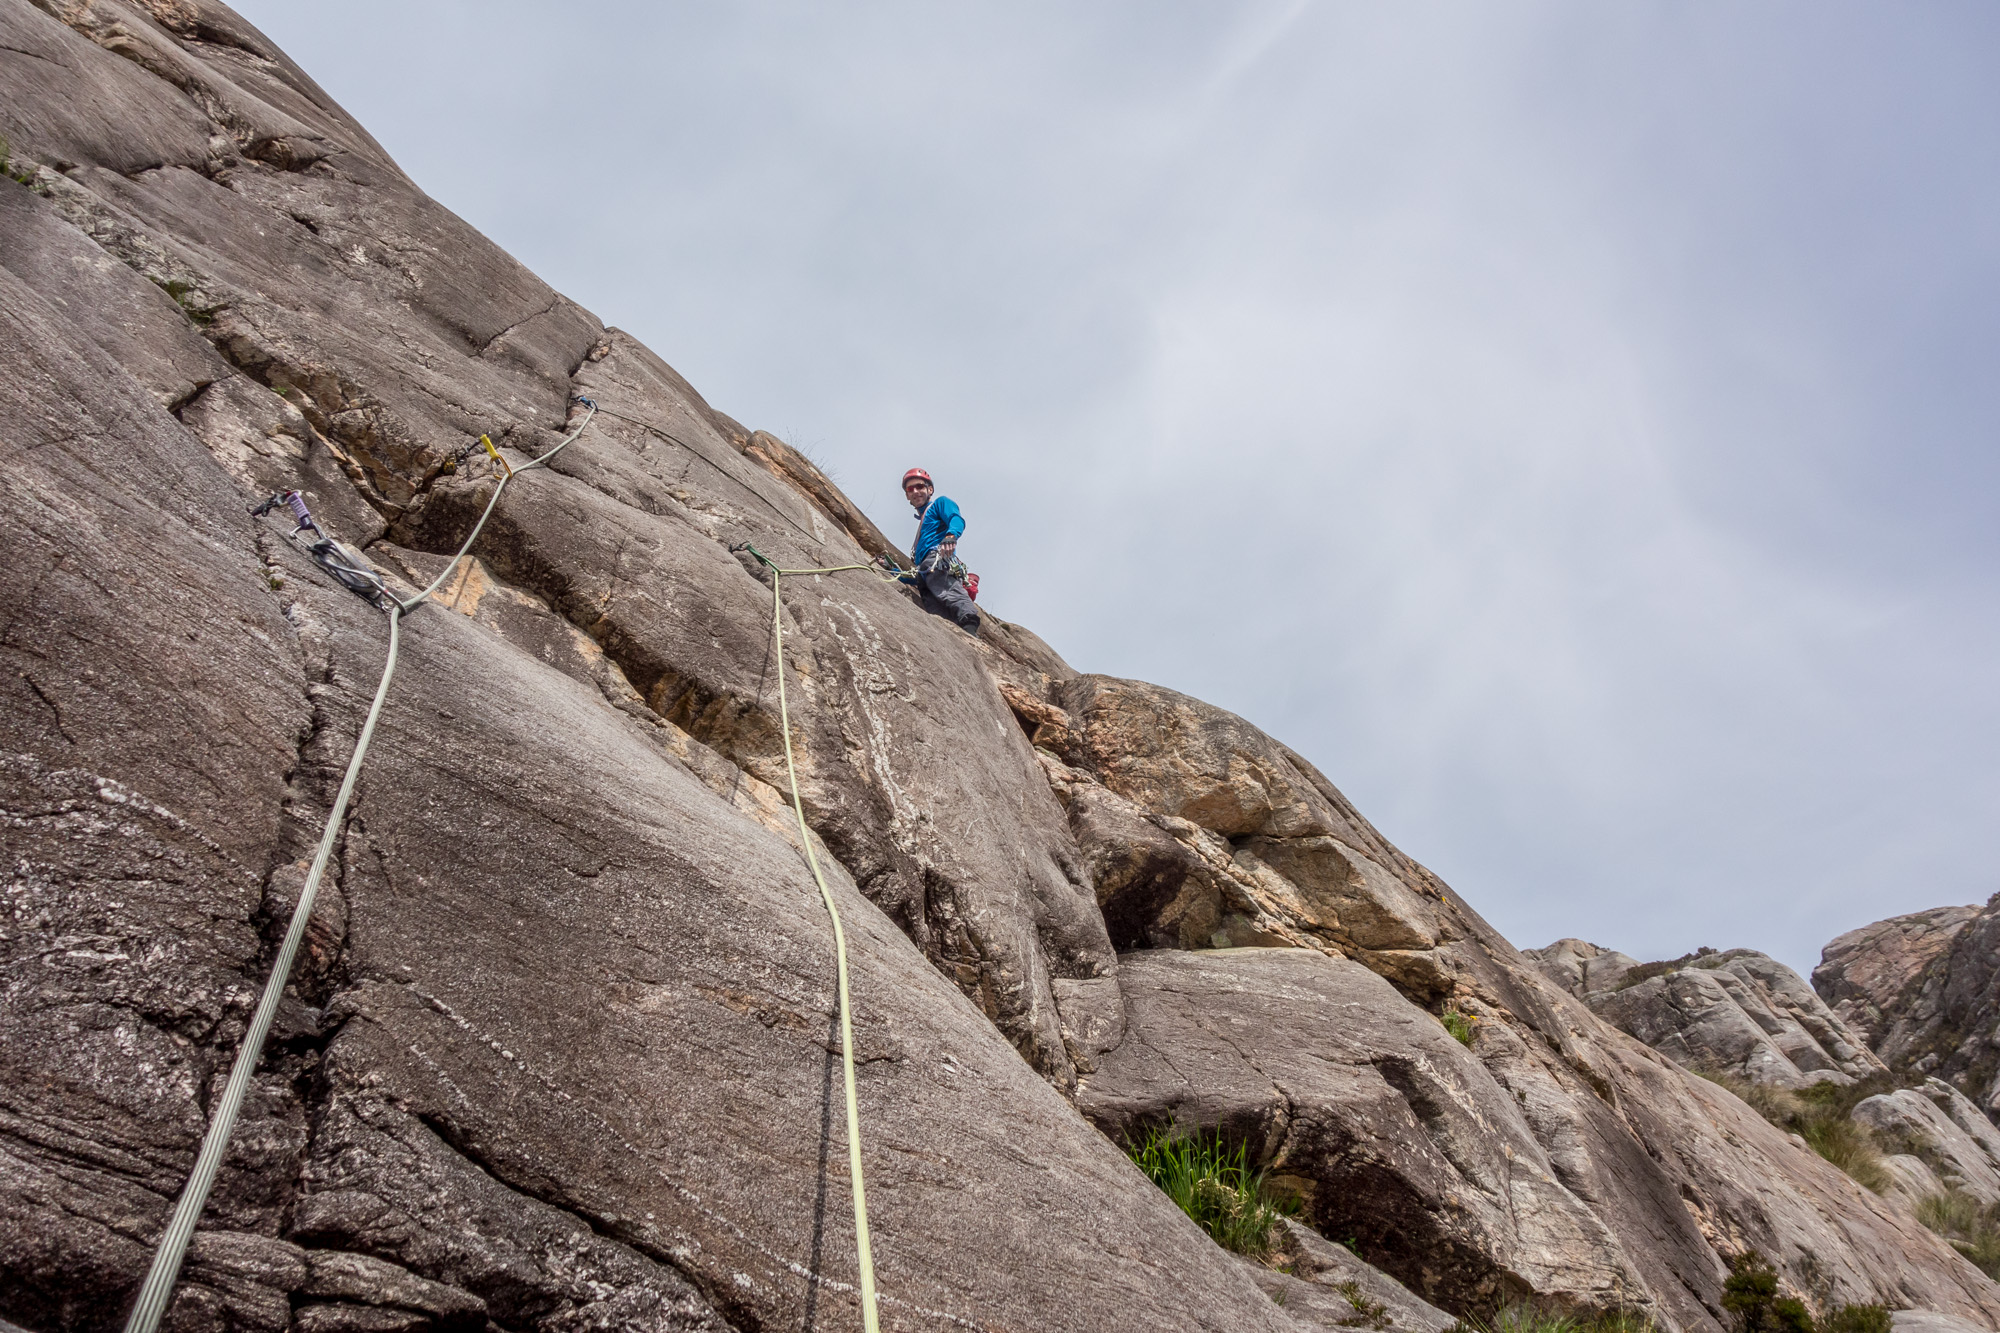
More fabulous cracked slabs on pitch 2 of Route One, a happy leader above the crux
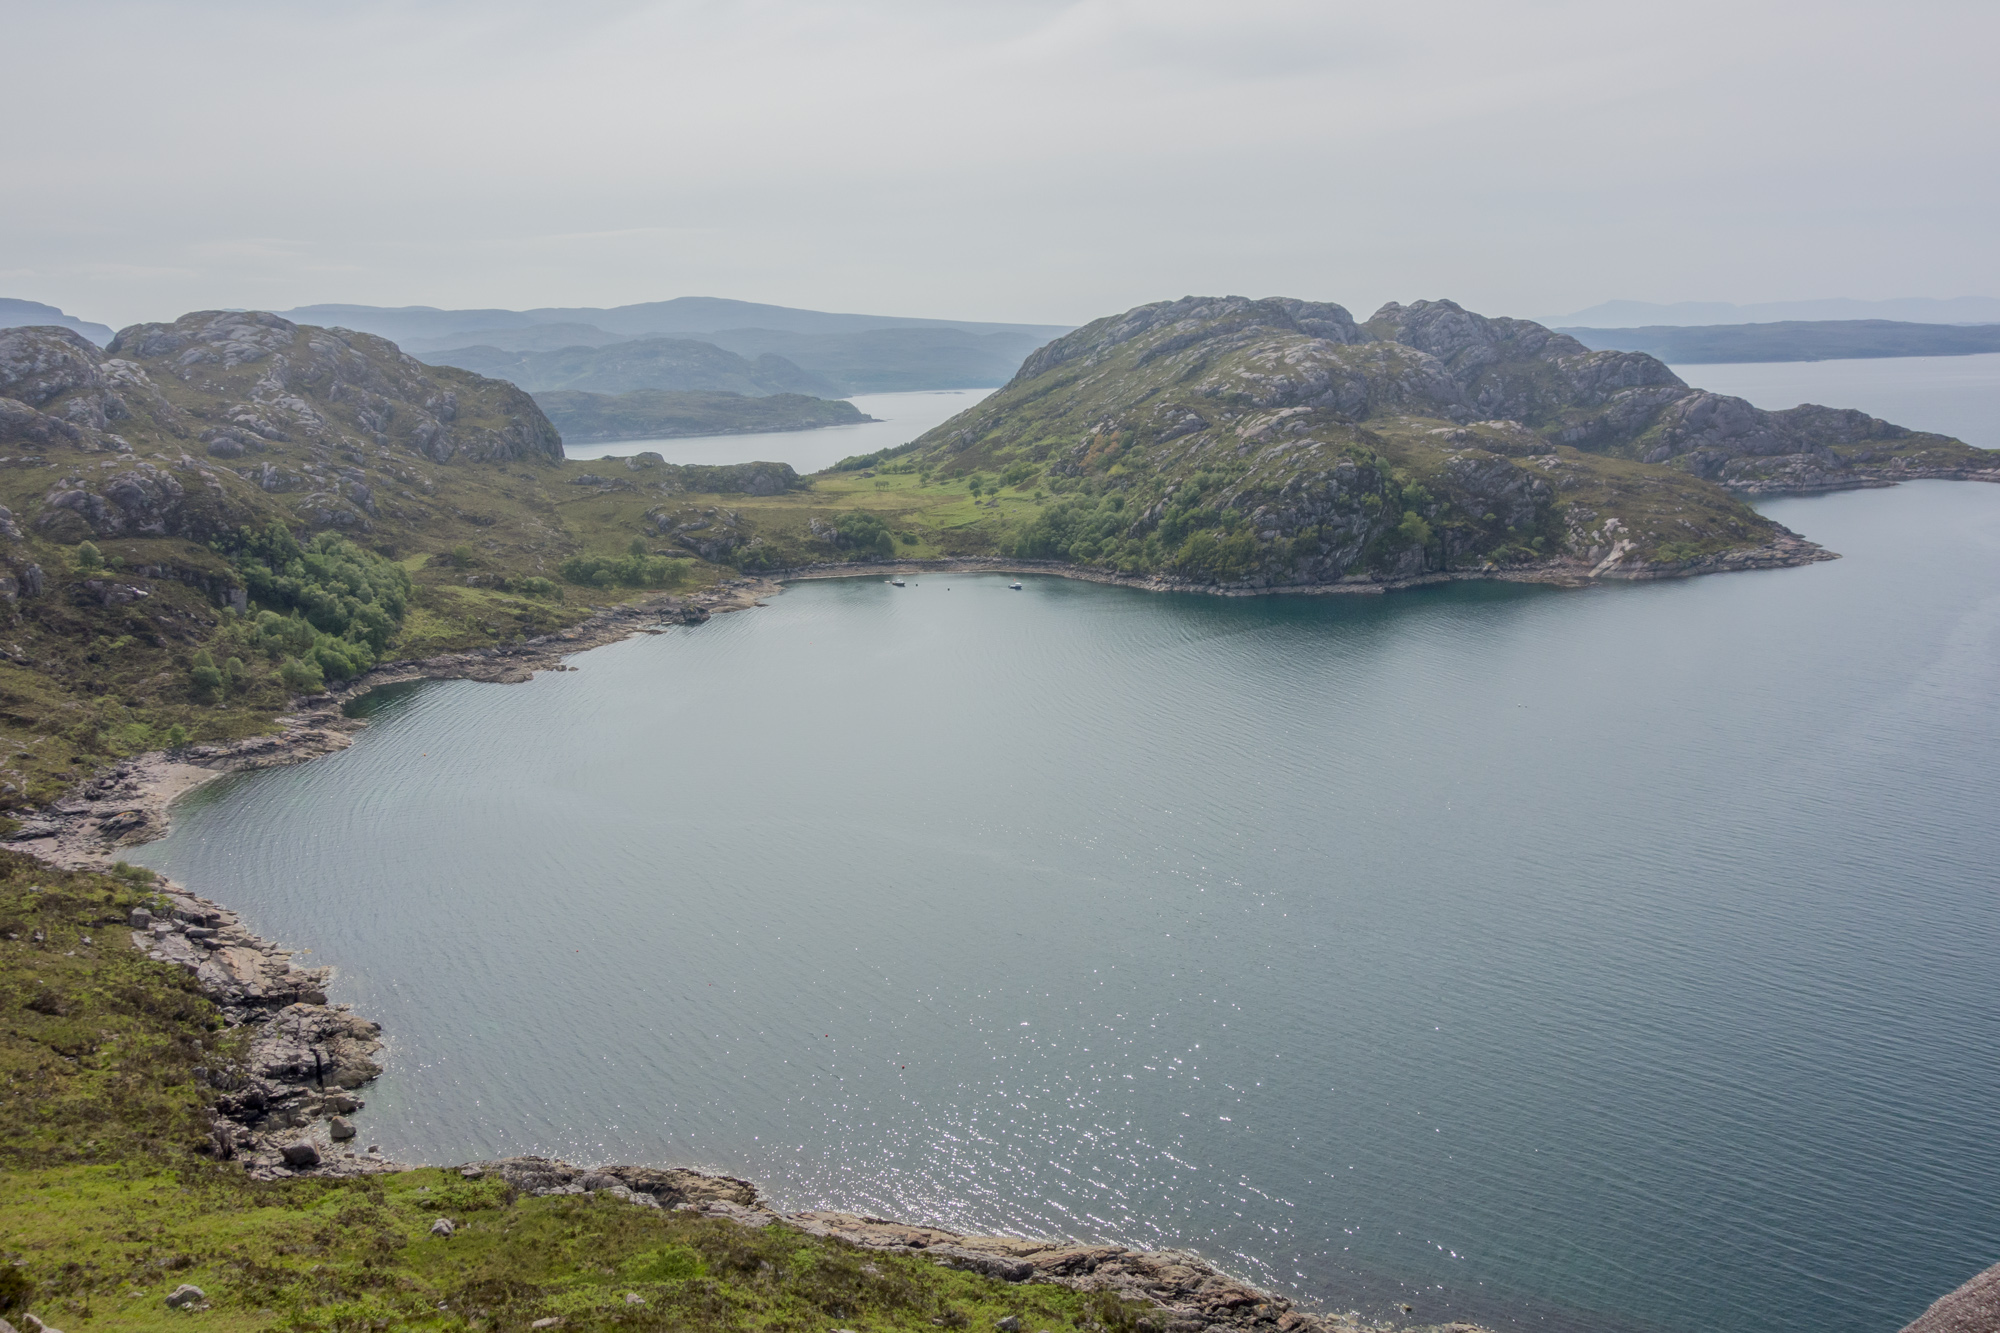
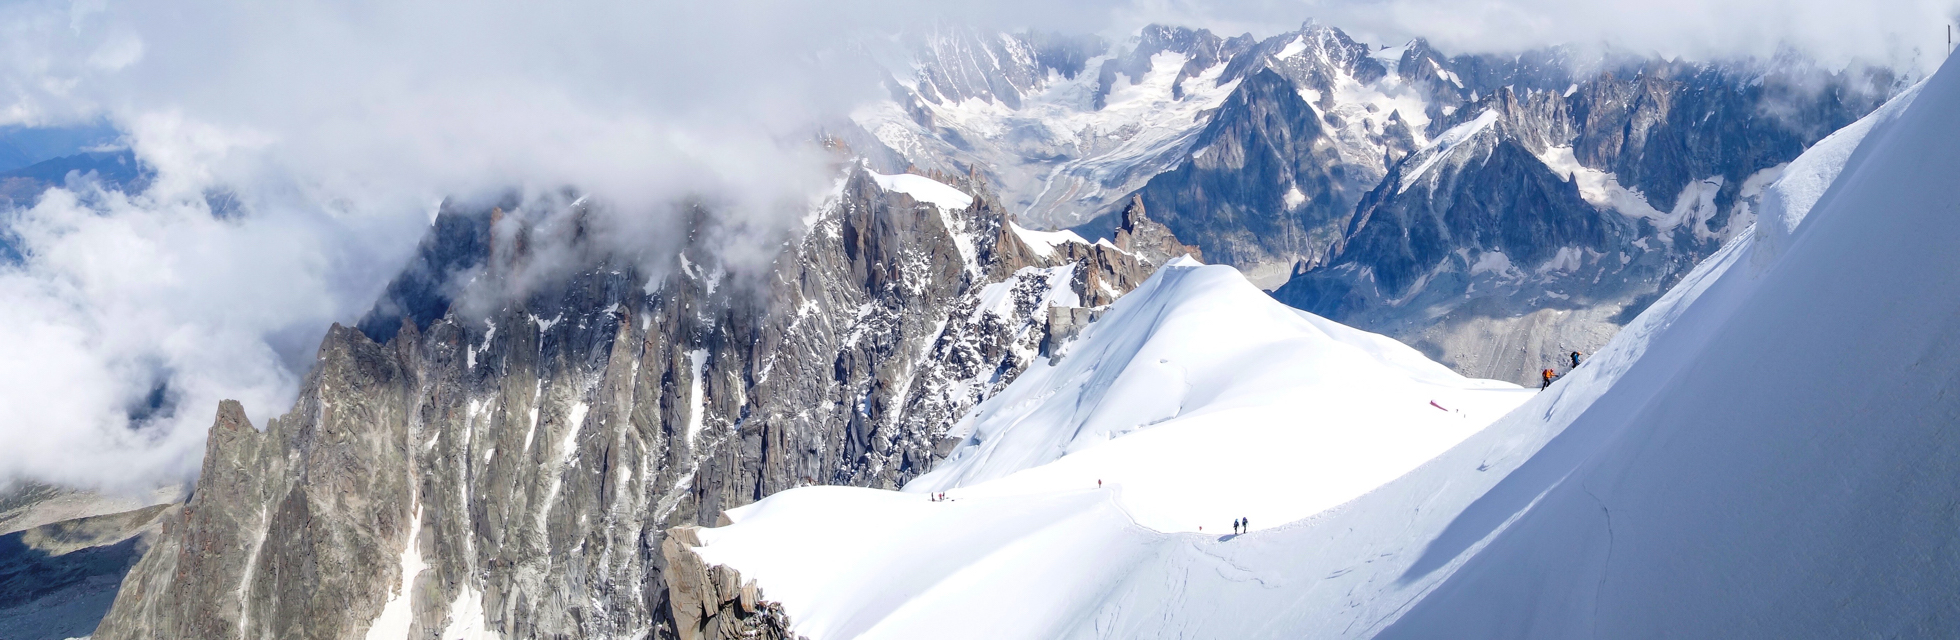
The bay beneath the crags looking incredibly inviting as we reach boiling point on the slabs
Balanced on the ramp after the bouldery start to pitch 2 of Route Three
Yup, it goes up there! Debs smiles wryly below the crux of Route Three before fighting the good fight