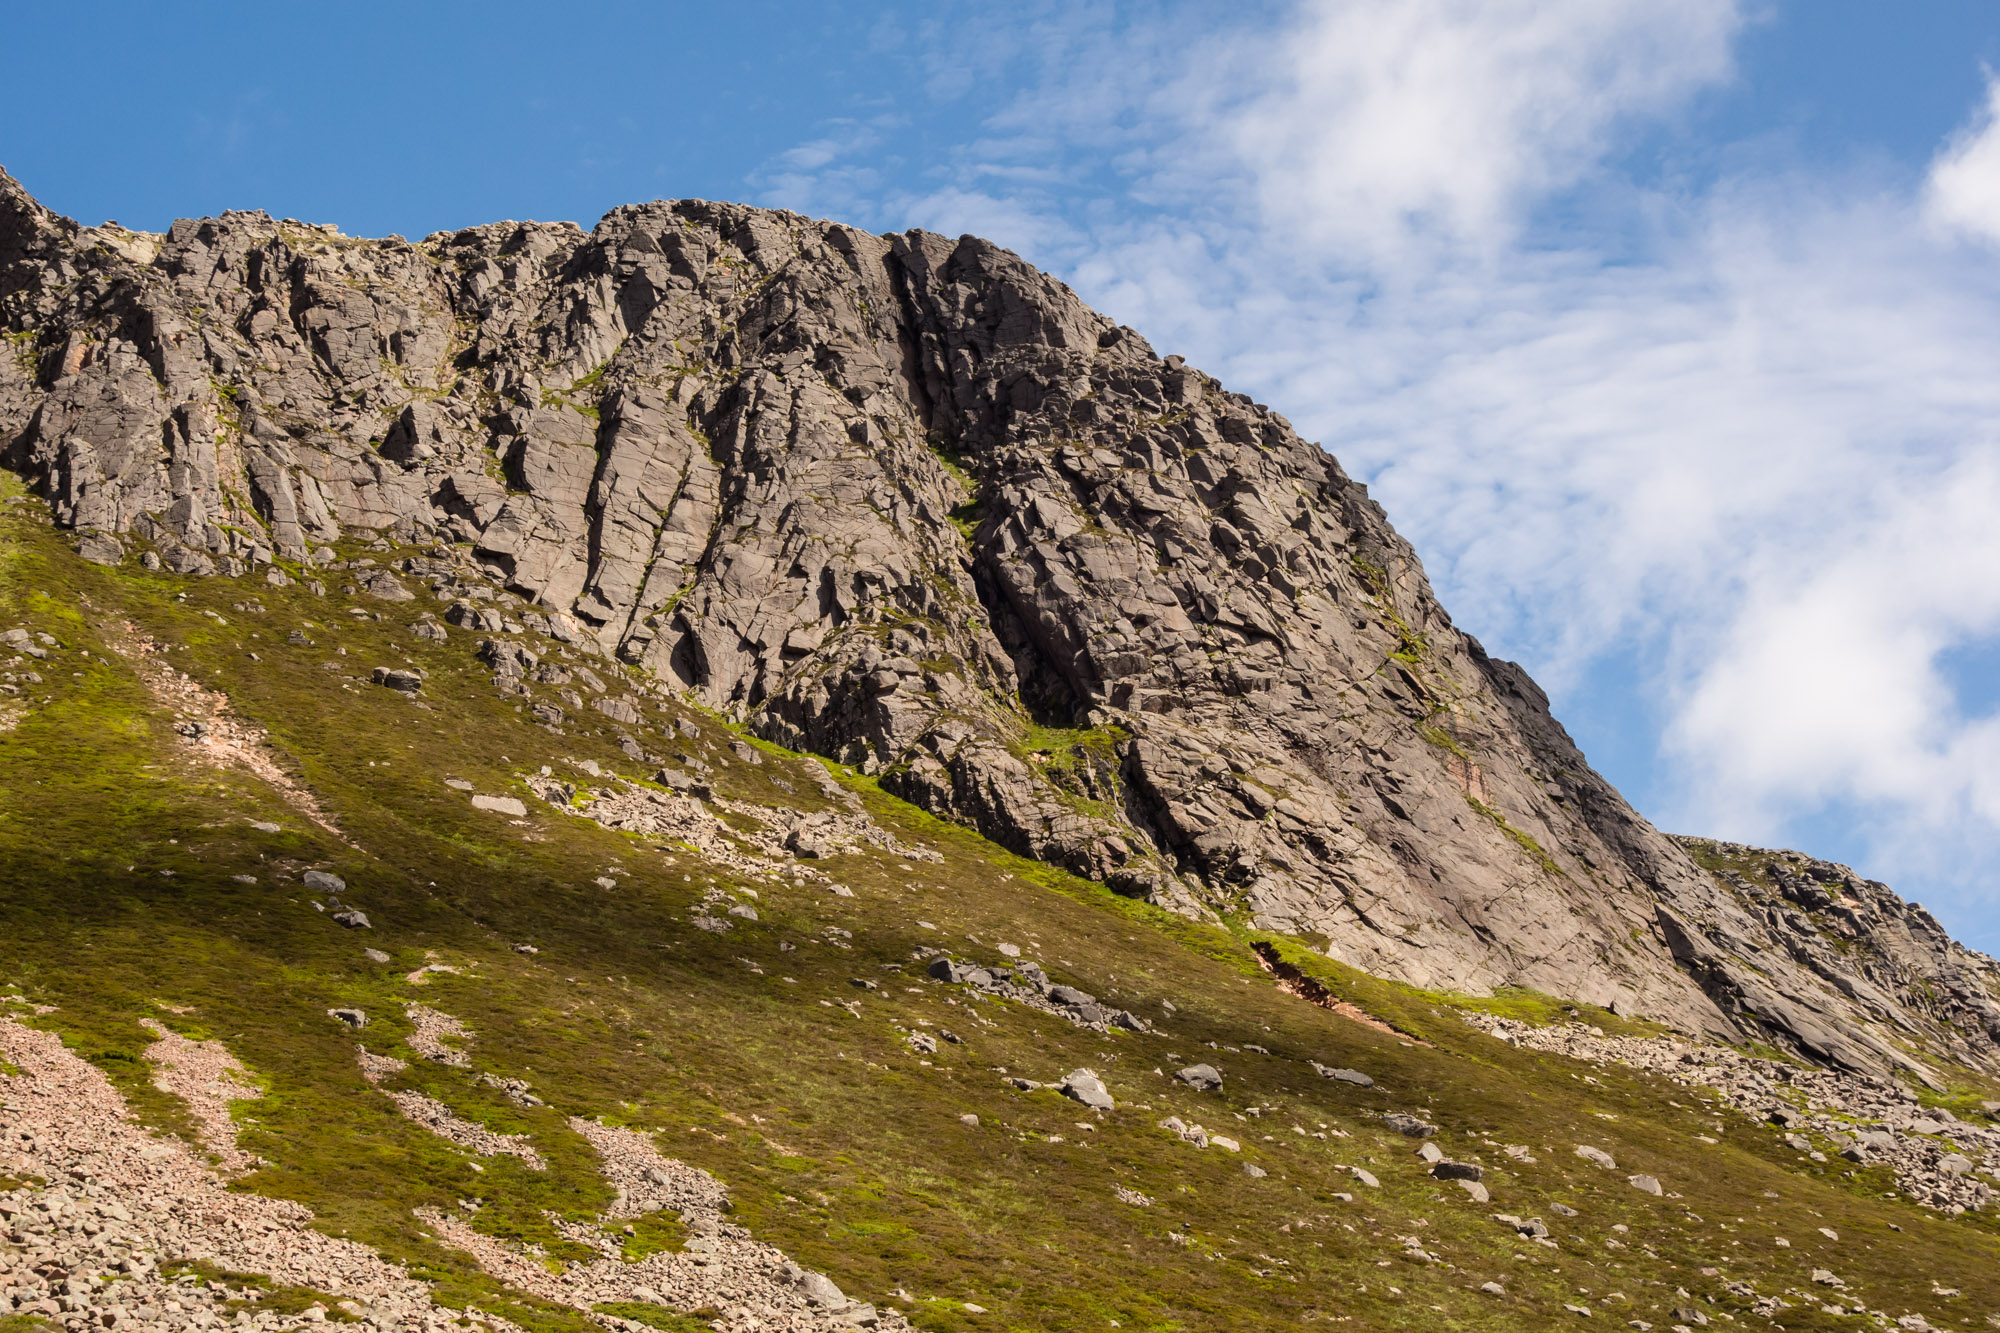
Cool, breezy weather with some sun in prospect meant that the south-facing and quick-drying crags of Stag Rocks were a good choice last weekend. Despite the route’s reputation, The Sandpyper Direct (HVS), with its bold slab climbing and devious line proved too hard to resist for Ric, Andy and myself.
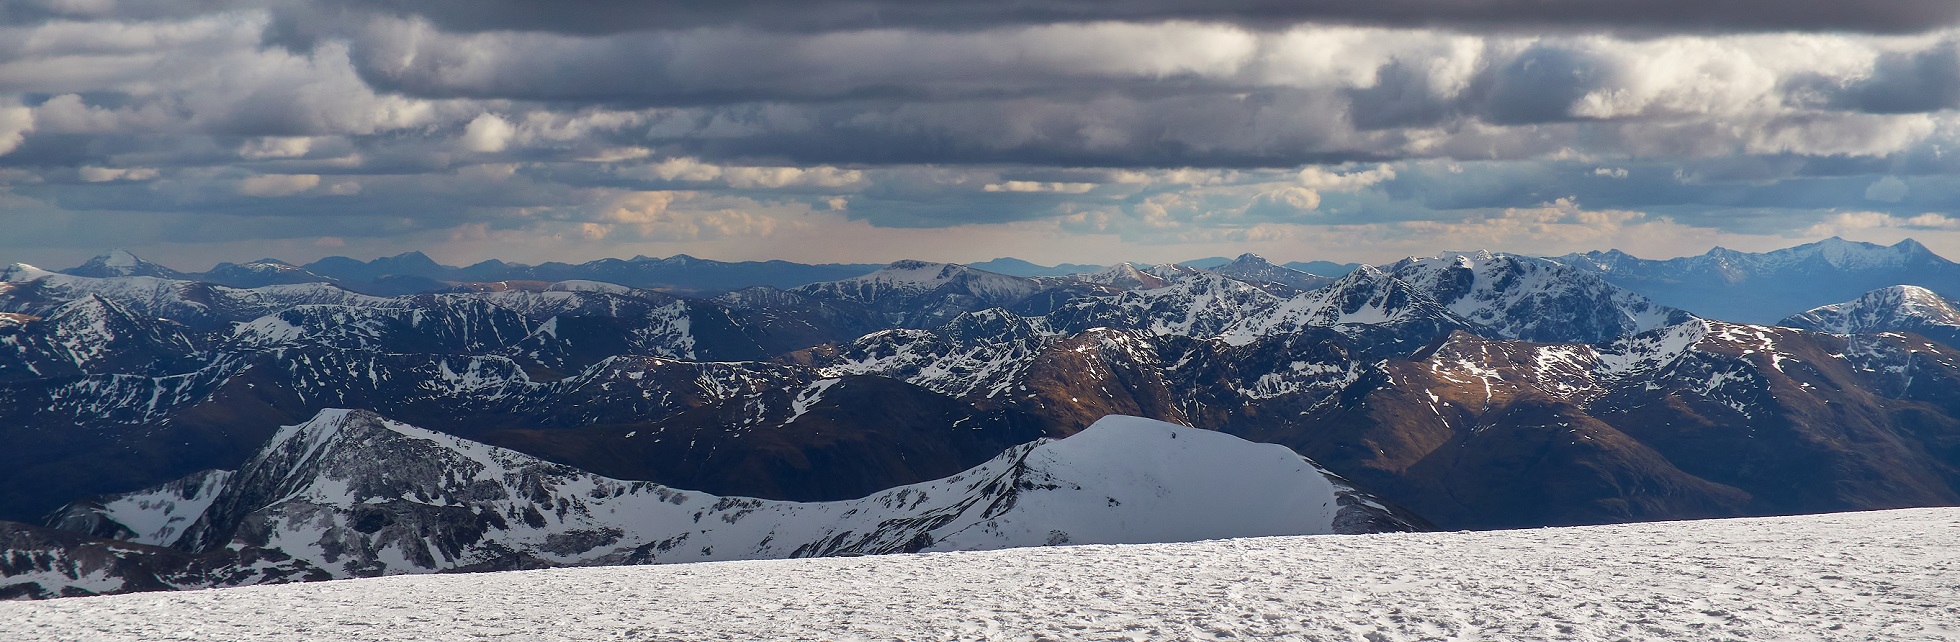
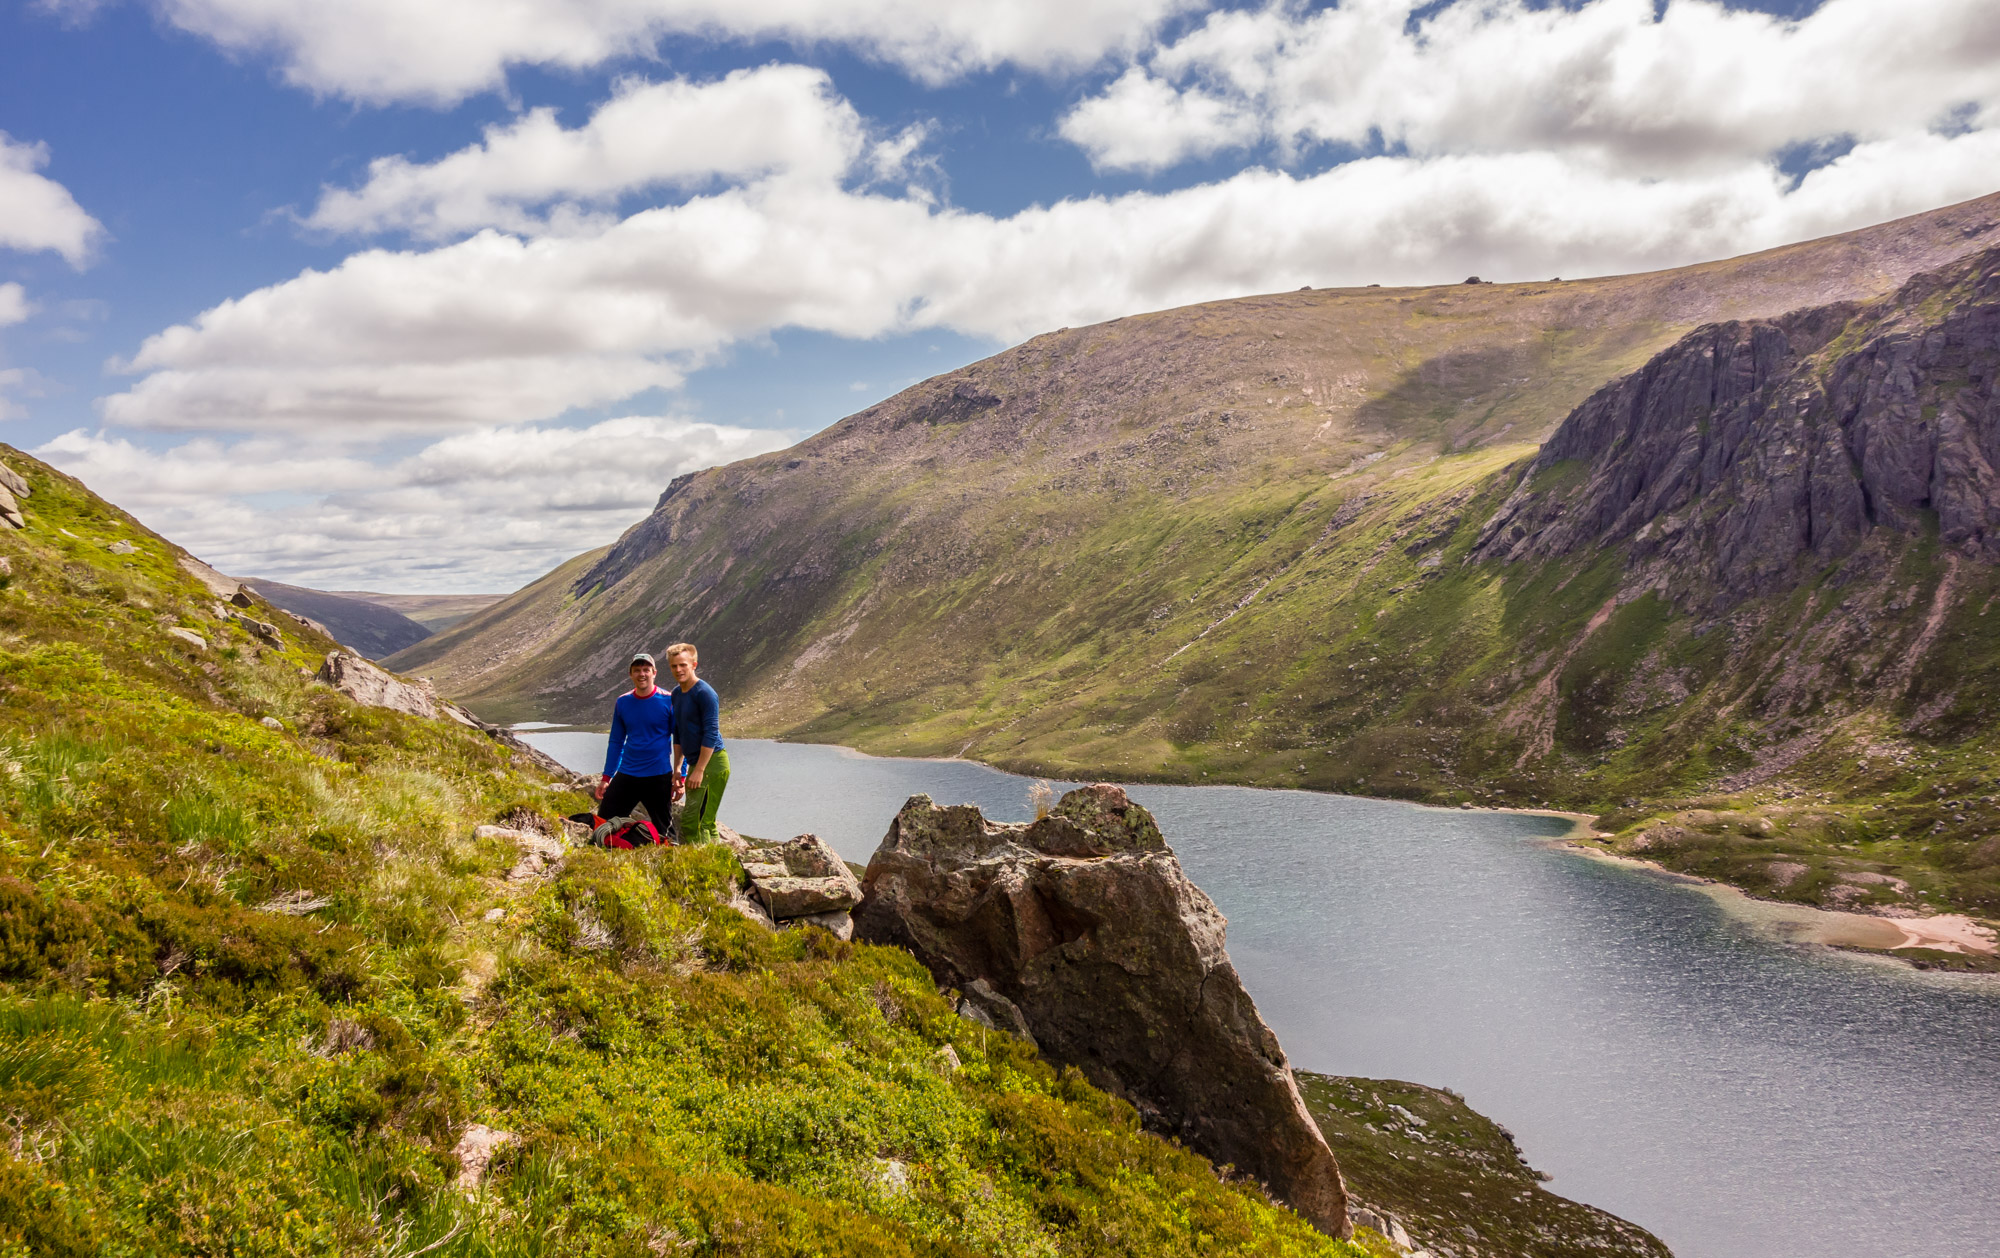
The wind was clearly stronger than forecast and combined with the chilly air we found ourselves gearing up in all our layers and gloves – classic Scottish summer rock conditions then! The views throughout the Loch Avon basin were as stunning as ever and it was great to look over at the Shelterstone and remember our ascent of The Needle a month prior.
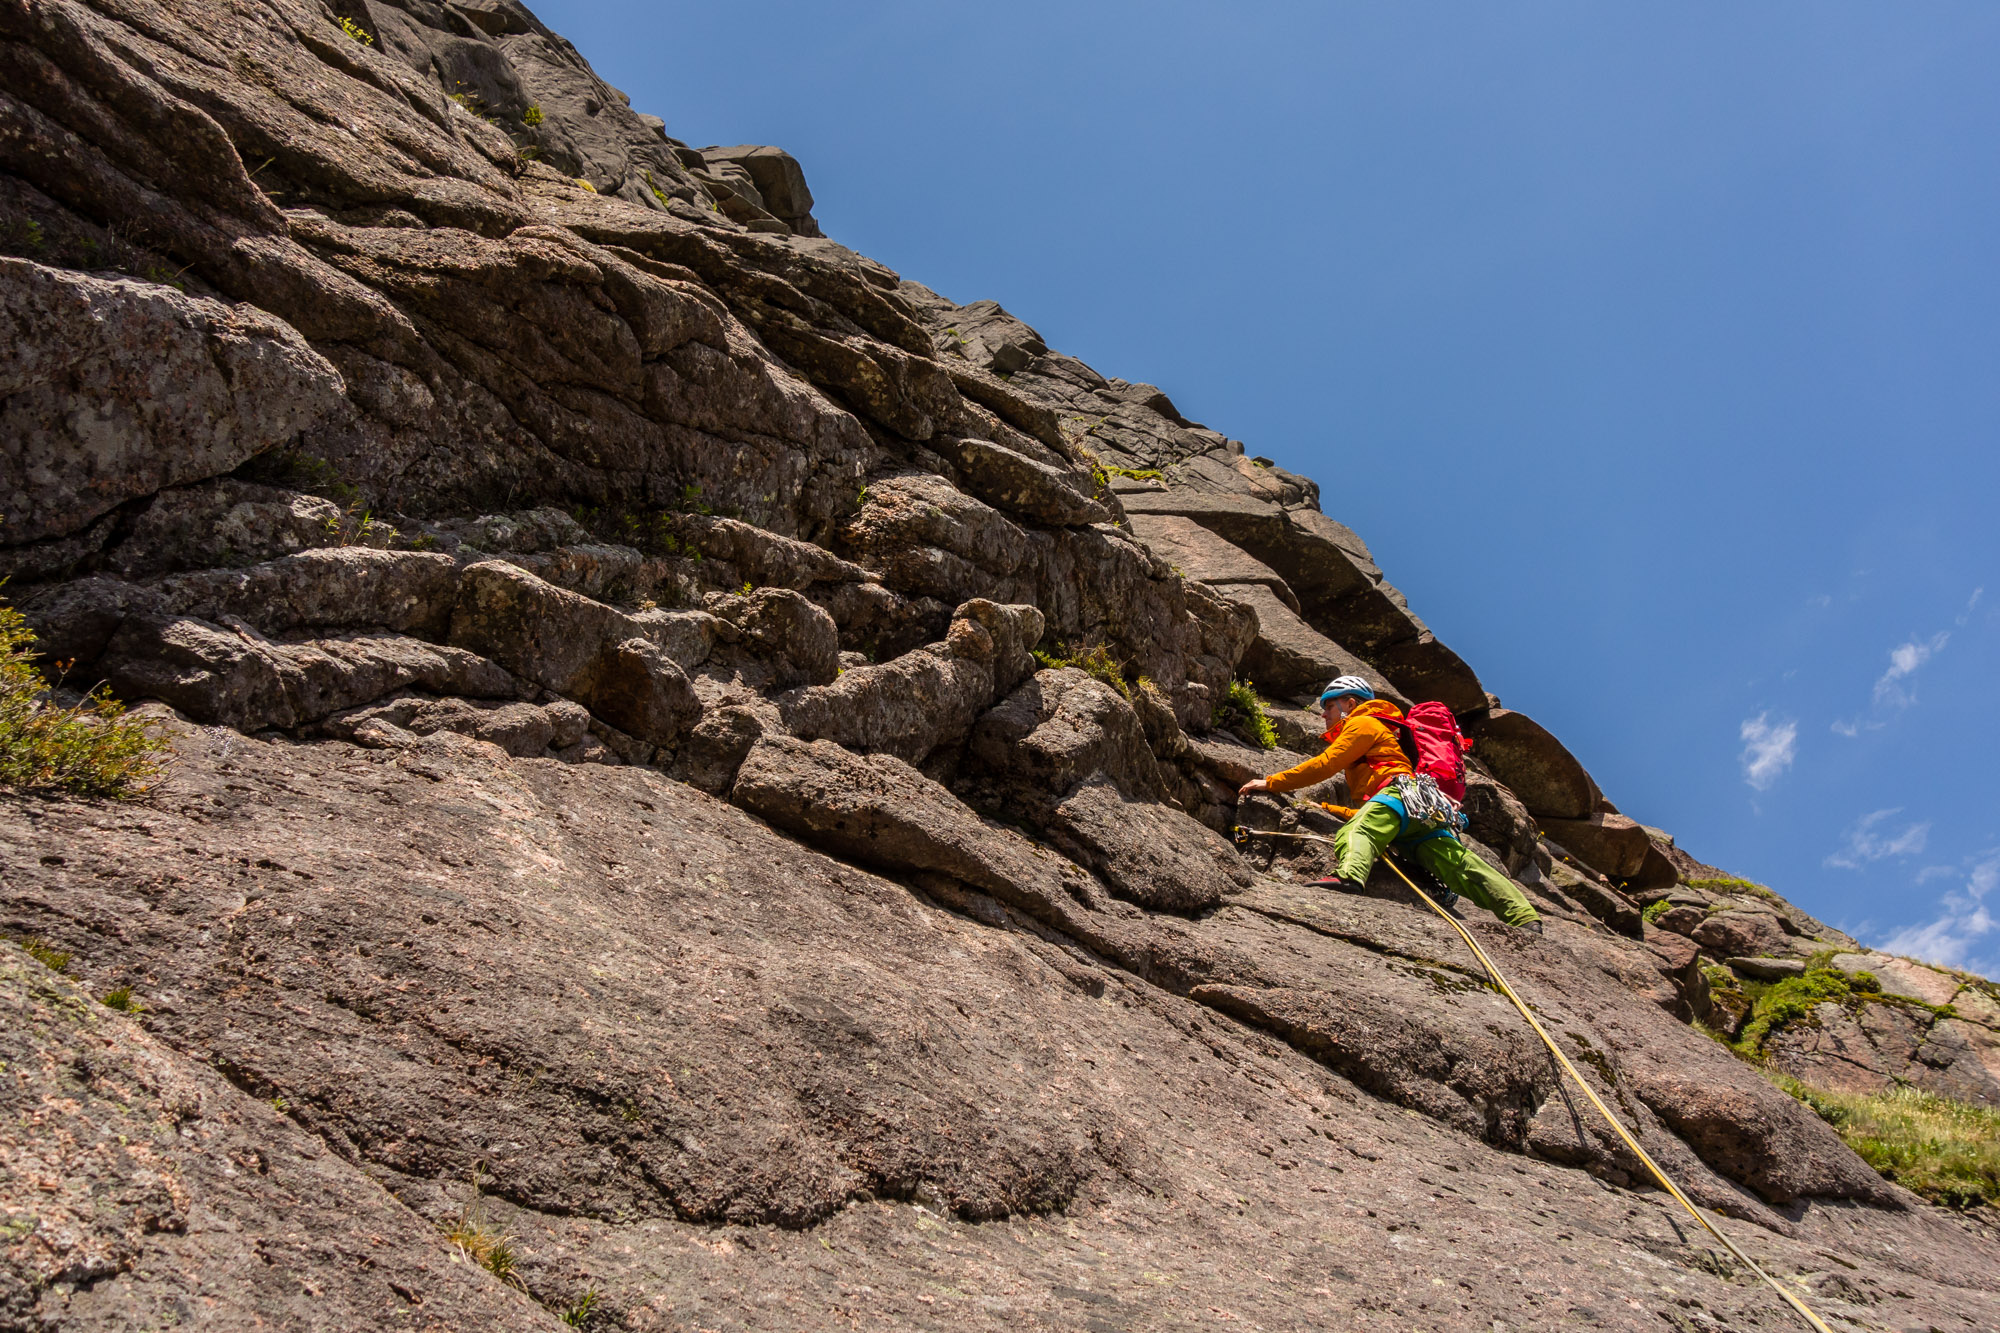
Bold slab climbing is Ric and Andy’s forte so I had no qualms with the boys dispatching the lower part of the route. We chose to lead in blocks of two pitches to minimise the phaff at belays associated with climbing in a three.
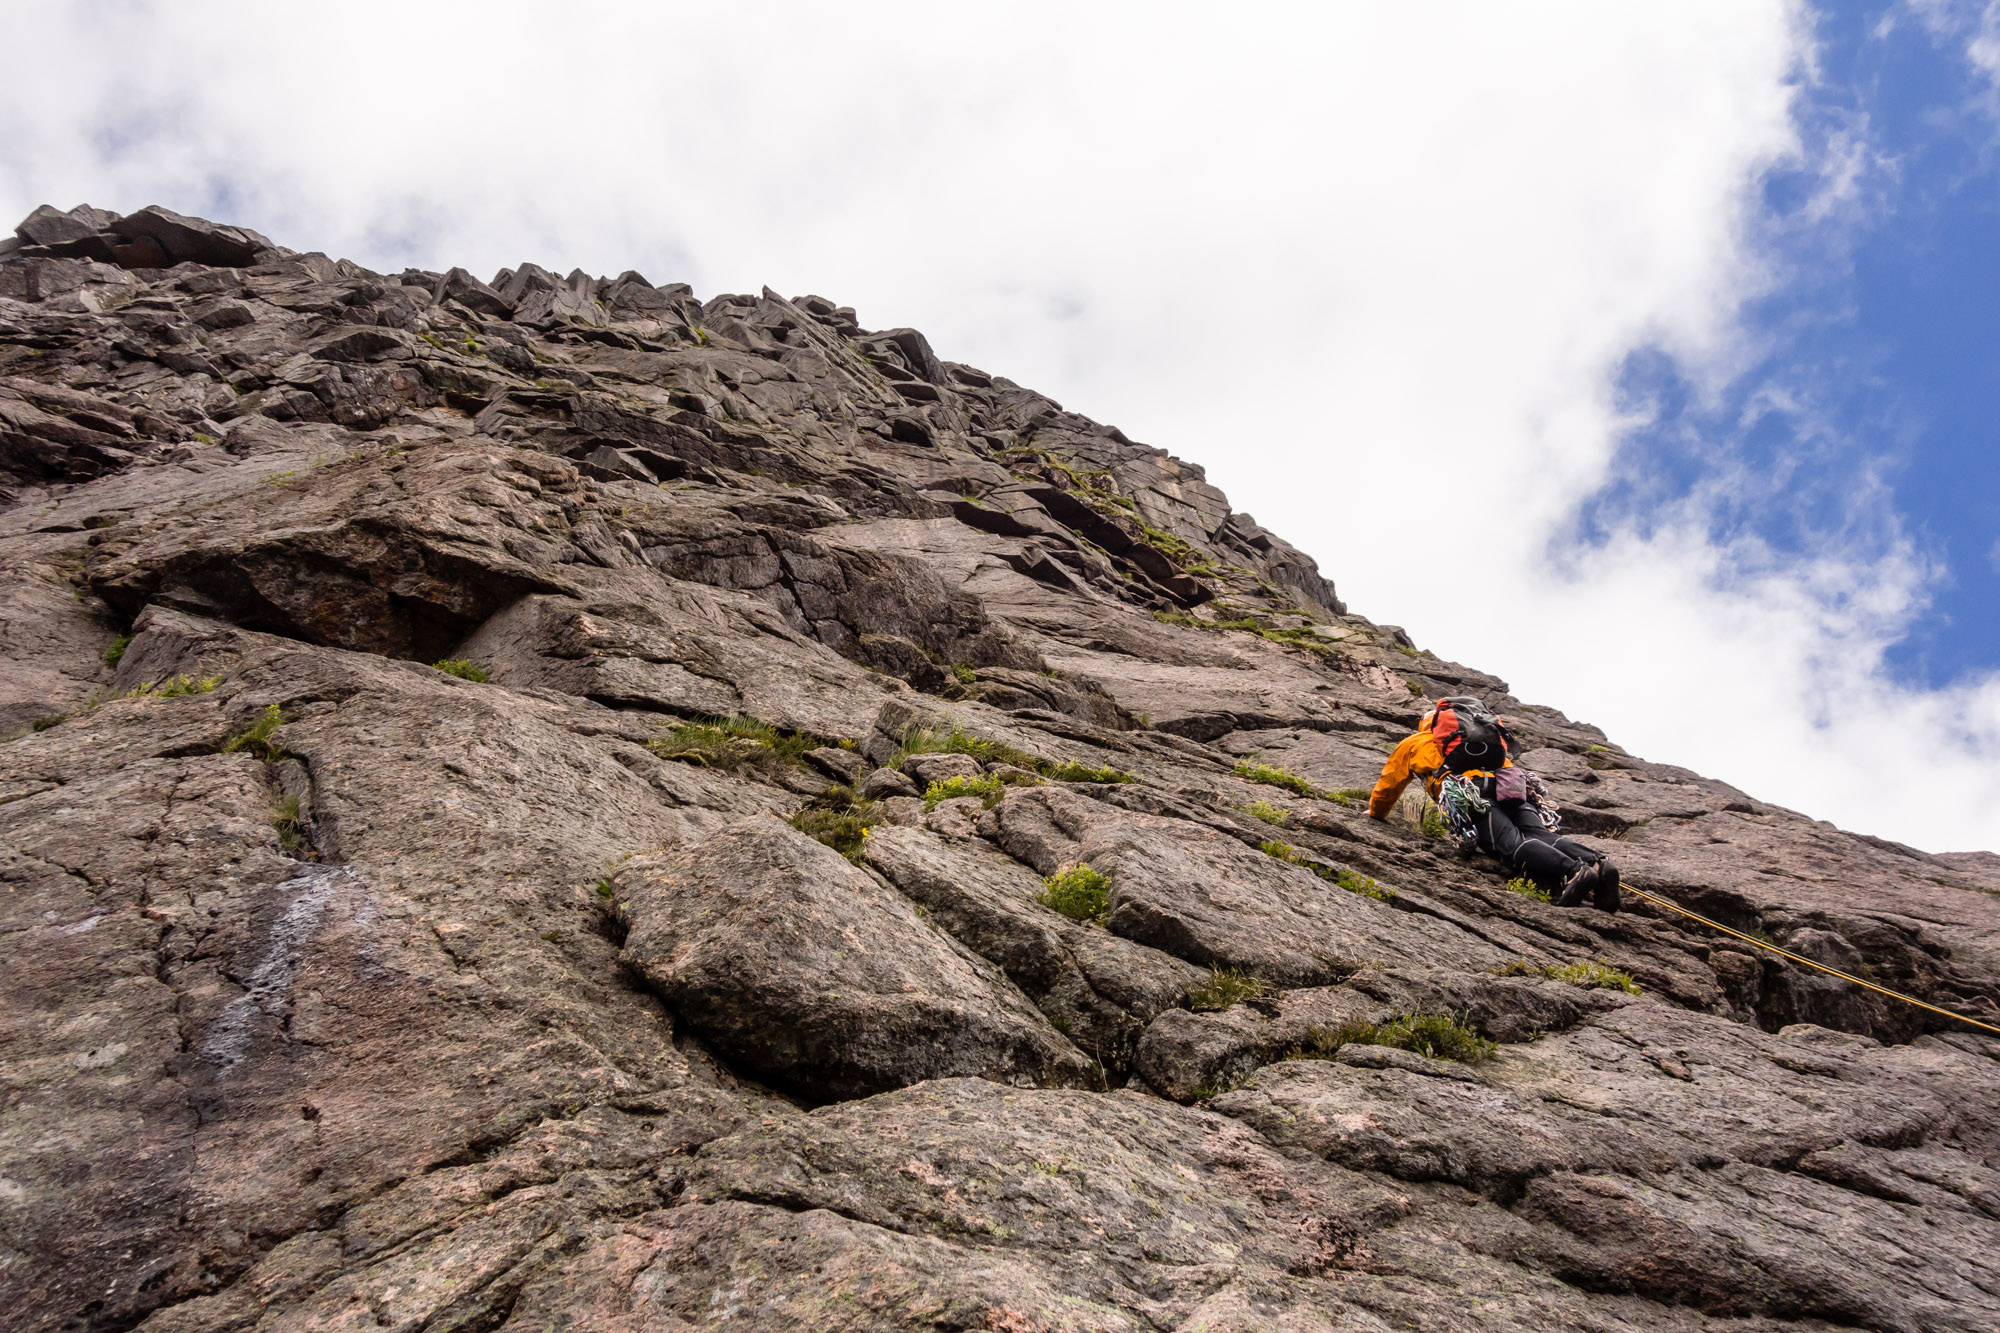
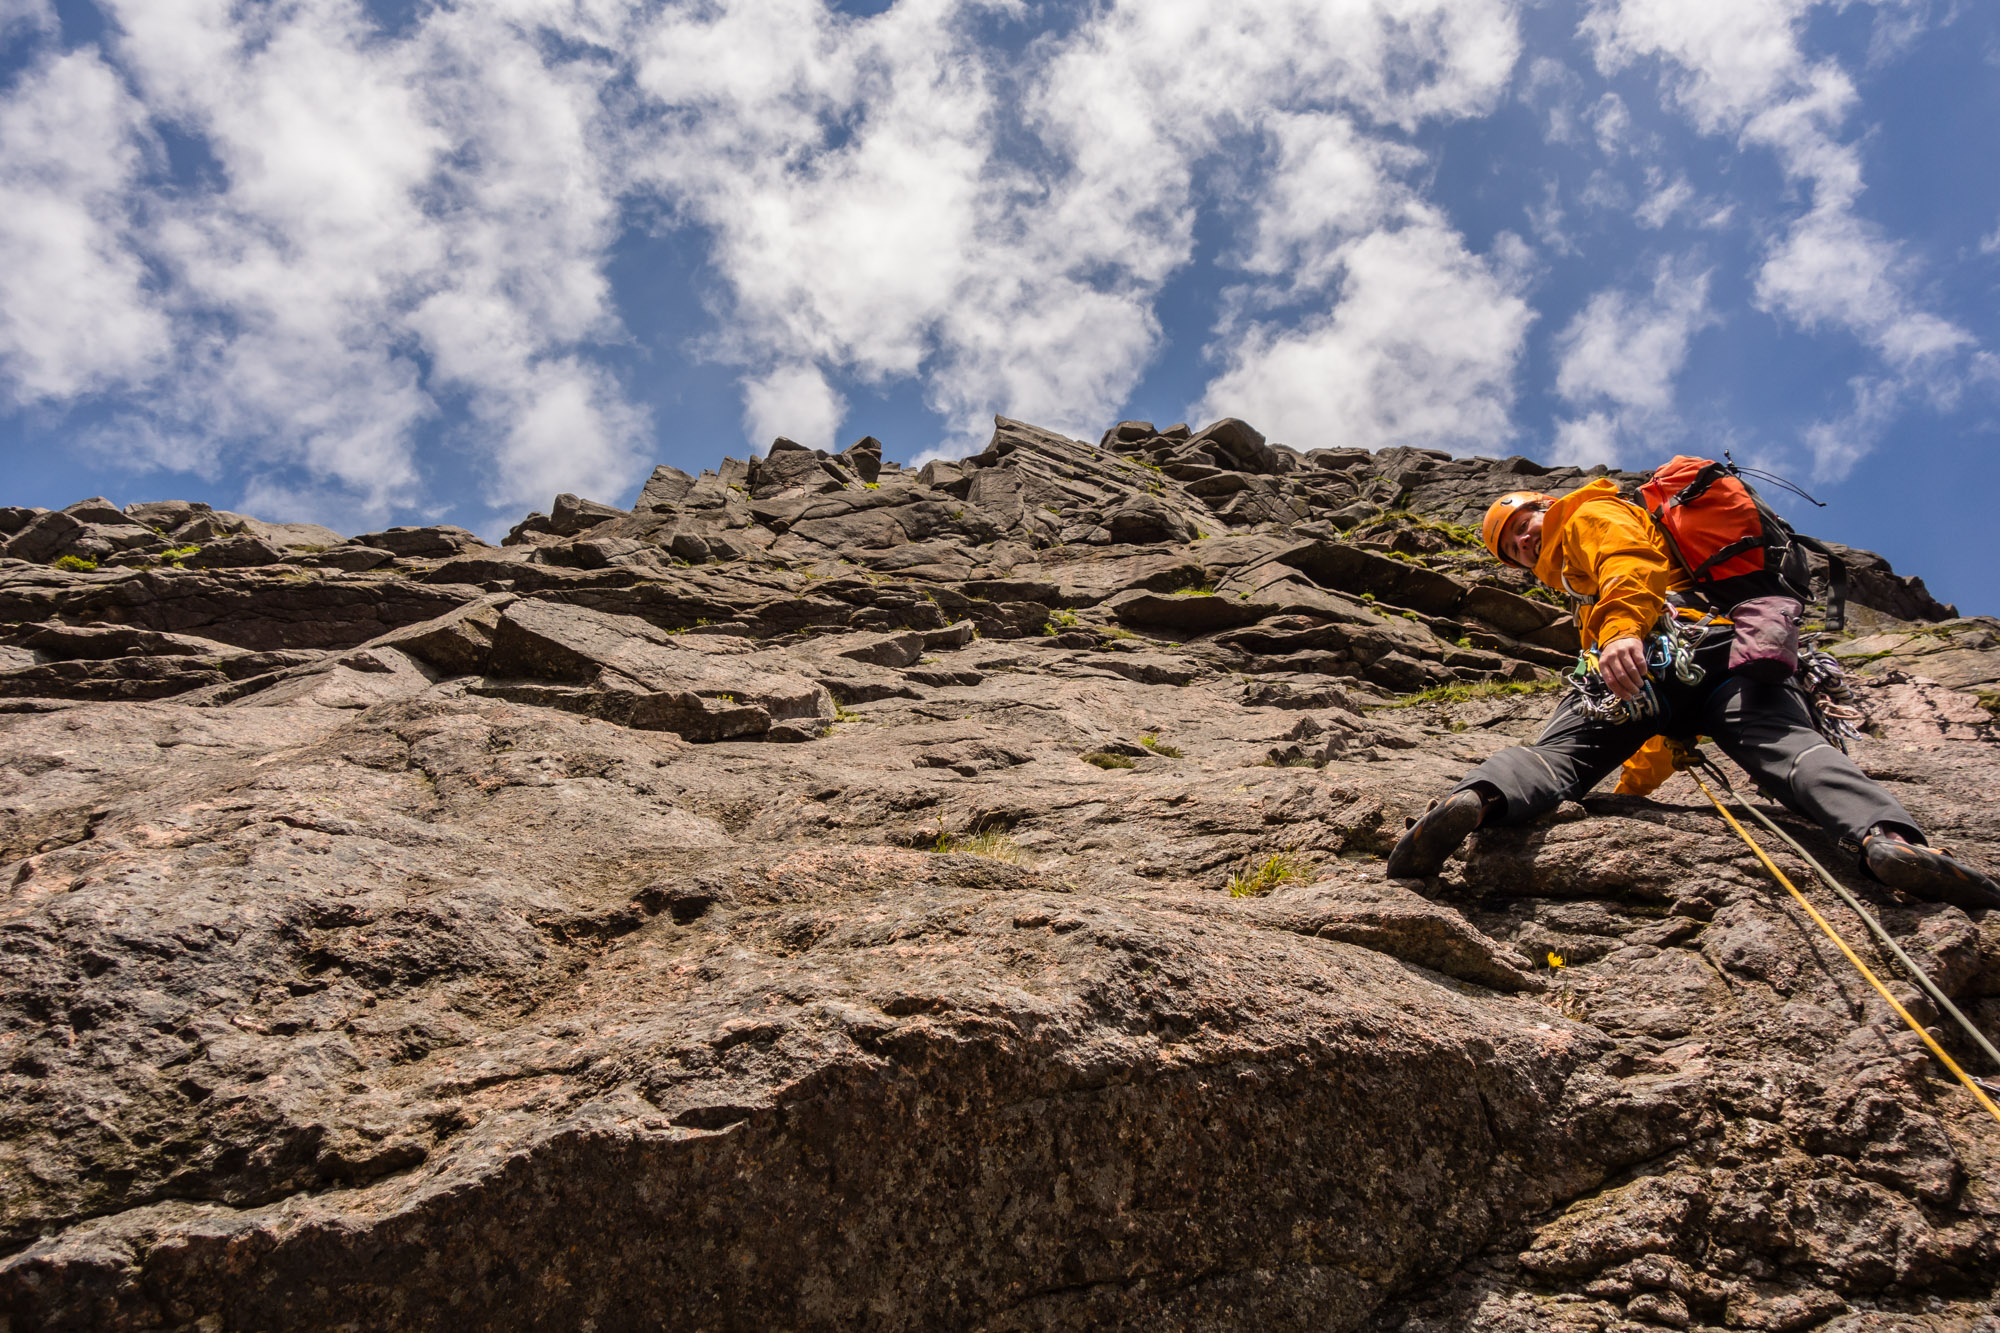
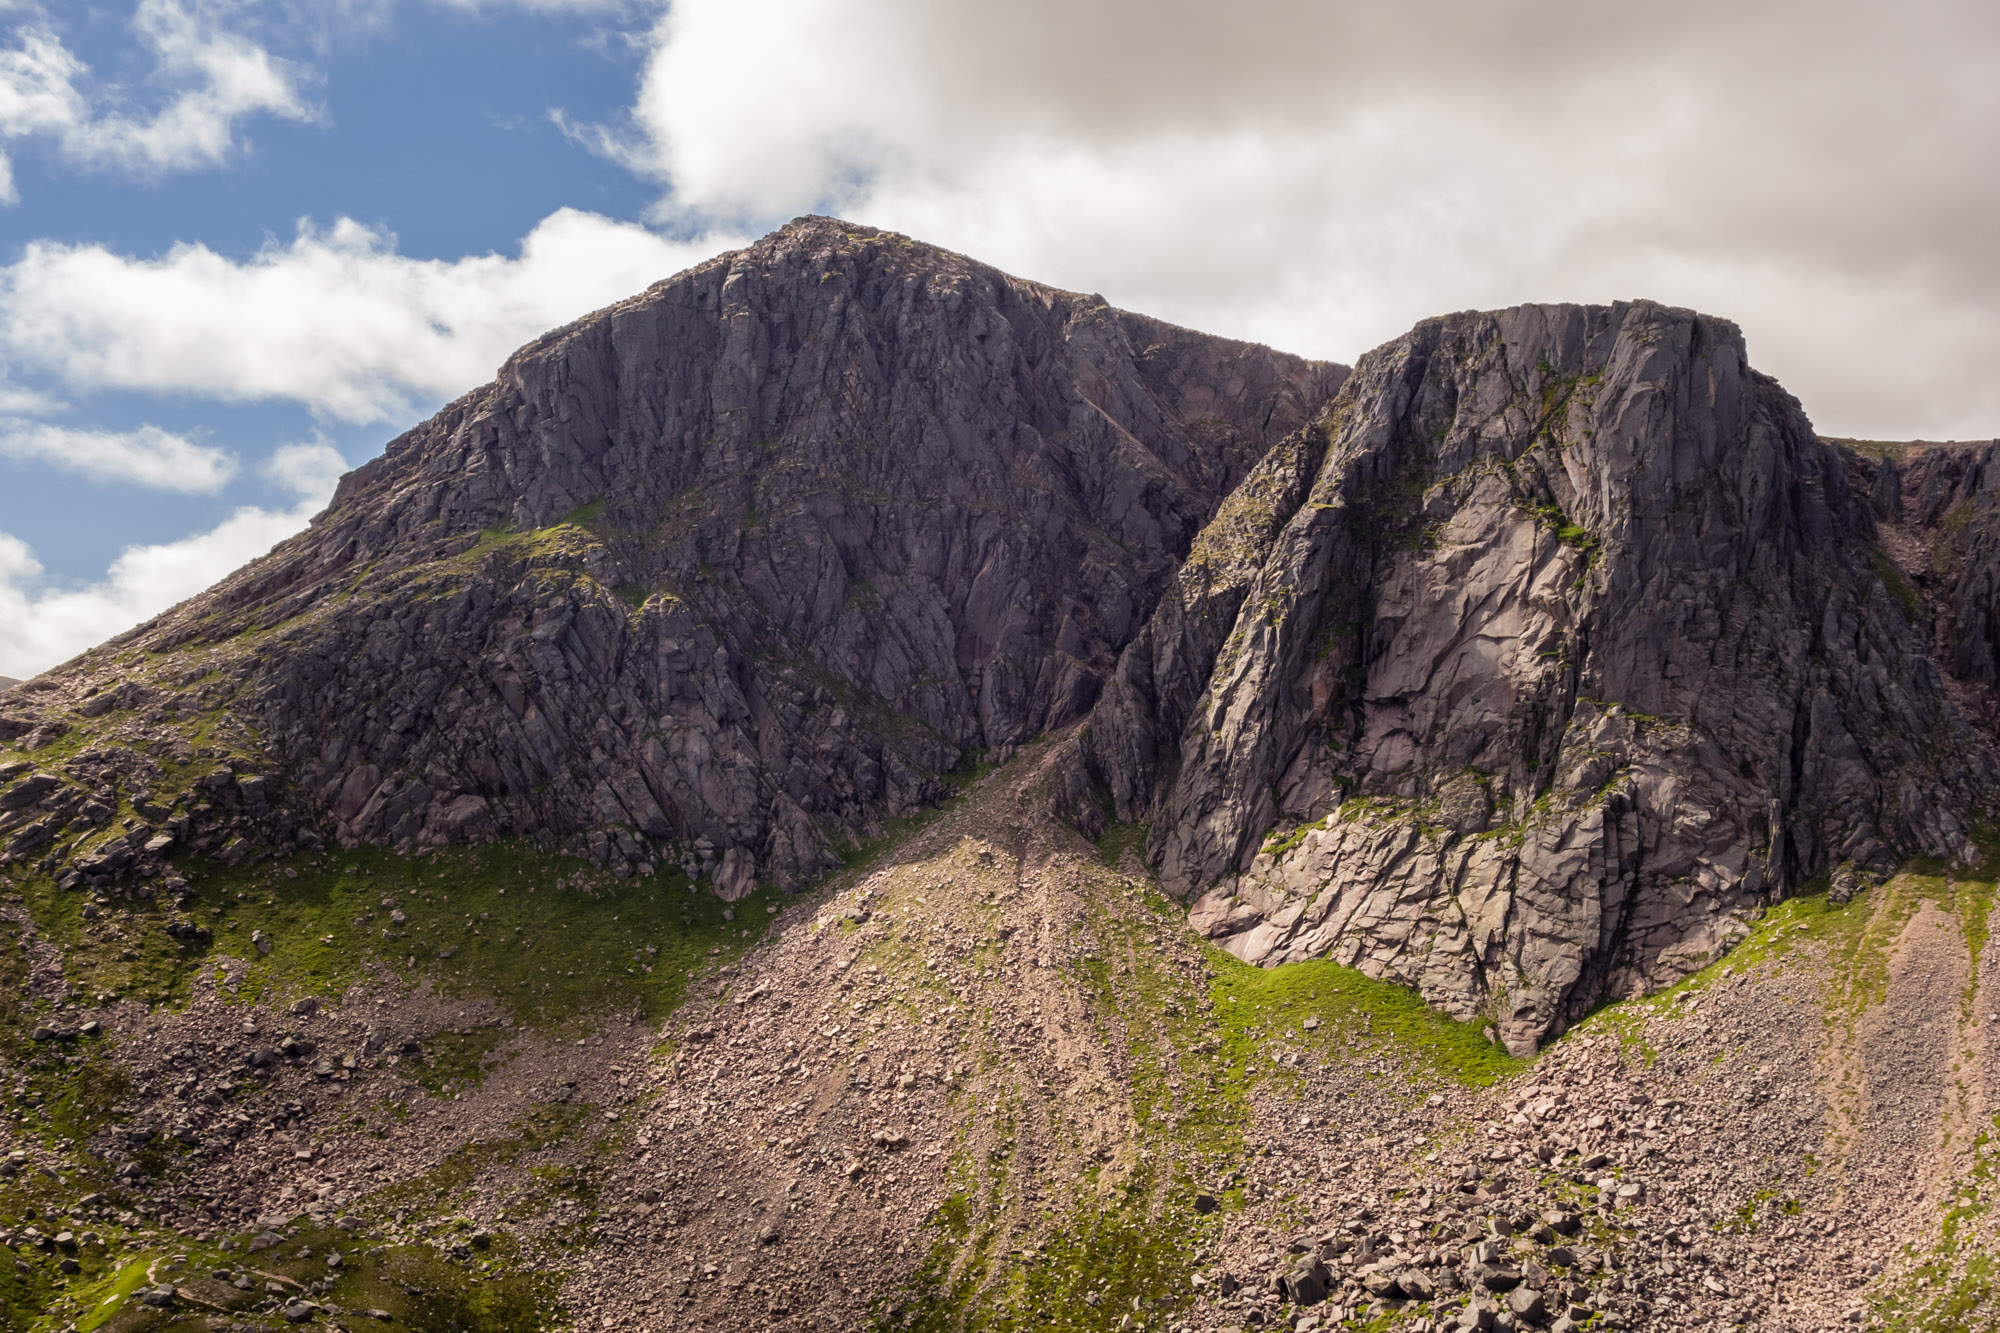
The climbing is never difficult but it is very serious. We were expecting the odd run-out section but the guidebook does not really convey the degree to which this route demands a careful and steady approach. The third pitch in particular involves a tricky pull over an overlap someway above and right of the belay, with protection coming from a single crucial runner.
Unfortunately the leader of the team below us missed the runner placement and despite our efforts to supply a top rope from above she took a nasty fall attempting the mantle through the overlap. Miraculously, given the size and pendulum nature of the fall, she didn’t sustain any serious injuries and the party were able to descend and walk out.

Pitch 4 contained the best climbing on the route but after witnessing near-tragedy mine and Ric’s nerves were shot. We cautiously followed Andy’s excellent lead, zig-zagging our way across exposed and precarious traverses to end up at a semi-hanging stance beneath a final steepening.
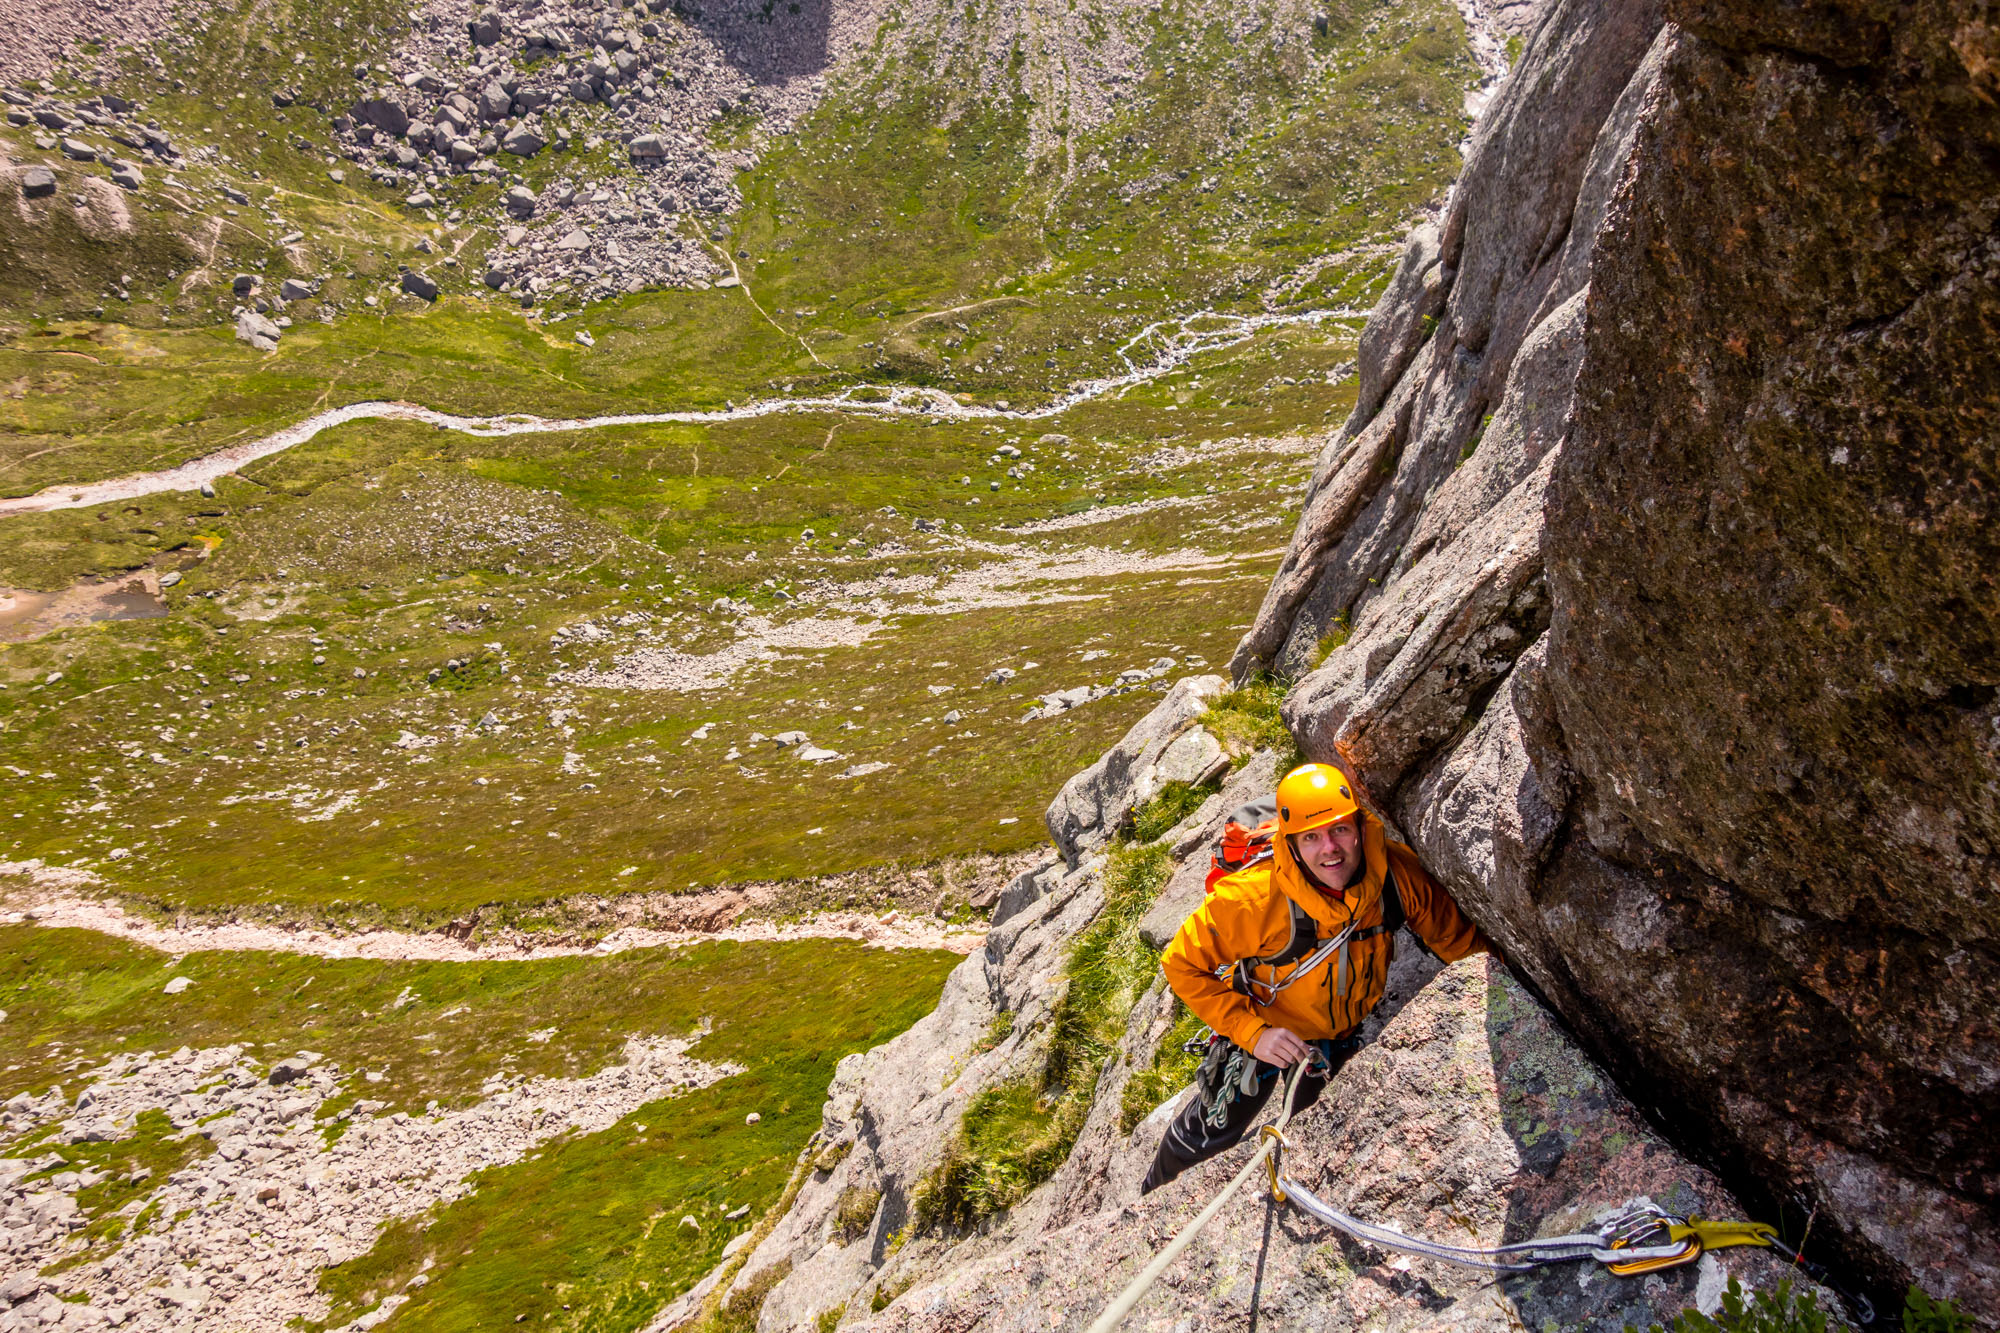
We contemplated abseiling off, but reasoning that getting our heads together for one final hard pitch was the lesser of two evils, Andy valiantly agreed to lead us out. A few stiff pulls and some corner-crack climbing saw us at the top of the difficulties and wanting to contribute something to the team I led us up three easy pitches to the top of the crag.
I was subsequently contacted by the lady who fell and apart from being a little bruised and battered she’s okay!
The new Wired guide will say in the intro to the route:
“Route finding takes some effort and protection is often poor apart from the crux.”
Thanks Andy, that’s good to know!